
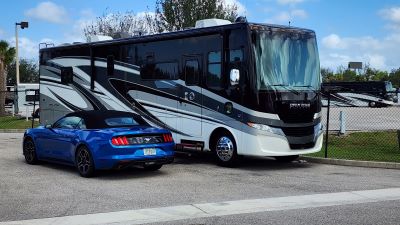
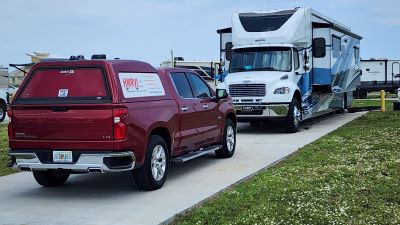
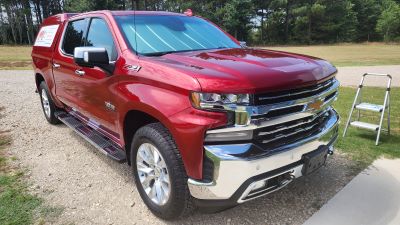
Driving A Newmar Super C – Super C RV Handling Issues
Imagine taking the wheel of a vehicle that combines the comfort of a luxurious home with the freedom of the open road. That’s the experience a Newmar Super C RV offers. But before you set off on your adventure, it’s crucial to understand the handling characteristics of your motorhome.
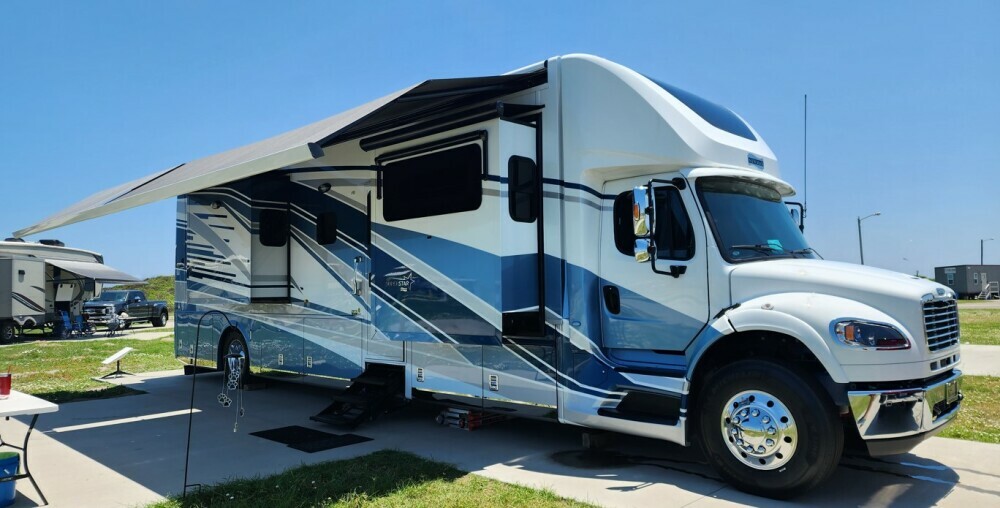
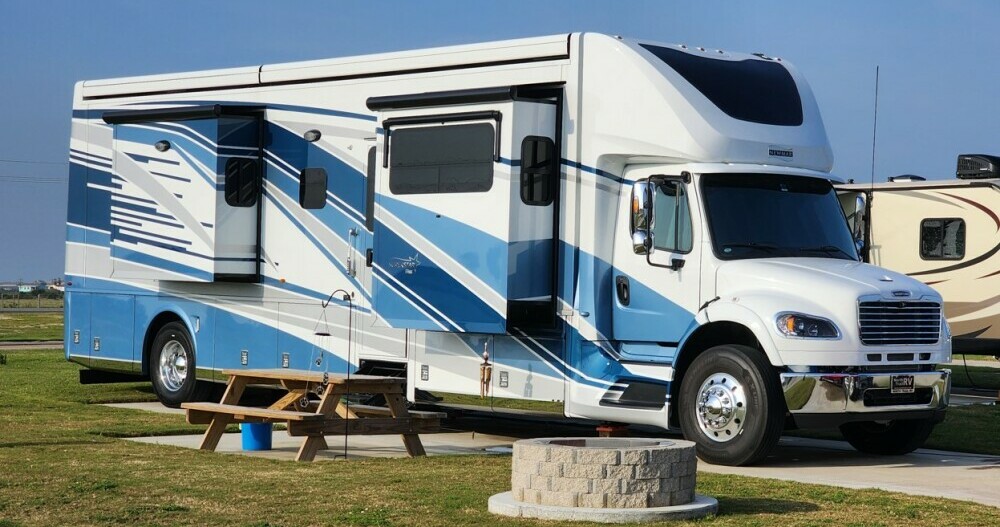
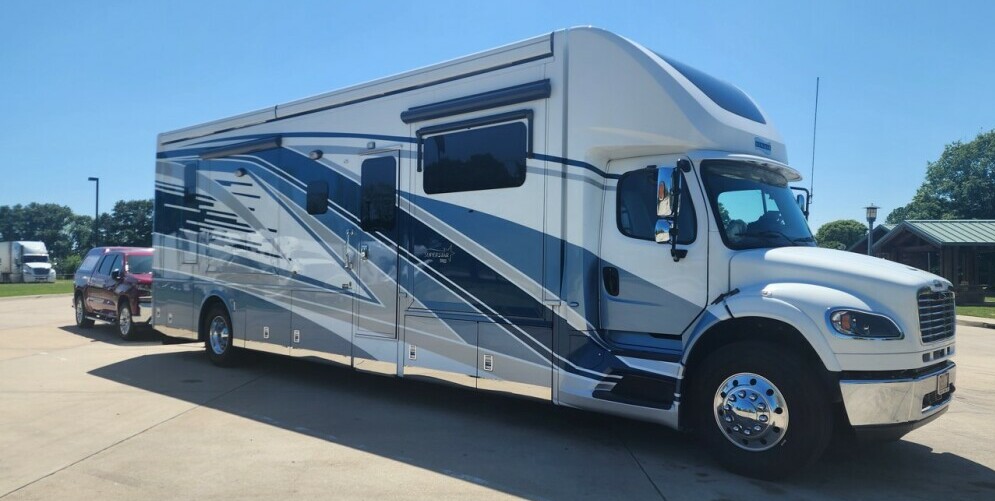
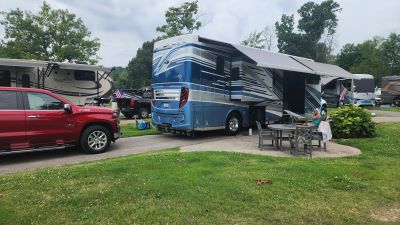
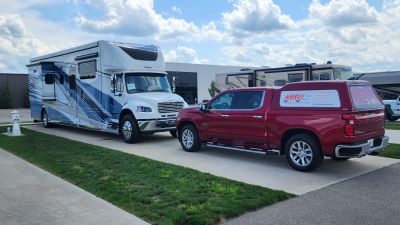
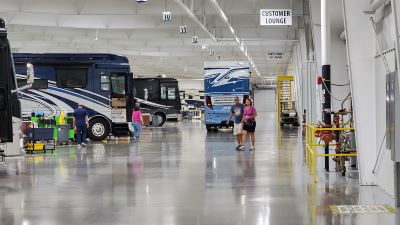
A Newmar Super C RV isn’t your average RV. It’s a considerable machine, towering over many vehicles on the road and equipped with amenities to make every mile enjoyable. However, its size and sophistication also mean it drives differently than a typical car or even a standard RV.
This article is tailored specifically for people like you who are seeking insight into driving a Super C RV. Whether you’re contemplating a purchase, have recently acquired one, or are looking to fine-tune your driving skills; I’m here to guide you through the essential aspects of Super C RV handling in a clear and actionable way.
I can share this information because I have driven large RVs for over two hundred thousand miles and have owned a 2023 Newmar Super Star 4059 since February 2023.
Understanding the Basics of Super C RV Handling
You’re commanding a sizeable machine when you’re behind the wheel of a Newmar Super C RV. Think about it this way: you’re not just driving but piloting. The size and weight of your vehicle greatly influence how you handle it on the road. It’s a departure from the typical family sedan or even a light truck. But don’t fret; size doesn’t equate to complexity once you’re familiar with the basics.
Air brakes and suspension systems are common features in Super C RVs like the Newmar, designed to handle the increased mass. They work to give you a smooth ride and better control. Still, there’s a learning curve, especially if it’s your first encounter with this kind of system. Remember, smooth and timely braking becomes your best friend for safe travels.
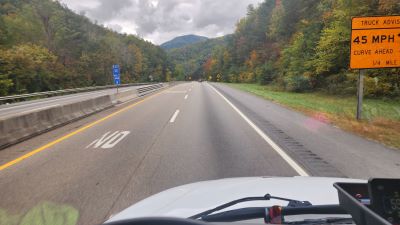
Handling your RV will also mean getting used to a wider turning radius. Why is this important? Because it affects everything from changing lanes to navigating campground roads. A good rule of thumb is to take turns wider than you normally would and to always look ahead and plan your moves in advance. This is due to the much longer wheelbase than most class A RVs with a much more aggressive front axle wheel cut angle.
Mirrors are your best friends when driving a Super C RV. Regularly check your side mirrors and rearview camera to stay aware of your surroundings. RVs have larger blind spots, so always double-check before changing lanes.
Due to its width, keeping the RV centered in your lane is important. Practice this by observing the lane markings and adjusting your position as needed.
Driving a Newmar Super C at high speeds can be challenging and less fuel-efficient. Stick to the speed limit and consider driving slightly below it for better control and safety.
Height and clearance are other factors you can’t ignore. The last thing you want is an unexpected encounter with a low bridge or tree branch. Your Newmar Super C stands tall, which is great for interior space but adds another layer of consideration while driving. Always be aware of the clearance levels on your route and at your destinations.
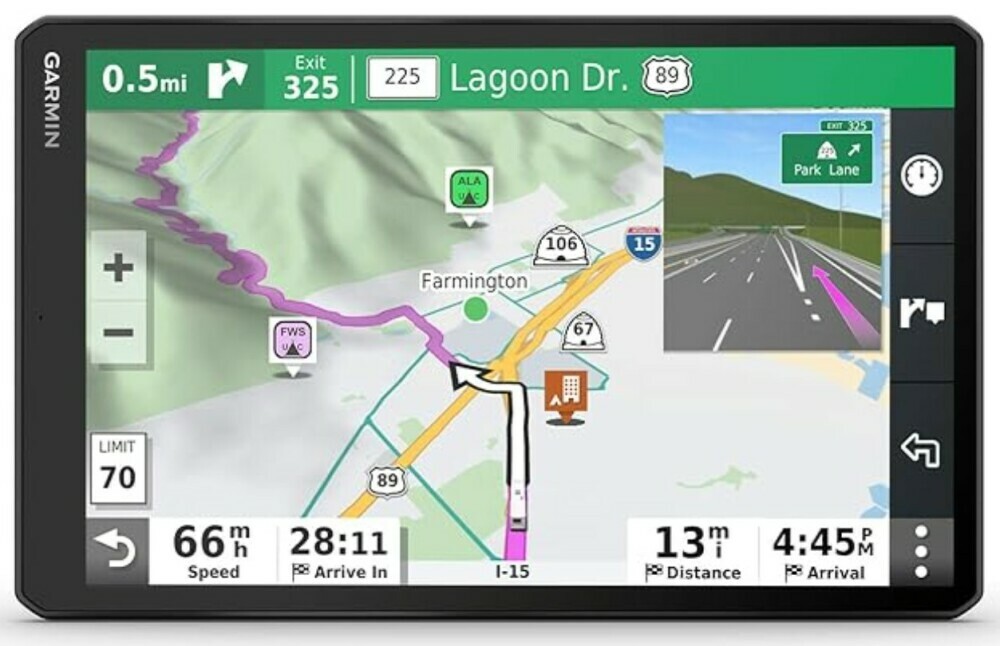
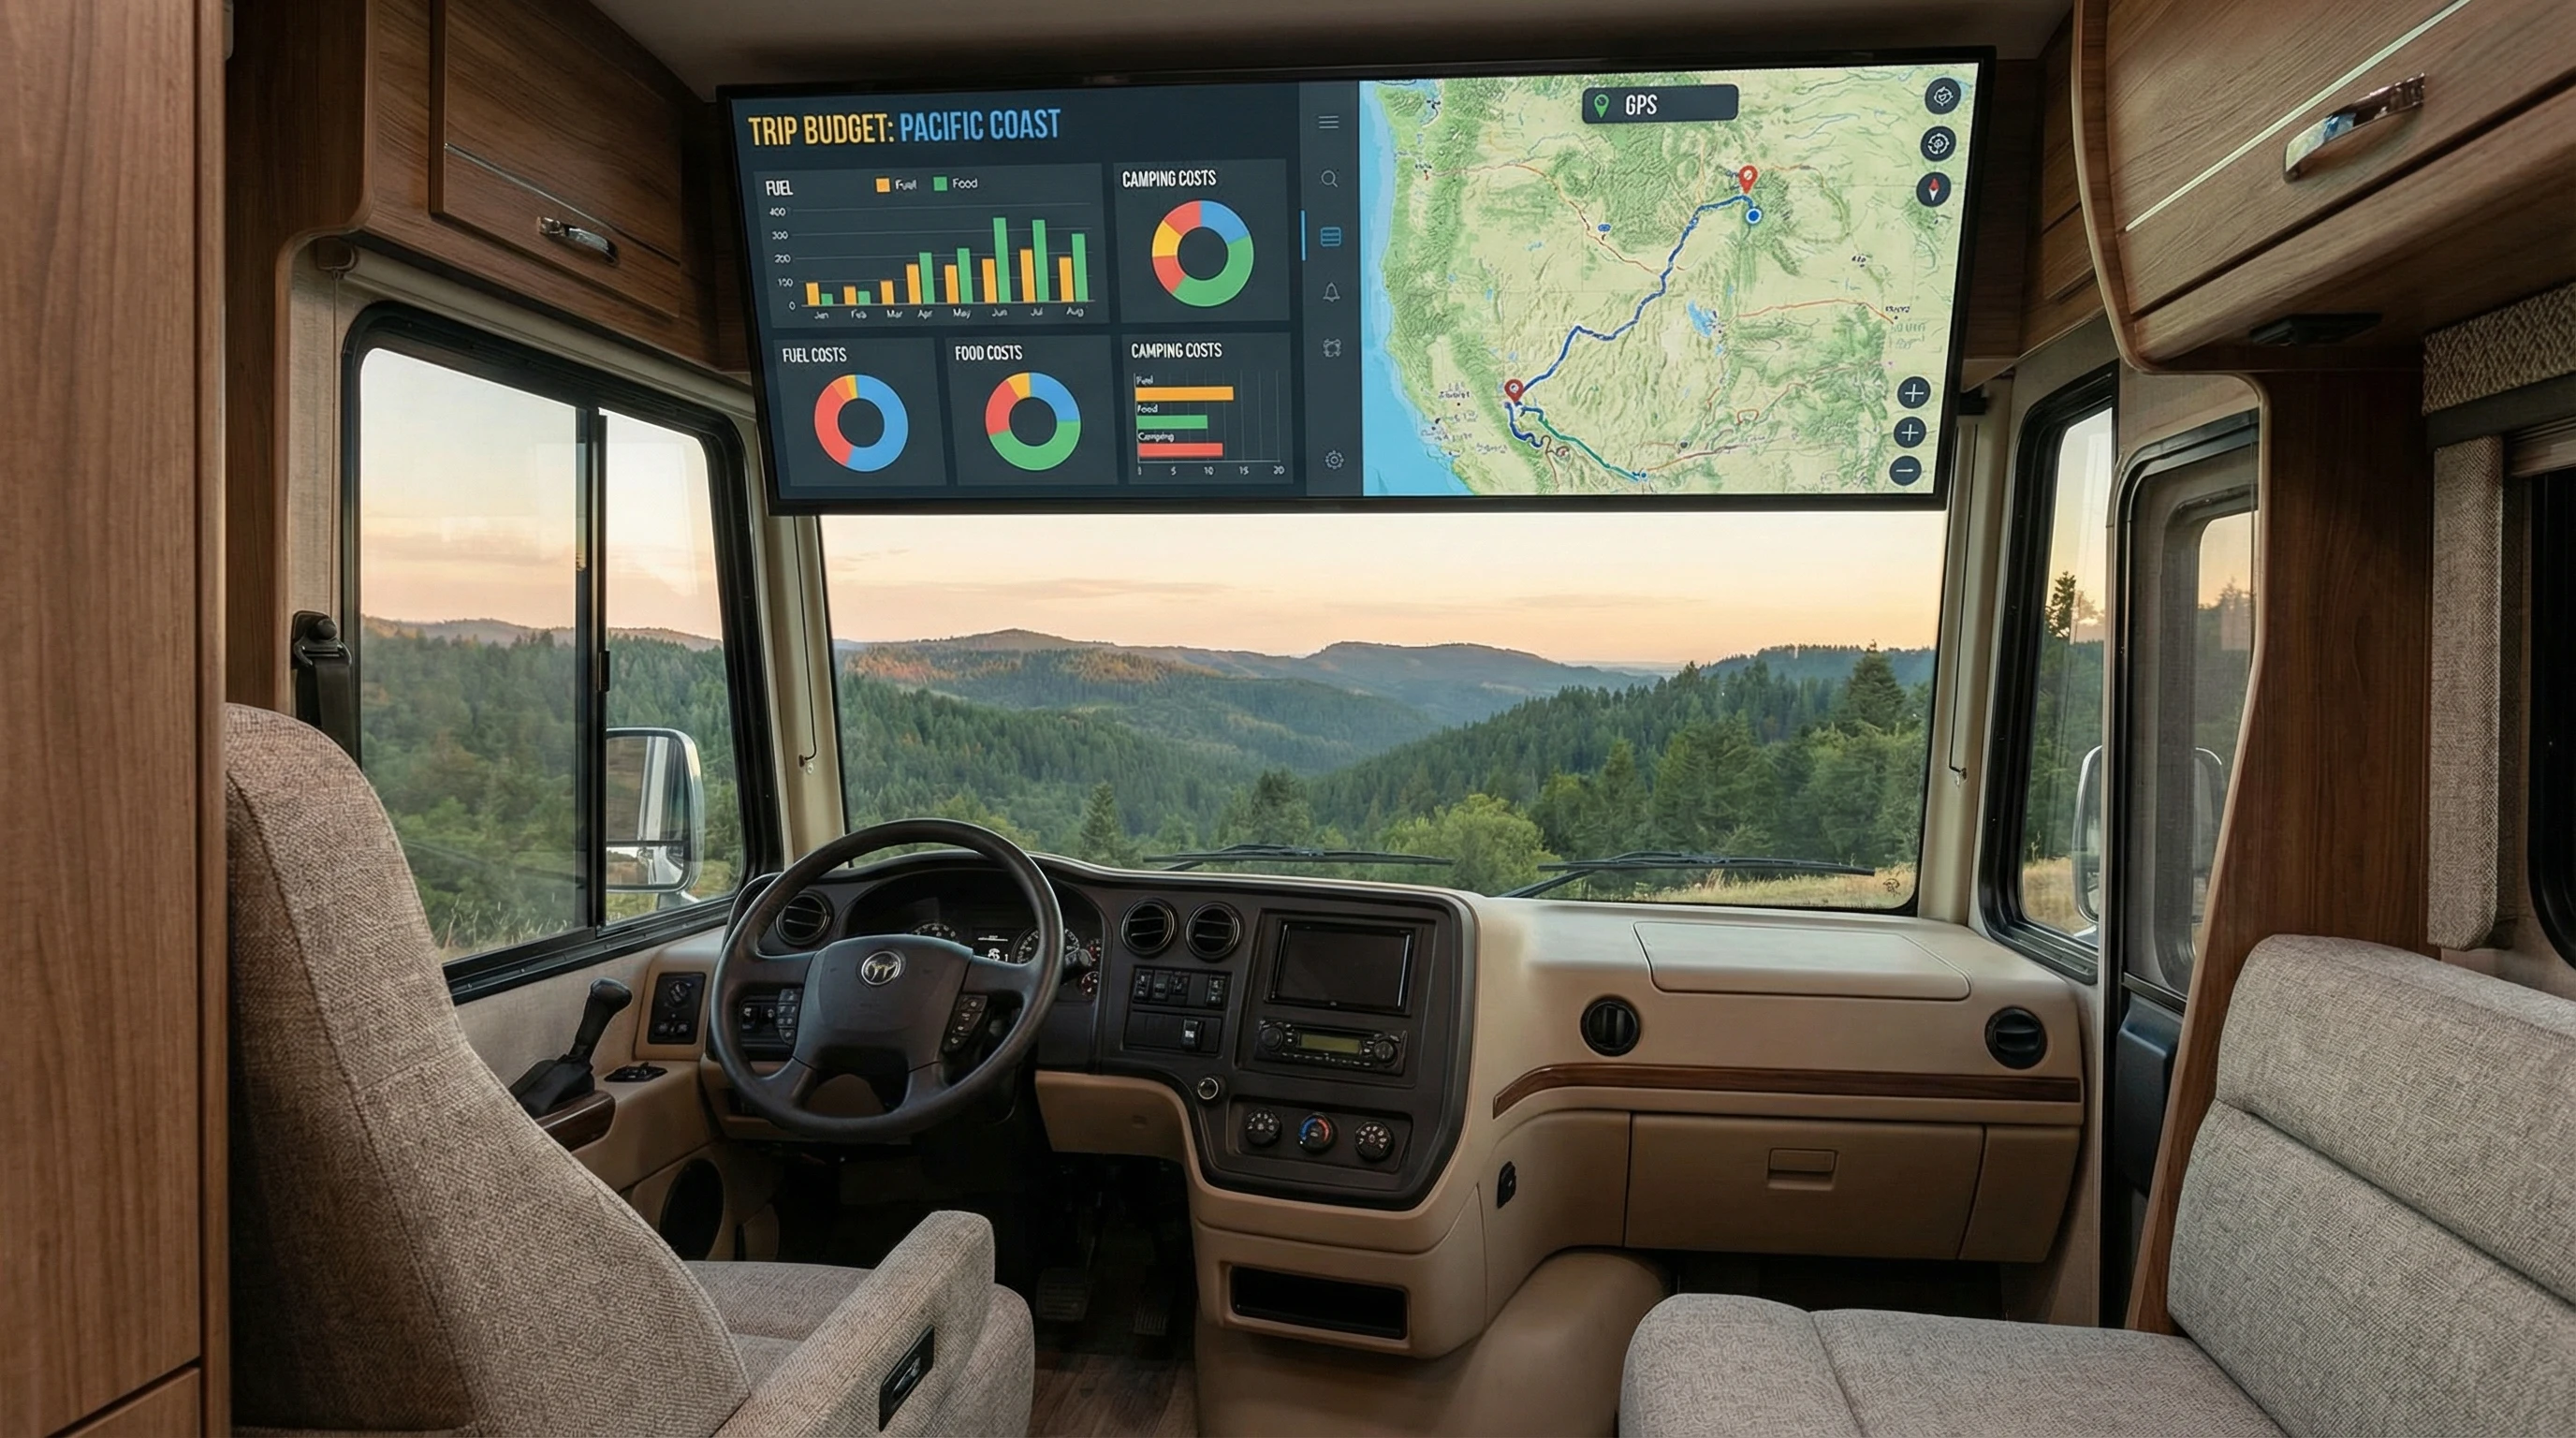
The Newmar Super Star has an onboard GPS system, but we like the Garmin 1090 better. It has a larger 10″ screen and allows the unit to be placed more in line with the driver’s view of the road. It can be programmed with the height, weight, and length of the RV and what is being towed.
Handling Different Road Conditions
Your Newmar Super C is built to handle various road conditions, but each presents unique challenges.
Highways and Freeways
1. Merging: Use the acceleration lane to build up speed before merging. Watch for other vehicles and merge smoothly.
2. Passing: Be patient when passing. Due to the size and weight of the RV, passing other vehicles takes longer.
3. Exits: Plan your exits early. Signal well in advance and start slowing down gradually.
City Driving
1. Narrow Streets: Avoid narrow streets when possible. If you must navigate them, drive slowly and watch for obstacles.
2. Parking: Find RV-friendly parking areas. Parking an RV in a regular parking lot can be challenging and often not allowed.
3. Traffic Lights: Be prepared for longer stopping distances at traffic lights. Keep a safe distance from the vehicle ahead.
Rural Roads
1. Sharp Turns and Hills: Approach sharp turns and hills with caution. Downshift when necessary to maintain control and reduce speed.
2. Gravel Roads: Drive slowly on gravel roads to avoid skidding and maintain control.
Parking and Setup
Parking and setting up your Newmar Super C can be straightforward with a few tips.
1. Choosing a Spot
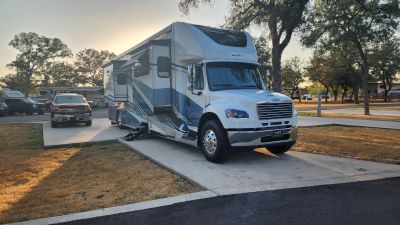
Look for level spots to park. A level RV ensures the stability of appliances and comfort for sleeping. Many campgrounds offer designated RV spots with water, electricity, and sewage hookups.
2. Backing Up
Use a spotter when backing up. A spotter can guide you and ensure you don’t hit any obstacles. Utilize the rearview camera if your RV has one.
3. Leveling the RV
Use leveling blocks or built-in leveling systems to ensure your RV is stable. This is especially important for the functioning of the refrigerator and comfort during sleep.
4. Hooking Up Utilities
Connect your RV to the campground’s utilities:
- Water: Attach the water hose to the RV’s water inlet.
- Electricity: Plug the power cord into the electrical pedestal, matching the amperage requirements (usually 30 or 50 amps).
- Sewage: Connect the sewer hose to the RV’s outlet and the campground’s sewer connection. Ensure all connections are secure to avoid leaks.
Common Handling Challenges and How to Overcome Them
Driving a Newmar Super C RV offers a unique set of challenges on the road, and becoming acquainted with them is crucial. The size and heft of these vehicles mean that handling them differs greatly from a family sedan or a light truck. Recognizing these challenges is the first step to mastering your Super C RV driving.
A major factor to consider is wind resistance. Due to their large surfaces, some Super C RVs are particularly susceptible to strong winds. This can result in an unnerving sway that might be intimidating at first. To mitigate this, ensure you’re using a sway control system which is critical for maintaining stability. It’s also wise to reduce your speed in high winds and keep a firm but relaxed grip on the wheel.
Fortunately, the Newmar Super C’s at over forty thousand pounds GVWR are not affected as much by strong crosswinds and passing semis.
When it comes to negotiating tight spaces, planning and patience are paramount. Maneuvering in close quarters, such as campsites or crowded parking lots, calls for a slow and steady approach. Use every mirror and camera at your disposal, ask a passenger to assist by guiding you outside, and never rush. It’s better to take your time than to cause damage in a hasty decision.
Another test of your RV handling skills comes with tackling steep inclines and drops. The key is to use the engine braking and transmission to your advantage, allowing them to aid in maintaining a consistent and controlled speed. Remember, going downhill, it’s often best to downshift and let the engine do some of the braking work, conserving your brake pads from premature wear.
We find the engine braking system in the Newmar Super Star to be very helpful when traversing long downhill grades. Its two-level settings are adequate to keep the vehicle at the desired speeds.

Finally, the weather significantly influences driving an RV like the Newmar Super C. Rain, snow, and ice can affect traction and control. I can’t stress enough how important it is to adjust speed accordingly and to avoid sudden inputs to the steering, brakes, or throttle. When in doubt, err on the side of caution and consider stopping until conditions improve. The electronic locking differential on the Newmar Super Star can help in these situations.
Overcoming these common handling obstacles is less about strength and more about smarts. By learning, practicing, and being PREPARED, you can handle your Super C RV with confidence, making each journey safer and more enjoyable.
Key Safety Tips for Driving Your Newmar Super C
When it comes to taking the helm of a vehicle like the Newmar Super C, safety isn’t a suggestion; it’s a REQUIRE ID. These RVs demand respect for their size and power, so here I’ll break down the essential safety tips that need to become second nature to you.
First up is maintenance. It’s simple: a well-maintained Super C is a safer one. This means regular brake checks, tire inspections, and keeping an eye on all fluid levels. Neglect is not an option when your home on wheels also happens to be one of the biggest vehicles on the road.
Ensure that your RV’s weight is evenly distributed. Overloading one side can make handling difficult and unsafe. Secure all loose items inside the RV to prevent shifting during travel.
It’s a Good Idea to Weigh Your RV to Avoid Being Overweight!
Next, let’s talk about the driver’s seat. Adjusting your seat for maximum visibility and comfort isn’t just about luxury; it’s about command and control. Ensure your mirrors are aligned to reduce blind spots, which are significantly larger in an RV than in a car.
The air seats in the front cab make quick adjustments while driving an easy thing!
Speaking of which, familiarize yourself with your RV’s camera systems. Many Super C models come with these high-tech aides that offer a real-time look at what’s happening around you. Use them. They’re your eyes where you don’t have them, especially when reversing or changing lanes.
When navigating around campgrounds and other tighter driving situations, the Newmar Super C has an N360 camera system that allows the driver to have a top-down view of the RV. This has been so useful as we make tight turns or back into RV sites!
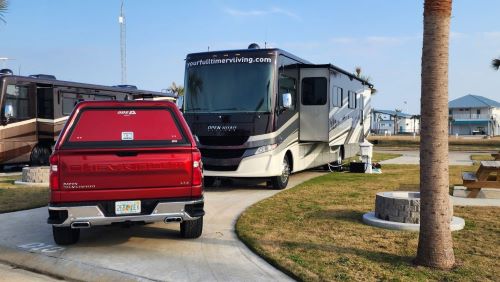
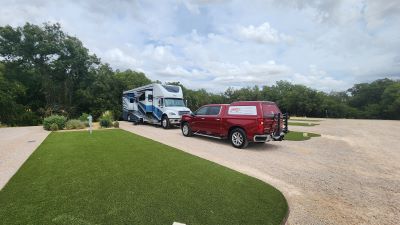
Safe towing is another critical aspect. If you’re pulling a vehicle or trailer behind your Super C, make sure it’s properly connected with safety chains and lights. Verify that the towed load doesn’t exceed your RV’s towing capacity – overloading can lead to brake failure or loss of control.
Again, Newmar’s camera system allows so many views around the RV during travel, including lane change views and complete visibility of the towed vehicle and further behind.
Wrapping up this section, remember that these tips are YOUR roadmap to safety. Pay attention, plan ahead, and respect the size and power of your Newmar Super C, and you’ll protect yourself and your fellow travelers on the road.
Maximizing Your Newmar Super C Driving Experience
You’ve now got the ins and outs of safely piloting a Newmar Super C RV under your belt. Mastery, however, is more than just understanding – it’s about enjoyment too. Your Super C is your ticket to freedom and adventure; with the right approach, every trip can be secure and memorable.
Start by stretching your driving muscles on a variety of road types. This hands-on experience will boost your confidence and skill level. Once you’re comfortable, don’t hesitate to escape the highways and explore the backroads.
Remember, planning is paramount. Use tools like RV-friendly GPS apps to chart a Super C-friendly path. Keep an eye out for low-clearance bridges, weight-restricted roads, and suitable rest stops to avoid any surprises and unnecessary stress.
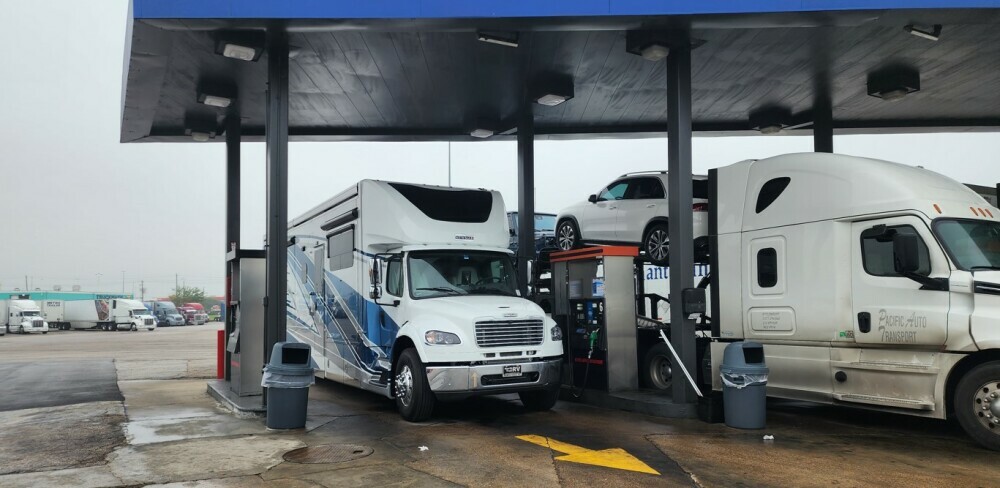
Time to Fuel Up!
Fueling your Super C RV will be a regular event if you drive it regularly. We visit truck stops like Travel America, Loves, and Petro. We use a TSD travel card with a thirty to ninety-cent discount per gallon of number two diesel fuel.
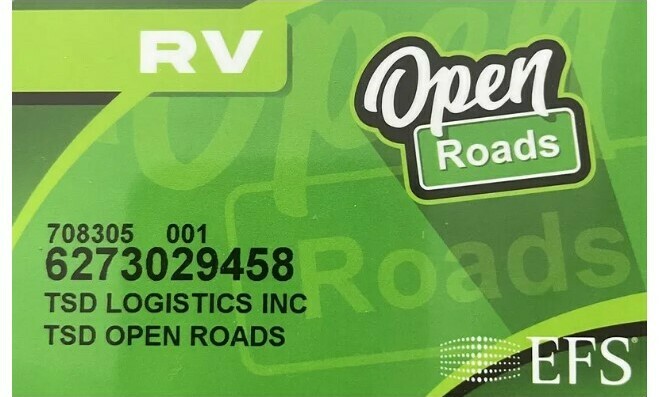

If you want to take advantage of this great fuel discount program, click here! We would appreciate the referral in the referred-by area of the application! Please enter “Howard Jaros” as the referred by name. Thank you!!
Technology can be a powerful ally. From advanced navigation systems to stability-enhancing add-ons, investing in upgrades can pay dividends in the long haul. For example, a tire pressure monitoring system can add an extra layer of safety to your journeys.
We use the TST 770 tire pressure monitoring system on all six tires of the Super C and also on our Silverado truck. We have a constant readout of temperature and pressure during travel. Should things change, we can immediately pull over before a dangerous situation ensues.
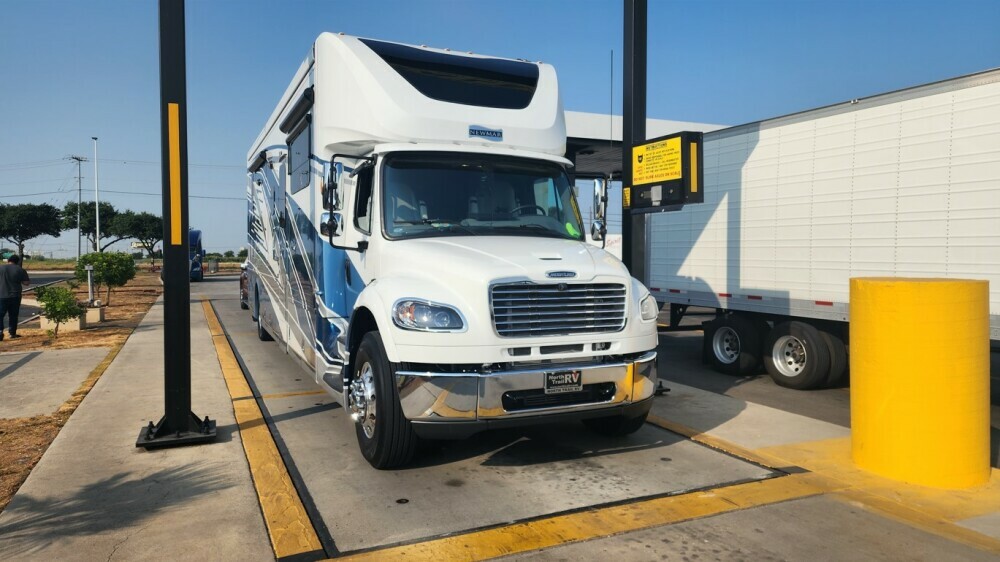
Another upgrade that Super C owners can make is to add some upgrades to the chassis. Remember that the larger Super C’s are built on a truck chassis. It is either the Freightliner M2-106 or M2-112. Newmar does a good job creating an air ride cab to help alleviate the truck feel.
However, the front steer axle is still sitting below the engine and is not on an air-ride platform. Therefore, several additions can be made to take the Supr C to the next level in comfort and control. Pam and I upgraded our Super Star with three new systems that we are really excited about. Click here to see what we did!
Finally!
Remember that you’re part of a community. Newmar Super C owners are known for camaraderie and willingness to share advice.
Participate in forums, connect through social media, and maybe join a Super C club. Trading experiences and tips with fellow RVers enrich your knowledge and pave the way for lasting friendships.
Driving your Newmar Super C should be a source of pride and pleasure. With a keen focus on safety, a dash of tech, and embracing the collective wisdom of your fellow adventurers, you’re set for a fulfilling ride.
Here’s to smooth travels in your Super C RV – where every mile counts and every journey is an opportunity to make lasting memories.
Please feel free to leave a comment or question before you go!
Want to make money while traveling in your Super C RV full-time?


 ,
,


Recent Comments