When it comes to RV life, there’s nothing more important than ensuring your home on wheels is safe and ready for the open road. One of the most critical aspects of this is your tires. They’re literally the foundation of your travel adventures, so keeping them in top shape is essential. In this post, we’ll dive into RV tire safety, covering everything from understanding the basics to knowing when it’s time to replace those trusty treads.
1. Understanding RV Tire Basics
- Types of RV tires and their uses
- Tire specifications and ratings
- Importance of load capacity and inflation pressure
Types of RV Tires and Their Uses
First things first, not all RV tires are created equal. Depending on your rig, you might have different tire types, and knowing which is right for your RV is key to both safety and performance.
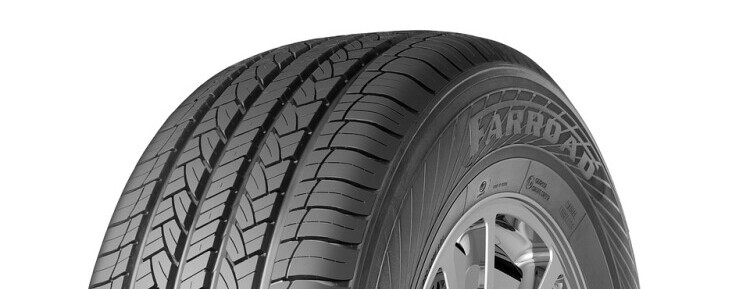
ST (Special Trailer) Tires: These are designed specifically for trailers and fifth wheels. They’re built to handle the heavy loads of your trailer and have stiffer sidewalls to reduce sway, which is crucial when you’re cruising down the highway.
LT (Light Truck) Tires: If you’re driving a motorhome, especially a Class C or smaller Class A, you might have LT tires. These are tough, built for heavy loads, and can handle the extra weight of your RV.
Commercial Tires: Larger motorhomes, particularly Class A rigs and larger Super Cs, often use commercial-grade tires. These are similar to those you’d find on big trucks and buses, designed to support serious weight and provide a smooth ride.
RV manufacturers of trailers specify the type and load range of tires for each RV they make. Changing the size or load range of tire with the perception that it will increase the RVs carrying capacity is a bad idea!
If an RV trailer is designed to use a load range E tire, changing it to a load range G tire would affect the ride of the RV and do damage to the suspension. The load range G tire is much stiffer so the suspension would wind up taking the hit on rougher roads.
Understanding which type of tire your RV needs is the first step in ensuring you’re rolling safely.
Tire Specifications and Ratings
Now, let’s talk about the numbers and letters you’ll see on the sidewall of your tires. It might look like a jumble of characters, but each one is packed with important information.
Load Range: This tells you how much weight your tire can safely carry. The higher the letter (e.g., C, D, E), the more weight the tire can handle. Always make sure your tires can support the total weight of your RV, including passengers, gear, and water.
Speed Rating: This indicates the maximum speed at which your tire can safely operate. For most RV tires, you’ll see an “L” rating, which means they’re safe up to 75 mph. Going faster than this can cause the tires to overheat, leading to a blowout.
For RV trailers, pay attention to the speed rating of your tires. Most smaller trailer’s tires have a speed rating of 65mph. Driving any faster would be unsafe!
Tire Size: The combination of letters and numbers like 225/75R15 tells you the tire’s width, aspect ratio, and diameter. Matching these to your RV’s requirements is crucial to ensure proper fit and performance.
Importance of Load Capacity and Inflation Pressure
Speaking of load capacity, it’s vital to ensure your tires are not overloaded. Overloading is a common cause of tire failure, and it’s something you definitely want to avoid. Always check your RV’s Gross Vehicle Weight Rating (GVWR) and make sure your tires are rated to handle the load.
The best way to know if you are overloaded or not is to have your RV weighed. The RV Education and Safety Foundation can help with this. You can also drive over a truck stop CAT scale to at least see that your RV is not over its gross vehicle weight rating.
Equally important is maintaining proper inflation pressure. Underinflated tires can cause poor handling, increased wear, and, worst of all, overheating, which can lead to a blowout. On the flip side, overinflated tires can make for a rough ride and increase the risk of damage when hitting potholes or debris.
2. Essential RV Tire Maintenance Tips
- Routine tire inspection and checks
- Proper tire inflation and monitoring
- Balancing and alignment
- How to handle tire wear and damage
- Using Tire Dressings – Good or Bad?
Routine Tire Inspection and Checks
Regular tire inspections should be a non-negotiable part of your RV routine. Before every trip, give your tires a once-over. Look for any visible damage like cuts, cracks, or bulges, and check the tread depth. If something doesn’t look right, it’s better to address it before you’re on the road.
Don’t forget to check your spare tire too! The last thing you want is to get a flat and find out your spare isn’t in good shape either.
Proper Tire Inflation and Monitoring
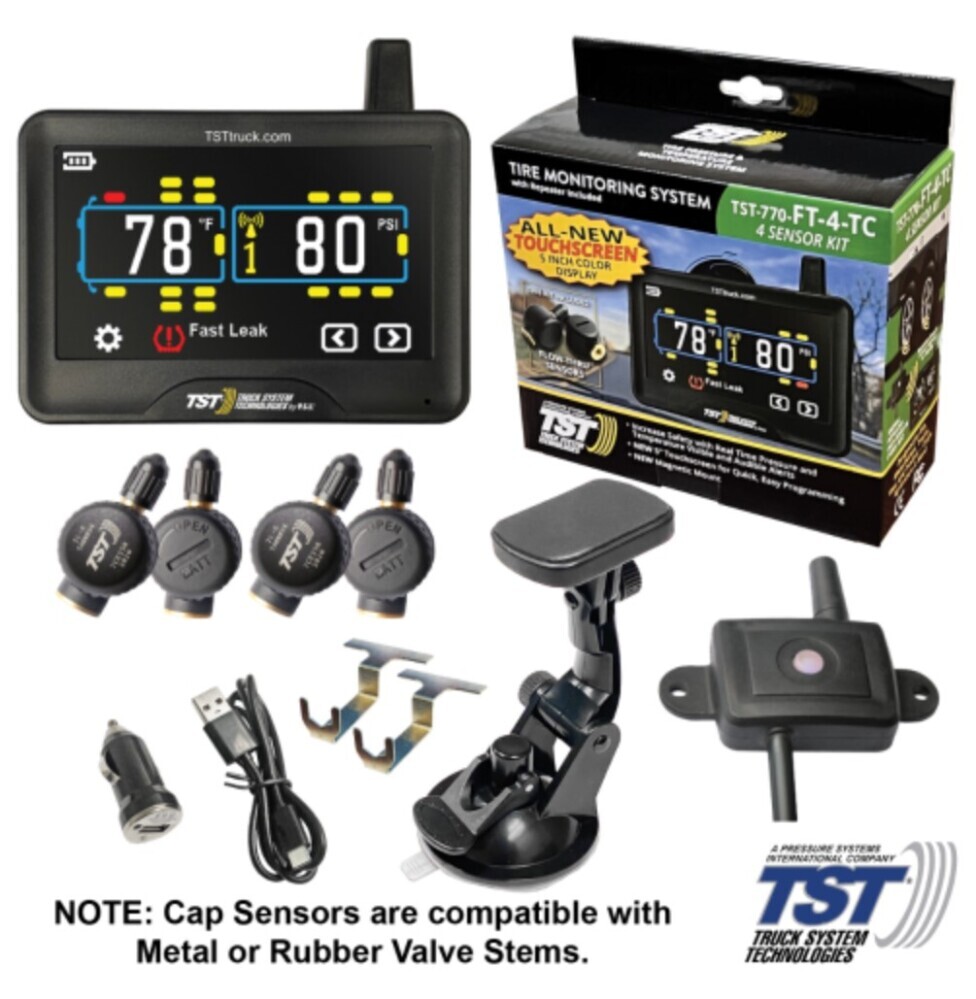
As we mentioned earlier, keeping your tires properly inflated is crucial. But how do you know if they’re at the right pressure? Investing in a good tire pressure gauge or a Tire Pressure Monitoring System (TPMS) can save you a lot of headaches. These tools let you keep an eye on your tire pressure in real-time, so you’re always aware of any issues before they become major problems.
Make it a habit to check your tire pressure regularly—at least once a month and before every trip. Remember, tire pressure can change with temperature, so it’s best to check it when the tires are cold (before you’ve driven more than a mile).
Tire Pressure Monitoring System
We use a high-tech tire pressure monitoring system that gives us real-time tire temperature and pressure while traveling and while parked. Before a travel day, we know the tire pressure before we begin our travels.
We follow the cold pressure recommendation by the RV manufacturer for each axle and set that value each day of travel. When traveling from locations that have different temperatures, tire pressure values can change from one to two psi per ten degrees of temperature change.
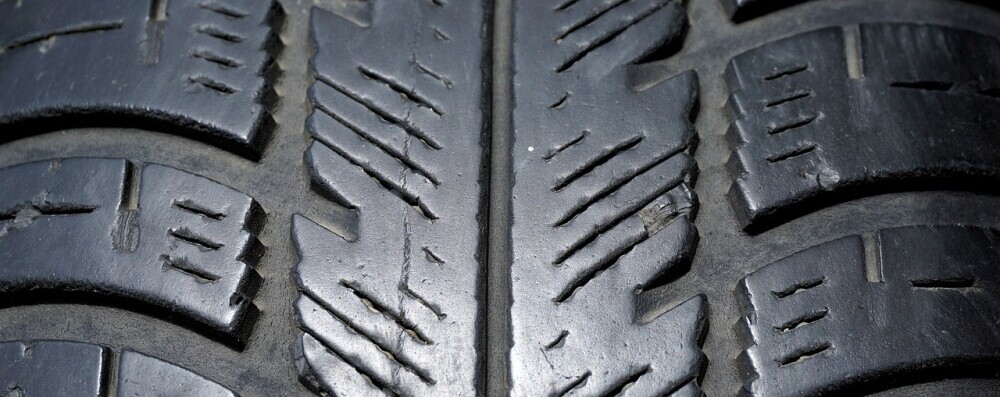
If a tire is underinflated, it will not carry the weight it was designed for and could overheat and blow out. If the tire is overinflated, the tread will wear more in the center of the tire instead of evenly across the tread.
Proper tire pressure is essential! We have used several tire pressure monitoring systems over the years, but this one is our favorite. Truckers also recommend it, hence its name, TST (Truck Systems Technologies).
Balancing and Alignment
Balancing and alignment might seem like things only sports car drivers need to worry about, but they’re just as important for your RV. Properly balanced tires ensure a smooth ride, which is not only more comfortable but also reduces wear on your tires. Misaligned wheels, on the other hand, can cause uneven tire wear and make your RV harder to handle, especially in windy conditions.
It’s a good idea to get your tires balanced and aligned whenever you get new tires or if you notice any unusual vibrations while driving.
How to Handle Tire Wear and Damage
Tire wear is inevitable, but how you handle it can make a big difference. If you notice uneven wear, it could be a sign of improper inflation, misalignment, or even an overloaded RV. Rotating your tires regularly (every 6,000 to 8,000 miles) can help ensure they wear evenly.
If you spot any damage, like a deep cut, puncture, or bulge, it’s time to take action. Some minor damage can be repaired, but in many cases, it’s safer to replace the tire, especially if the damage is on the sidewall.
Tire Dressings – Good or Bad?
Tire dressings can help protect RV tires from contaminants, but dressings that contain petroleum, alcohol, or silicone can make tires age faster and crack on the sidewalls. Cracked sidewalls can cause tires to pop, making them a safety hazard on the road. If you want to use a tire dressing, look for one that doesn’t contain these ingredients and offers UV protection.
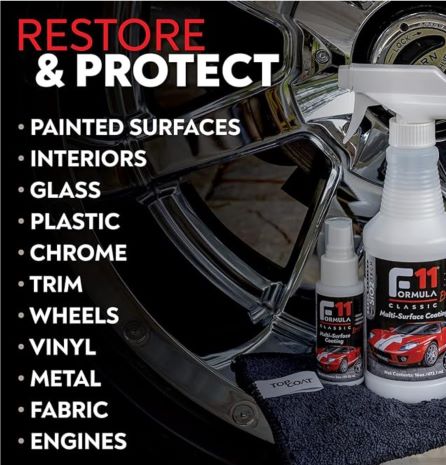
In addition to the F11 Pro product I use on my RV, I use the company’s tire dressing product, tire dress. It gives the tires a deep black appearance without looking greasy.
3. Signs It’s Time to Replace Your RV Tires
- Recognizing tread wear indicators
- Detecting sidewall damage
- Understanding tire aging and lifespan
- Common warning signs and when to act
Recognizing Tread Wear Indicators
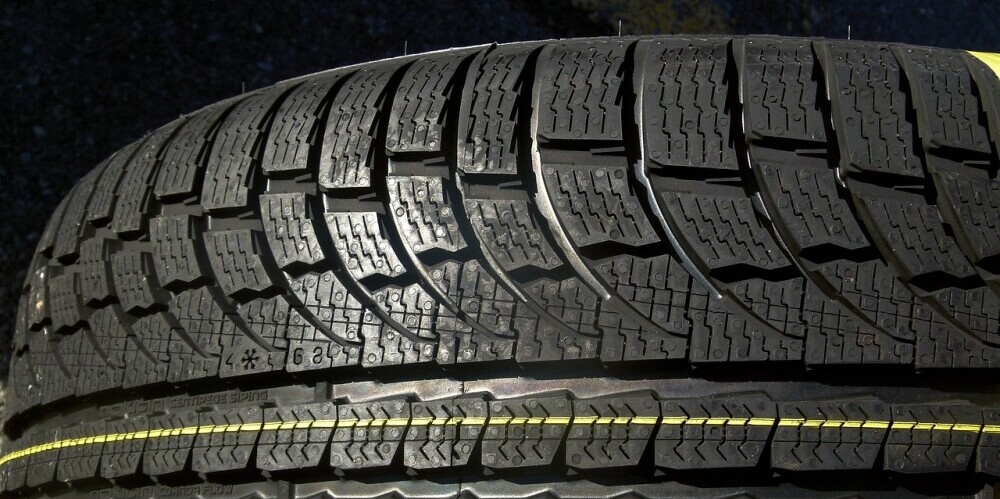
Your tires come equipped with built-in indicators to tell you when it’s time for a change. These are called tread wear indicators, and they’re small bars of rubber that run perpendicular to the tread. If your tread is worn down to the level of these bars, your tires no longer have adequate grip and should be replaced.
An easy way to check tread depth is with the penny test. Insert a penny into the tread with Lincoln’s head facing down. If you can see the top of his head, it’s time for new tires.
Detecting Sidewall Damage
Sidewall damage is another red flag. Cracks, cuts, or bulges in the sidewall can indicate serious issues that could lead to tire failure. Unlike tread damage, sidewall damage isn’t something you can repair—if you spot it, replace the tire as soon as possible.
Understanding Tire Aging and Lifespan
Even if your tires look fine, they won’t last forever. RV tires have a recommended lifespan, typically around 5 to 7 years, regardless of tread wear. This is because the rubber compounds break down over time, which can lead to a loss of strength and elasticity.
You can check the age of your tires by looking at the DOT code on the sidewall. The last four digits indicate the week and year the tire was manufactured (e.g., 3219 means the 32nd week of 2019). If your tires are pushing that 7-year mark, it’s a good idea to start thinking about replacements.
Common Warning Signs and When to Act
Besides visible damage and aging, there are other signs that it might be time for new tires. These include:
Vibration while driving: This could indicate an issue with tire balance or alignment, but it could also be a sign of internal damage to the tire.
Frequent air loss: If you’re constantly needing to top off your tires, it could be a sign of a slow leak or damage that’s not immediately visible.
Poor handling: If your RV doesn’t feel as stable as it used to, or you notice it pulling to one side, your tires could be the culprit.
If you experience any of these issues, it’s worth getting your tires checked out by a professional.
4. Choosing and Installing the Right Replacement Tires
- Selecting the right tire for your RV type
- Deciphering tire codes and specifications
- Installation best practices
- Post-installation care and precautions
Selecting the Right Tire for Your RV Type
When it’s time to replace your tires, it’s important to choose the right ones for your RV. Refer back to the types of tires we discussed earlier—ST, LT, or commercial—and make sure you’re getting a tire that matches your rig’s needs.
You can find the RV manufacturer’s tire recommendations on the RV VIN data plate or the tire placard located near the VIN data plate.
Consider your travel habits, too. If you frequently drive in hot climates, look for tires that are designed to handle higher temperatures. If you tend to travel on rough or gravel roads, opt for tires with reinforced sidewalls for extra durability.
For Maximum Safety, Consider Tire Bands!
If a tire blows during travel, especially the steer tires on a motor home, the results could be disastrous! Tire bands allow the deflated tire to stay on the rim, not experience the usual drop of a deflated tire, and, most importantly, maintain RV control.
Deciphering Tire Codes and Specifications
We touched on this earlier, but when selecting new tires, you’ll want to pay close attention to the codes and specifications on the sidewall. Make sure the load range, speed rating, and size match your RV’s requirements. It’s also a good idea to check reviews or ask fellow RVers about their experiences with different tire brands and models.
Installation Best Practices
Once you’ve chosen your new tires, proper installation is key. If you’re having them installed at a shop, make sure they’re balanced and aligned correctly. Improper installation can lead to uneven wear, poor handling, and even safety issues.
If you’re a DIYer and prefer to install them yourself, be sure to follow the manufacturer’s instructions carefully. This includes torquing the lug nuts to the correct specifications and inflating the tires to the recommended pressure.
Post-Installation Care and Precautions
After your new tires are installed, the work isn’t over. Keep an eye on the tire pressure and make sure the tires are wearing evenly. It’s also a good idea to recheck the lug nut torque after driving a few hundred miles—sometimes, they can loosen up after installation.
And finally, remember to break in your new tires. It might sound strange.
Some recommend driving new RV tires cautiously for the first 500 miles to break them in. This allows the tires to get used to your vehicle and the release lubricant to wear off, which improves traction and allows the tire components to work together. During this time, you should drive slowly and avoid harsh acceleration, braking, and cornering. For performance tires, you can also try heat cycling or tire shaving.
You should also re-torque the lug nuts on new aluminum rims after 50 miles and again after 500 miles. The aluminum can flex with temperature changes, loosening the lug nuts.
As long as your tires are properly cared for you should have many miles of enjoyable travels!
To learn more about us you can visit this page.
Please feel free to leave a comment or a question before you go!







Recent Comments