Traveling in an RV is always an adventure, but making sure everything is in top shape before rolling out is really important. Doing a solid pre-trip inspection can save you hassles and keep you safe on the road.
I’ve picked up some helpful tips over the years and built a checklist that I run through before every trip. This checklist covers the basic mechanics, interior comfort, and even some smart extras for peace of mind.
RV Exterior: What to Inspect Before Hitting the Road
Walking around my rig is step one. I look over the outside pretty closely because little things can turn into big problems out on the highway. If you take a few minutes to spot worn-out parts, you might save yourself from a seriously bad camping experience.
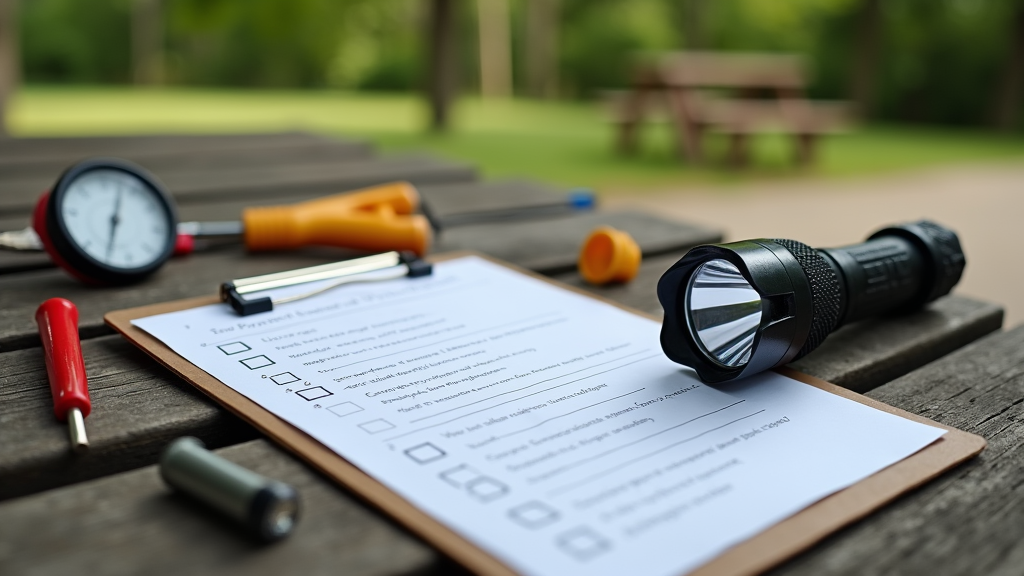
I always check the tires first. Flat spots, fraying, or cracks along the rubber mean it’s time for a change. I keep an eye on the pressure since low or high PSI can cause blowouts. A tire gauge doesn’t cost much, and it’s super useful. I check the torque on the lug nuts too, just to make sure nothing’s come loose after the last drive.
The roof and seals are the next things on my list. I walk along the top when I can (staying safe, of course), looking for cracked seams, missing caulk, or pooling water. I’ve had a rainstorm leak destroy a cabinet, and that was no fun to fix. If you’ve got roof-mounted gear, like a solar panel or vent cover, check that it’s mounted tightly and sealed up.
Windows, doors, and storage compartment latches all need a look. Stuck or worn-out rubber weather stripping will let water in, so I press my finger around each rubber seal to check for soft spots or gaps. Doing a tug test on each storage door keeps me from losing gear on the interstate. Side mirrors, awnings, and lights should be firm and working properly.
There are a lot of moving parts outside your RV, and keeping an eye on them can help you avoid breakages. I also run a quick test of all the exterior lights, especially the brake and indicator lights, because being seen at night isn’t just handy, it’s crucial for safety. If you spot any cracks or spider webbing in the windshield or other glass, add that to your fix-it list before heading out. Even minor chips can get worse fast on bumpy roads.
Essential Interior Checks for Comfort and Safety
Once I’m inside, I grab a notepad and move from front to back. My first check is all about safety gear. Fire extinguishers are checked to see if they’re full and easy to reach. I test smoke and carbon monoxide detectors, replacing the batteries if they’re blinking or beeping. Emergency exits and window latches get a quick demo to make sure they aren’t stuck shut or blocked by gear.
Next, I scan the water system. I look under the kitchen and bathroom sinks for leaks or damp spots. Inspecting the water heater and pump for drips or sounds can catch problems before they get worse. I run water through each tap to clear out any stale odors and ensure the pressure is steady.
Don’t forget about flushing the toilet and dumping the tanks before setting out. Tank valves should move freely, and if the sensors are acting wonky, cleaning or recalibrating might be needed.
I like to turn on each appliance, fridge, microwave, oven, and AC, to make sure everything works. For the fridge, I use a thermometer just to double check it’s cooling right. Inside storage latches and overhead bins get a push and pull to see that nothing will fly open while driving.
If you’ve got slideouts, try each one out fully, keeping an ear out for weird noises or struggling motors. Lubricating tracks and wiping down seals can keep them moving well.
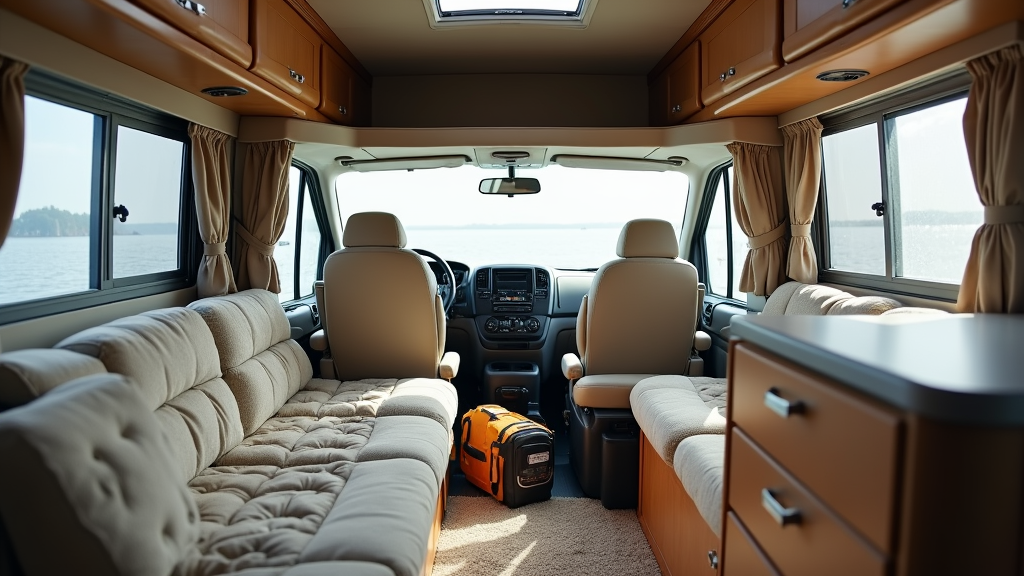
The last step I take is making sure furniture and beds are secure, and that emergency supplies like first aid kits and extra flashlights are in place. I’ve also learned to check for critters; no one wants a mouse stowaway. Performing these checks helps create a safer and more comfortable trip every time.
Key Mechanical and Utility System Inspections
The engine and mechanical systems are the heart of your RV, whether you’re driving a motorhome or towing a trailer. I pop the hood and check all the fluids: oil, transmission, brake, coolant, and windshield washer.
Each one should be within the marked range, and the fluid should look clean. I keep spare bottles just in case, since running low can cause bigger issues out of town. Belts and hoses need a quick squeeze and visual inspection for cracks or leaks.
If your RV has a generator, test that it starts up smoothly and runs without excessive vibration or unusual odors. I like to run it with a small load to confirm it’s working. Check all the battery terminals for corrosion and make sure connections are tight. For lead-acid batteries, checking the water level is also a good idea.
For towables, the tow vehicle’s brake lights and wiring should be double-checked, as well as the hitch system’s bolts and safety chains. These little things can make a huge difference on the road.
The propane system is next. I sniff around fittings and lines for leaks and use a soapy water spray to spot any bubbles. The regulator and shutoff valve get a quick turn to confirm they aren’t stuck. Cylinders should be strapped securely with up-to-date inspection tags. If your stove or heater has a weak flame or smells odd, it might need cleaning or a pro checkup before travel.
Water tanks, fresh, grey, and black, should be filled or emptied as needed. The water pump and dump valves get a cycle through check, which can help spot leaks or stuck parts before you’re way out in the woods. If your RV has solar or inverter systems, give those a test run to ensure batteries are charging and power is flowing. All these system checks help avoid those “wish I’d caught that sooner” moments at the campsite.
Common Problems and Troubleshooting Tips on the Road
Even with careful prep, I’ve run into a few classic RV headaches. Some are quick fixes if you know what to look for. For tire blowouts, I keep an emergency patch kit and a properly inflated spare on hand. Slow leaks sometimes come from a nail or small puncture, so a plug kit can really save the day until I reach a repair shop.
For electrical issues, a simple multimeter helps diagnose dead circuits, blown fuses, or weak batteries. If the fridge cuts out, I check for blown fuses or a tripped breaker. Sometimes, a loose wire at the plug or a dirty connection is to blame. Carrying a few fuses and bulbs is always smart.
Water pump not working? I check for air in the line and whether the filter is clogged. A hard reset on the breaker box sometimes gets things back up and running. If the air conditioner isn’t cooling, I clean or swap the filter and check if the shore power is steady. Sometimes, low voltage from a campground hookup is the real cause.
Odd smells, like propane or burning wires, should never be ignored. I turn off all appliances and track down the smell right away. If something feels too complex or risky to tackle, don’t guess. Calling a nearby mobile RV tech or local pro is worth every penny for safety.
Sticking to this kind of troubleshooting list, I’ve been able to handle most surprises on my own. Prepping for the usual culprits makes a huge difference if you’re far from help or supplies.
Upgrade Ideas and Handy Extras for Smart RVing
Making life on the road better goes beyond basic checks. Over time, I’ve picked up a few handy upgrades and extras that help my trips go more smoothly. I swapped out all my old bulbs for LEDs to save power. Adding a surge protector to my main power cord has protected my gadgets from sketchy campground wiring.
I picked up a tire pressure and temperature monitoring system. It gives me peace of mind, especially when towing long distances. For water safety, I screwed on an inline water filter system to the freshwater hose, and I keep a water pressure regulator connected. Both have saved me from ruined faucets and bad-tasting and unsafe water.
Solar panels are worth considering for extra power, especially if you like boondocking. Portable panels can keep batteries charged up without needing the generator. WiFi boosters and cell signal extenders come in handy if you’re working on the road or want to stay connected in remote spots.
I also keep a basic toolkit in a nearby bin, along with duct tape, zip ties, fuses, bulbs, and a variety of screws. Learning to troubleshoot minor hiccups with these tools helps keep things running smoothly and limits roadside downtime. If you’re taking kids on your trip, adding a few compact board games to your supplies is a great way to pass rainy nights indoors, too.
Quick dry mats, extra vent fans, and blackout curtains are all extras I added later to make my RV more comfortable. These upgrades and little conveniences might seem simple, but trust me, they can make long hauls or rainy days in the RV way more enjoyable.
Frequently Asked Questions: RV Inspection Basics
How often should I inspect my RV?
I always do a full check before each big trip. If I’m parked for a while, I still take a quick look once a month, especially if the weather has switched up a lot.
What’s the number one thing to check before leaving?
Tires are top of my list, because a bad blowout can end a trip fast. I also check for roof leaks because water damage can sneak up on you quickly.
Do I need to get my RV professionally inspected every year?
I like to do my own checks often, but bringing in a pro for an annual inspection is worth it, especially for things like propane or serious electrical systems. Professionals can spot things I might miss. Since I helped launch the NRVIA, I can handle professional inspections on my own. Read till the end, and I will show you how you can do the same for free.
Staying Road Ready: Why Inspections Matter
Taking the time to inspect your RV isn’t just about preventing breakdowns. It helps keep everyone safer, saves money on repairs, and gives you peace of mind to fully enjoy your adventure.
After a handful of breakdowns in my early years, I learned it’s way better to check things twice and relax on the open road. Packing your checklist and reviewing it before each trip is always worth the extra time. Nothing beats the feeling of being ready to roll and confident in your RV.
If you’re looking for more on RV living, check out additional resources here. Happy travels and safe inspecting!
I love hearing from fellow RVers, so share your tips and experiences in the comments, or check out more articles across the site. Wishing you smooth highways and beautiful campground sunsets!
Looking for more RV ownership ideas, or have questions about maintaining your RV? Head over to Your Full Time RV Living for extra tips, guides, and answers.
Pam and I are always happy to share what works for us. We hope your RV adventures are smooth and full of memories!
Drop any questions or concerns about your DIY RV inspection in the comments.
_______________________________________________________
If you want a complete and detailed RV inspection checklist developed by me for the NRVIA, please visit this article, where you can download it for FREE. My RV inspection checklist is very detailed and is what professionals use. If you need help understanding it, there is a source for that, too.
To learn more about me, click here.






Recent Comments