
RV workstation cooling starts with measurement: log your CPU and GPU temperatures and clock speeds during a heavy task, and confirm the clocks drop as the temperature climbs. Then fix intake air and placement, schedule heavy jobs for cooler hours, and rerun the same test after each change to see what helped.
How do you know your RV workstation is throttling?
You know it is throttling when clock speeds fall during a sustained load while temperatures sit at or near the chip’s limit. Slow exports or builds on a warm afternoon feel like throttling, but other causes (background updates, a full disk, a weak connection to a cloud tool) look the same, so confirm it with data.
Run a monitoring tool while you do real work. HWiNFO or HWMonitor on Windows works, and sensors and turbostat do the same job on Linux. Log these values:
- CPU package temperature
- CPU clock speed (average across cores)
- GPU temperature and clock speed, if your work uses the GPU
- Fan speed, if the tool reports it
- Power draw or power limit status, if available
Then start a task that keeps the machine busy for at least ten minutes, such as a video export, a code build, or a batch of image edits. Watch what happens as the temperature rises. If the clock speed starts high and then settles at a lower number once the temperature plateaus, the chip is cutting speed to stay under its thermal limit. Many monitoring tools also show a thermal throttling flag, which removes the guesswork.
Look up the maximum operating temperature for your processor on the manufacturer’s spec page, so you know what number to watch for. Also write down the cabin temperature when you start each run. That number is the control variable for everything that follows.
Why does an RV cabin make throttling worse than a home office?
A cabin makes throttling worse because the air entering your machine is hotter and there is less room for that heat to go. A chip sheds heat by passing it to air, and the bigger the gap between chip temperature and air temperature, the more heat each fan rotation carries away. When intake air is already warm, the gap shrinks, the fans speed up, and eventually the chip has to slow down.
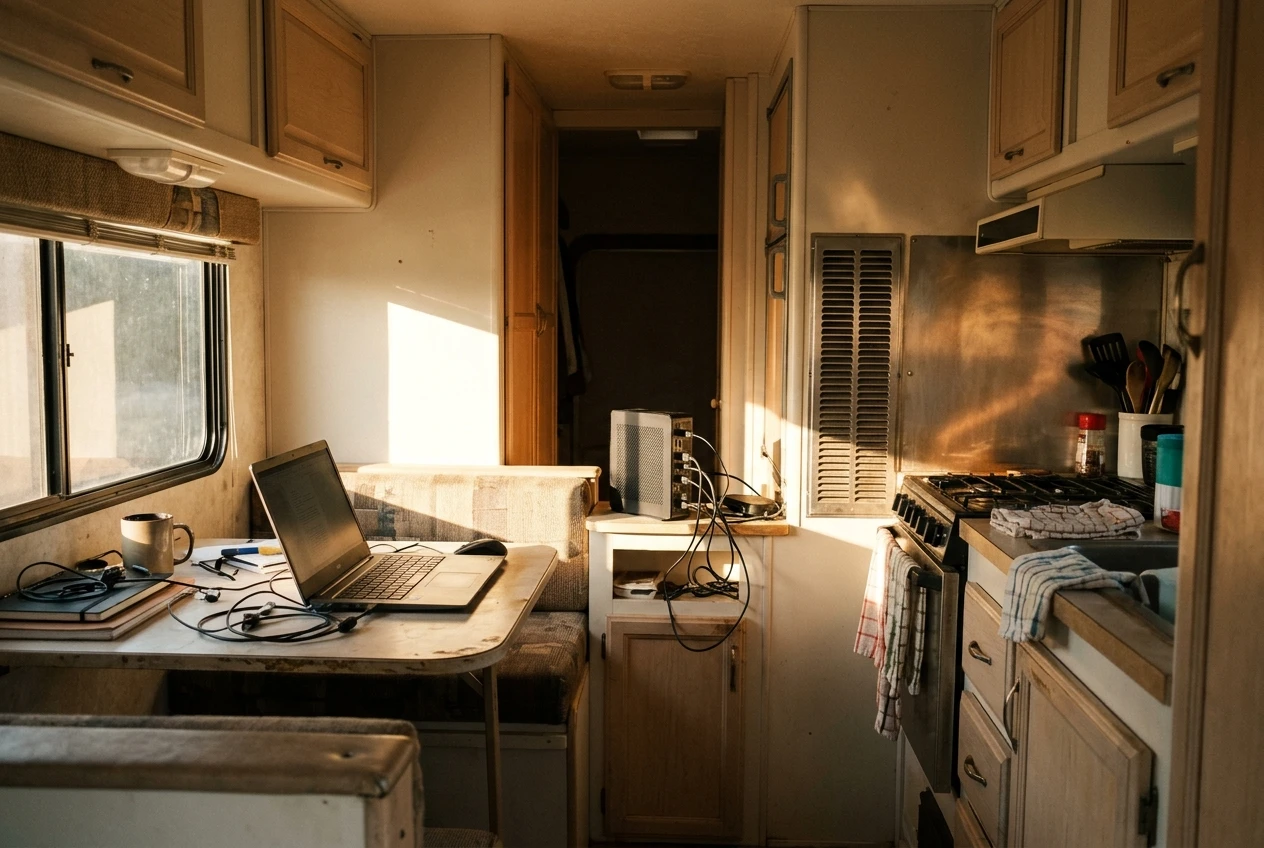
Several things in an RV raise intake air temperature:
- Roof and walls that absorb sun and radiate heat inside
- Windows that let direct sun land on the desk
- Cooking, the refrigerator, the water heater, and the people in the space
- An inverter or converter that gives off its own heat
- A small air volume, so exhaust from your machine measurably warms the air around it
Work setups in RVs also tend to improvise. A laptop on a dinette cushion, a mini PC tucked in a cabinet, or a desktop wedged against a wall each restrict airflow in ways a home office desk does not. The cabin and the placement problem stack on top of each other.
Where should the workstation sit to get cool intake air?
Place the workstation where the coolest air in the rig reaches its intake vents, and keep its exhaust from blowing back into them. Cool air is usually low, shaded, and away from heat sources, so start by measuring instead of assuming.
Put a cheap thermometer at the spot where your machine draws air in, and compare it with other candidate spots at the same time of day. Differences of several degrees between the dinette and a shaded corner are common in a small space. Use what you find, and apply these placement rules:
- Keep it out of direct sun. A window that lights the desk at 2 p.m. heats the case and the surface it sits on.
- Move it away from heat sources. Oven, refrigerator vents, water heater, inverter, and converter all warm the air nearby.
- Leave clearance around the vents. Check your machine’s documentation or look at where the vents are, and keep those areas open. A few inches of space behind a mini PC or desktop matters.
- Point exhaust away from intake. If a mini PC pushes hot air toward a wall and that air curls back, it is feeding itself warm air.
- Stay off soft surfaces. Cushions, blankets, and bedding cover the intake vents on the underside of many laptops.
If the best airflow spot conflicts with your ergonomics or your camera background, settle the cooling question first. You can adjust the rest of the desk around a position that works.
Which airflow changes help most in a small space?
The most effective airflow changes are the ones that bring cooler air to the intake and carry exhaust out of the work area. Cheap changes come first, and each one should be tested.
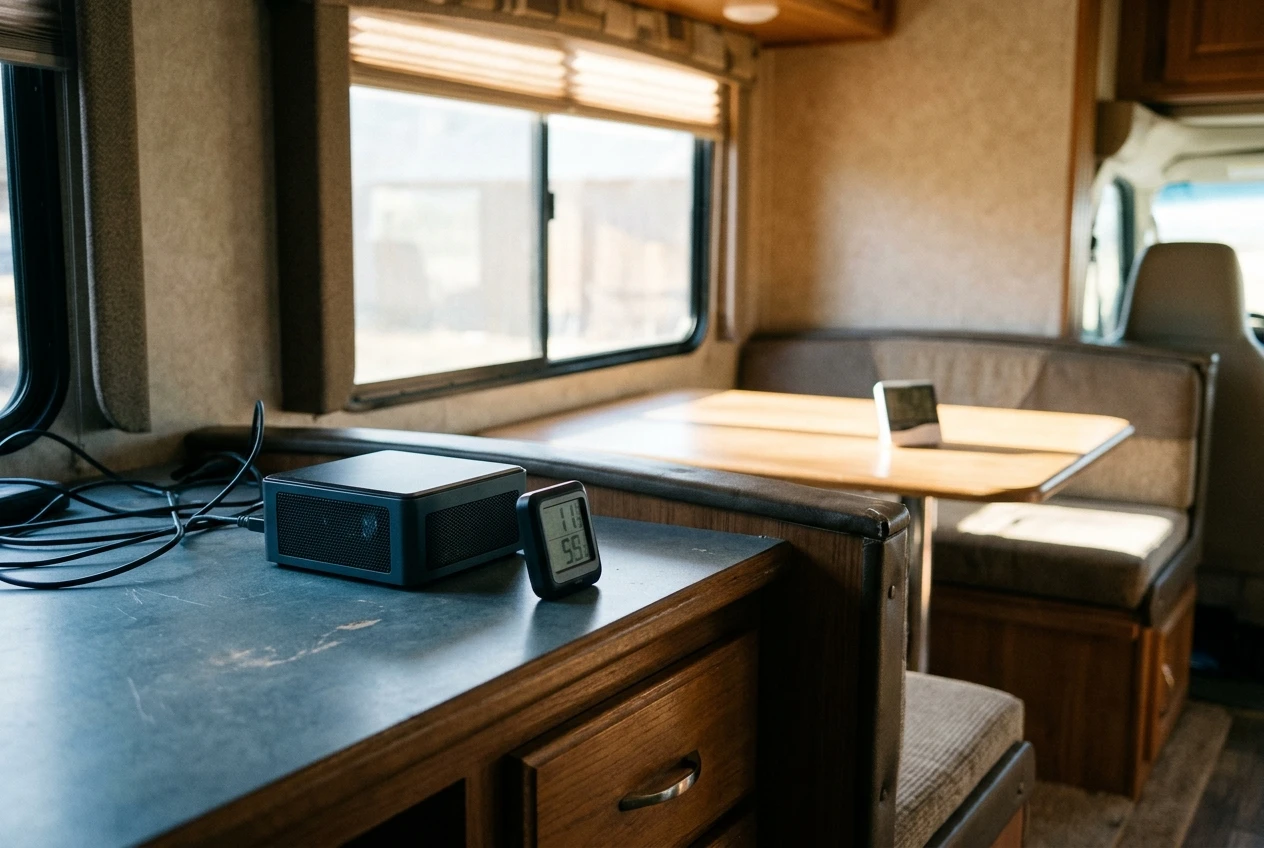
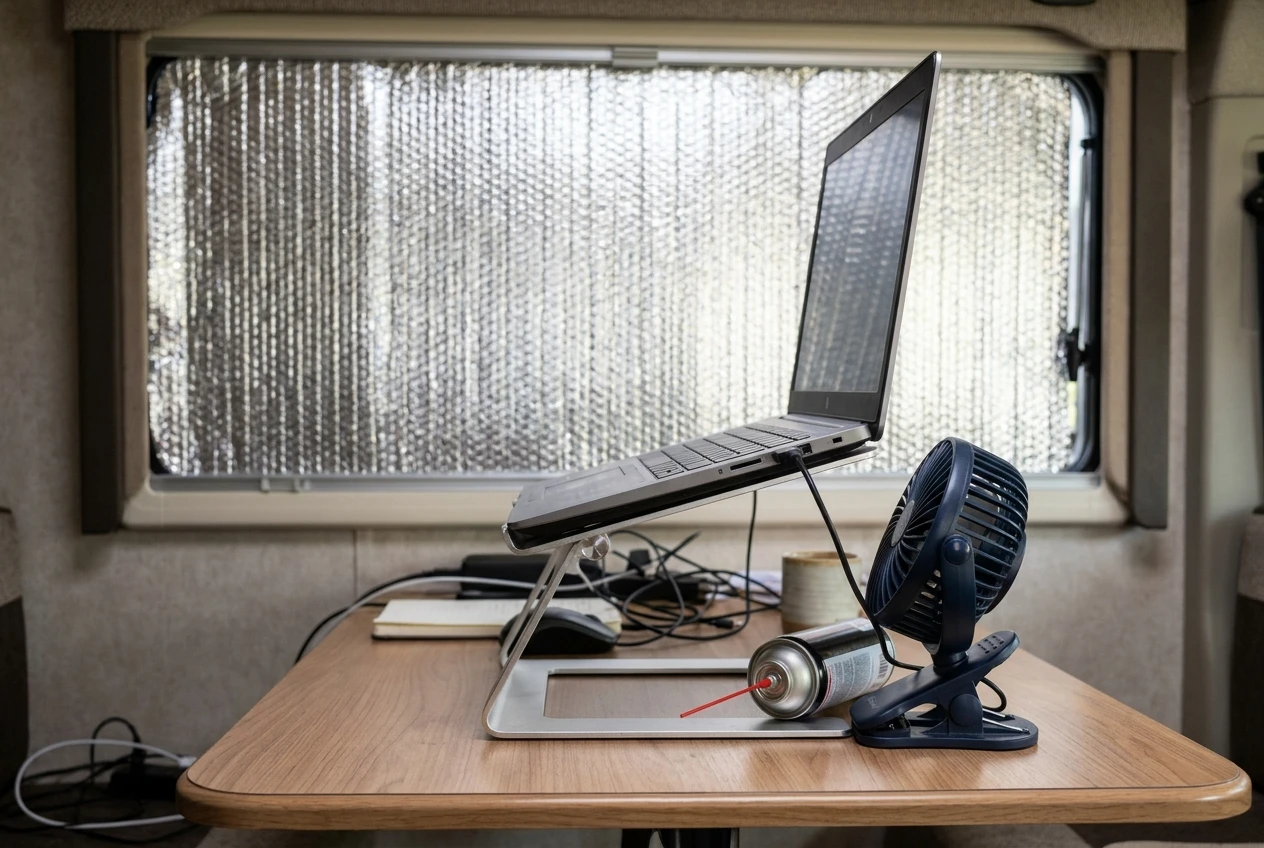
Lift the machine. A stand or a rigid riser lets a laptop draw from underneath. Mini PCs benefit from sitting on feet or a small rack with open sides.
Clean the vents. Road dust, pet hair, and campground grit collect in intake grilles and on heatsink fins. Compressed air, used in short bursts with the machine off, restores flow. If the machine has been in service for years, a cleaning can produce a bigger drop than any purchase.
Move air across the desk. A small USB or 12V fan aimed so it feeds cool air toward the intake, not at the exhaust, can lower intake temperature. Fans that only stir warm air in a closed cabin do little.
Ventilate the cabin. If your RV has a roof vent fan, pair it with an open window or vent on the opposite side so it pulls cooler outside air through. Running the air conditioner before a heavy session lowers the starting temperature, which gives you more time before the chip reaches its limit.
Shade the windows. Reflective covers or shades on sun-facing windows reduce how much heat the cabin collects during the day.
Adjust the power settings. If throttling still appears, lowering the processor’s maximum boost or power limit in your operating system’s power options can trade a little peak speed for steadier speed. A machine that holds a slightly lower clock for an hour often finishes sooner than one that spikes and then drops further. Treat this as a tuning option to test with your own log, since the effect depends on the hardware.
Which cooling fixes are worth buying, and which are not?
A fix is worth buying when it improves intake air or airflow in a measurable way and costs little compared with the work the machine does. Anything that promises dramatic results without changing where the heat goes is worth skipping until your test log shows a reason.
Fix | Worth it? | Why |
|---|---|---|
Thermometer for intake air | Yes | It tells you which placement and ventilation changes work |
Laptop stand with open airflow | Yes | Frees underside intake vents |
Small USB or 12V desk fan | Usually | Moves cooler air toward the intake; test the angle |
Reflective window covers | Yes | Reduces heat entering the cabin |
Compressed air for dust | Yes | Restores airflow through grilles and fins |
Maybe | Helps some designs and does little for others; compare logs before keeping it. This is the one I use, and it works well! | |
Stick-on heatsinks for the CPU | No | Heat on a laptop CPU is moved by the internal cooler, not the lid |
Liquid cooling kits for a mini PC or laptop | No | Rarely compatible, and installation risks damage |
Cooling accessories with no airflow change | No | They add cost without lowering intake temperature |
Desktop owners have more options. Better case fans, a cleaner cable layout, and a tuned fan curve can all improve airflow, and the same log-and-compare method tells you whether the change mattered. If your machine is several years old and its temperatures climbed over time, fresh thermal paste can restore performance, but check whether opening the case affects your warranty first.
How do you schedule heavy work around the hottest hours?
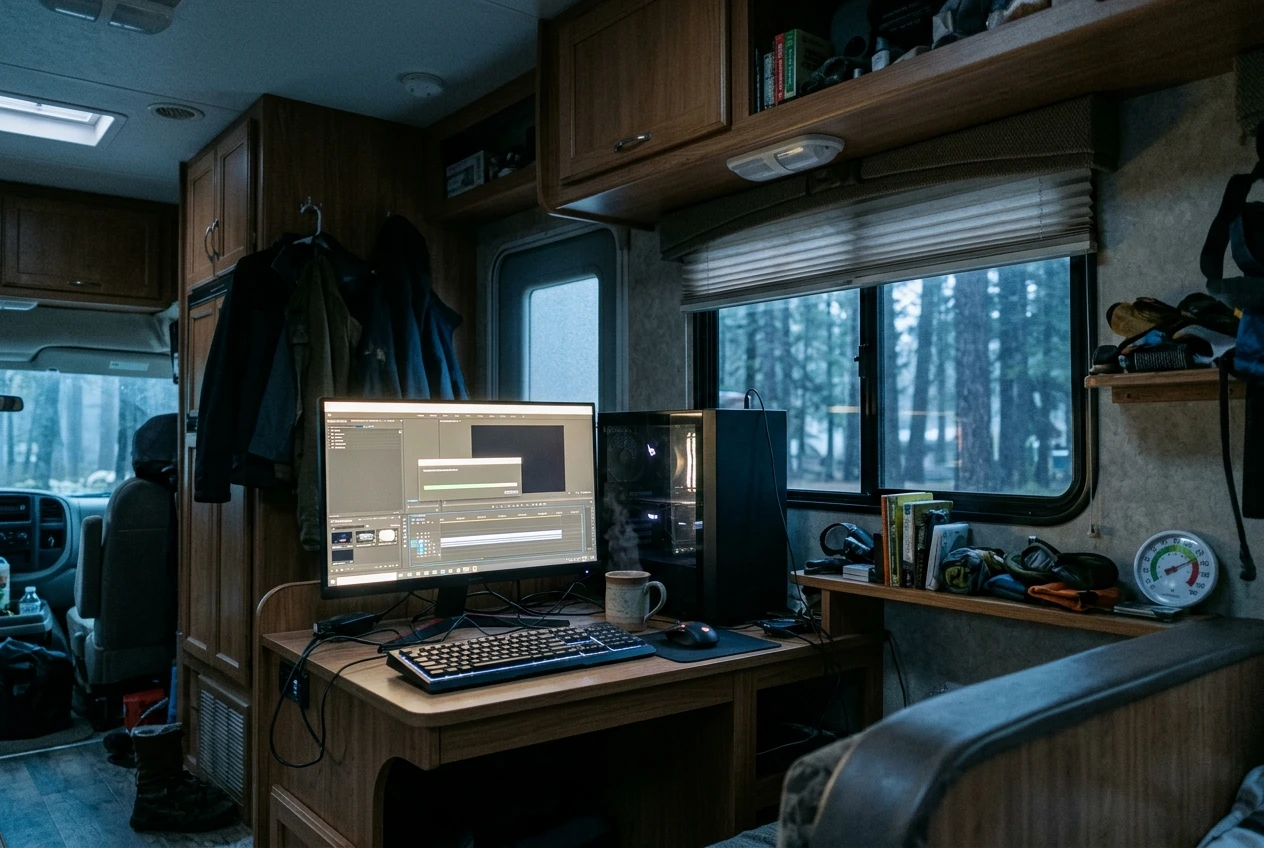
Schedule the heaviest tasks for the coolest hours of the day, and keep light tasks for the hottest ones. Your own logs show where the line falls: note the cabin temperature at which your machine starts throttling on your typical heavy task, and use that as the cutoff.
Sort your work into two groups:
- Heavy and sustained: video exports, 3D renders, large builds, data processing, batch image work, local AI jobs, and anything that keeps the CPU or GPU near full load for many minutes
- Light or bursty: email, writing, calls, research, spreadsheets, and browser work
Then plan around the cabin’s daily pattern. Early morning and evening are usually the coolest hours, though your rig and your location may differ, so check against your thermometer. Start heavy jobs when the cabin is below your threshold, and move calls and admin to the warm middle of the day.
A few habits make this easier:
- Queue long exports to run overnight or before you wake up, if your setup and power allow it.
- Split a big job into smaller batches with pauses, so the machine cools between runs.
- Cool the cabin before you begin, not after throttling starts.
- Check the log’s clock speed at the ten-minute mark of a heavy task. If it has dropped, pause or move the job.
If a client deadline falls on a hot day, the schedule is the part you control. Starting the heavy export at dawn beats trying to rescue a throttled one at 3 p.m.
How do you retest after each change?
Retest by repeating the same workload under the same conditions after every single change, and comparing the logs. If you change three things at once, you will not know which one worked.
Use this routine:
- Pick a standard test. Choose a real task you can repeat, like exporting the same project or running the same build, lasting ten to fifteen minutes.
- Record the baseline. Note the cabin temperature, the intake air temperature, and the starting machine temperature, then run the test and save the log.
- Change one thing. Move the machine, add a fan, shade a window, or clean the vents.
- Rerun the same test. Start from similar conditions, meaning a similar cabin temperature and a machine that has cooled to idle.
- Compare the results. Look at peak and average temperature, average clock speed, and total time to finish. Finishing time is the number that matters for paid work.
- Keep or drop the change. If the clock speed holds higher or the job finishes sooner, keep it. If nothing changed, undo it and spend nothing more.
Repeat the test when the weather shifts or you park in a new spot, since a fix that works in a shaded site might not be enough in full sun. Keep a simple notes file with the date, cabin temperature, change made, and result. After a few rounds, you will have a record of which placements and settings suit your rig, and a cabin temperature at which heavy work should wait.
Thanks for stopping by! Share any thoughts you have about this topic in the comments.







Recent Comments