
Most RV dinettes were designed for eating, not for eight hours of typing. Your RV office ergonomics are important for your success living the full time RV life and working on the road!
The table height, the seat depth, and the bench angle are all set for a 30-minute meal. Put a laptop on that table and keep working for a full day, and your body ends up in a posture the furniture forces on it.
RV office ergonomics comes down to three adjustable heights, and a few inexpensive changes can fix most of what is wrong with a dinette. This guide treats the rig’s fixed furniture as constraints and works around them, with fixes that stow quickly on driving days.
Why your dinette is the worst desk in the rig, and what it does to your body
A dinette creates problems in a predictable order. The bench cushion is usually soft and deep, so you sink into it and slide forward, and your lower back loses its support. The table is often a fixed height on a pedestal leg or wall mount, and you cannot change it. The laptop sits flat on that table, which puts the screen well below eye level.
Your body compensates. Your head tips forward and down to read the screen, your shoulders round to reach the keyboard, and your lower back curls into the soft seat. Many dinettes also have a pedestal or table frame that stops you from sitting square to the screen, so you end up twisted to one side for hours.
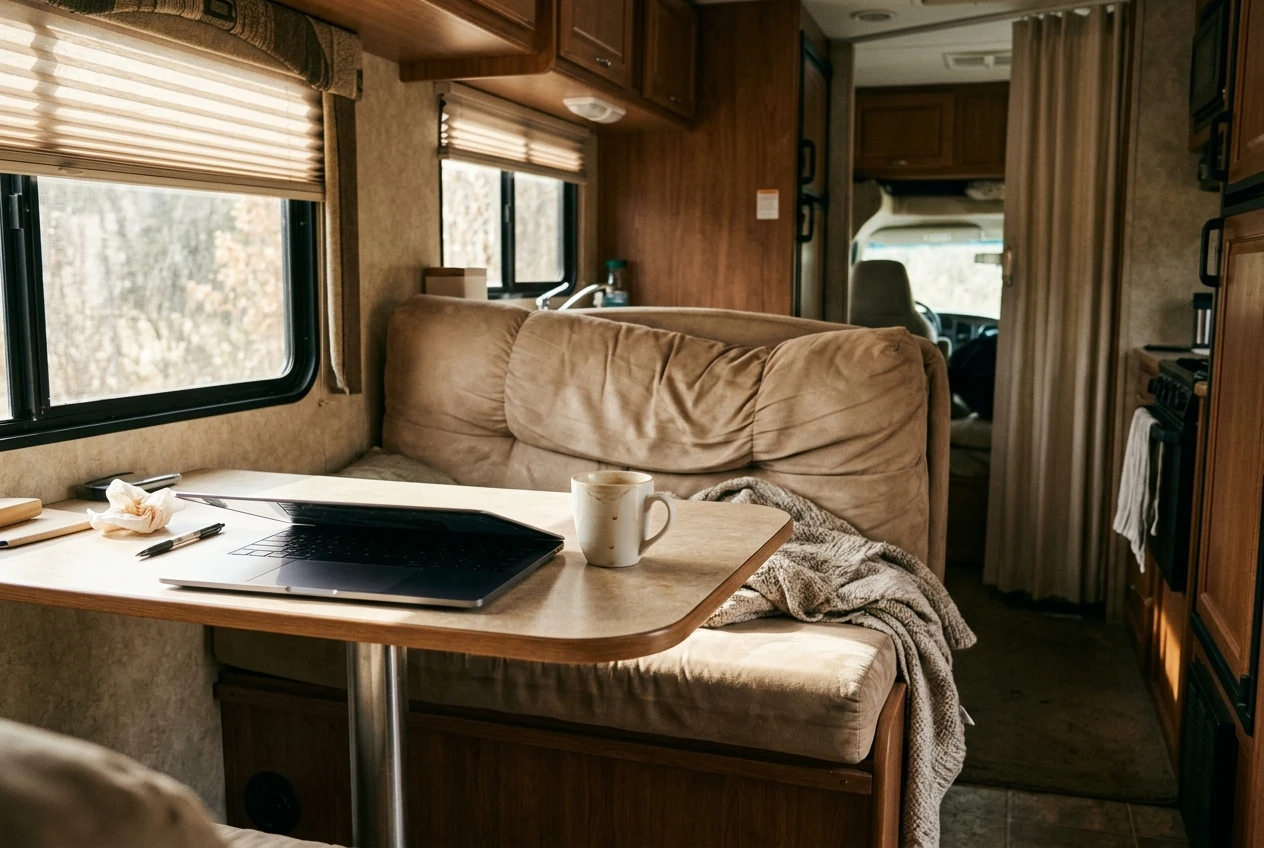
Common results are a stiff neck, tight shoulders, a sore lower back, and tired wrists. Those complaints are common among people who work at poorly set up desks, and they tend to build over days rather than show up at once. If you have numbness, tingling, or pain that does not ease with rest, see a clinician rather than trying to fix it with gear.
The good news is that every one of these problems traces back to a measurable dimension, so you can fix them one at a time.
Measure first: the three heights that decide your posture
Before you buy anything, grab a tape measure and a notepad. Three numbers determine nearly everything.
- Seat height. Sit on your cushion the way you normally do, so it compresses, and measure from the floor to the top of the cushion.
- Surface height. Measure from the floor to the top of the table or whatever surface holds your keyboard.
- Screen height. Sit upright and measure from the floor to the top edge of your laptop screen, then compare it to your eye level.
The general targets are easy to remember. Your feet rest flat on the floor or on a footrest, your knees are bent at roughly a right angle, and your elbows sit at roughly a right angle with your forearms level over the keyboard. The top of the screen should be at or slightly below eye level, about an arm’s length away.
Now compare the numbers. Sit with your arms relaxed at your sides and measure from the floor to your elbow. If your table top is higher than that, you have two options: raise your seat, which then usually calls for a footrest, or lower your keyboard. If the table is lower than your elbow, raise the keyboard and screen on a riser.
Write the gaps down. Each section below fixes one of them.
Fixing the seat: cushions, lumbar support and swapping the dinette bench
The seat is the cheapest place to start, because most fixes are a cushion.
A firm cushion on top of the soft bench cushion raises your seat height and stops you sinking. High-density foam cut to the bench footprint works, and so does a firm seat pad with a flat base. A wedge cushion tilts your pelvis slightly forward, which some people find helps them sit upright.
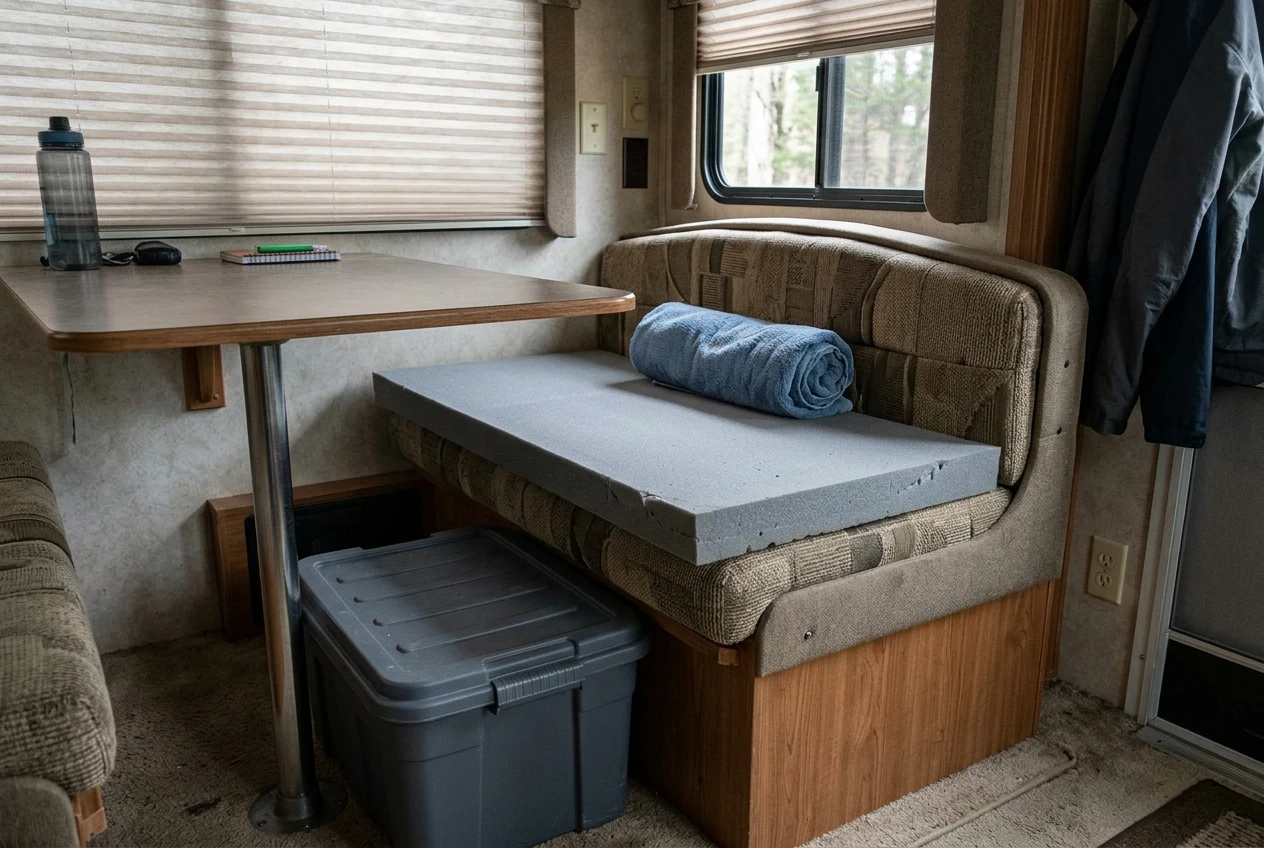
For lumbar support, test with a rolled towel placed in the curve of your lower back before you buy anything. If it helps, a dedicated lumbar roll or a strap-on support will do the same job and stows in a drawer. Dinette backrests are often upright and flat, so a roll fills the gap between your spine and the backrest.
A footrest solves the problem when you raise your seat. A sturdy storage bin, a folding footstool, or a low box under the table all work, as long as your feet rest fully on it and it does not slide around.
If the bench is the core problem, replace one side with a freestanding chair. A chair lets you sit square to the table and adjust your position, and it removes the twist caused by the bench layout. A folding chair with a proper backrest is the simplest option. A compact adjustable chair is better for long days, but it must be strapped or folded on travel days, because a rolling chair loose in a moving rig is a hazard.
Check before removing or modifying any bench. Many dinettes hide storage, hold tanks or wiring underneath, and some serve as travel seating with seat belts. Do not alter anything that is structural or used for passengers while driving.
Raising the screen: laptop stands, external monitors and keyboard setups that survive travel days
A laptop has its screen and keyboard attached to each other, so you cannot get both at the right height. The fix is to separate them. Put the laptop on a stand so the screen reaches eye level, and type on a separate keyboard with a mouse or trackpad at elbow height.
Test the idea for free first. Stack books or a sturdy box under the laptop until the top of the screen sits at eye level, then plug in a keyboard. If that setup feels better after a day, buy something that folds.
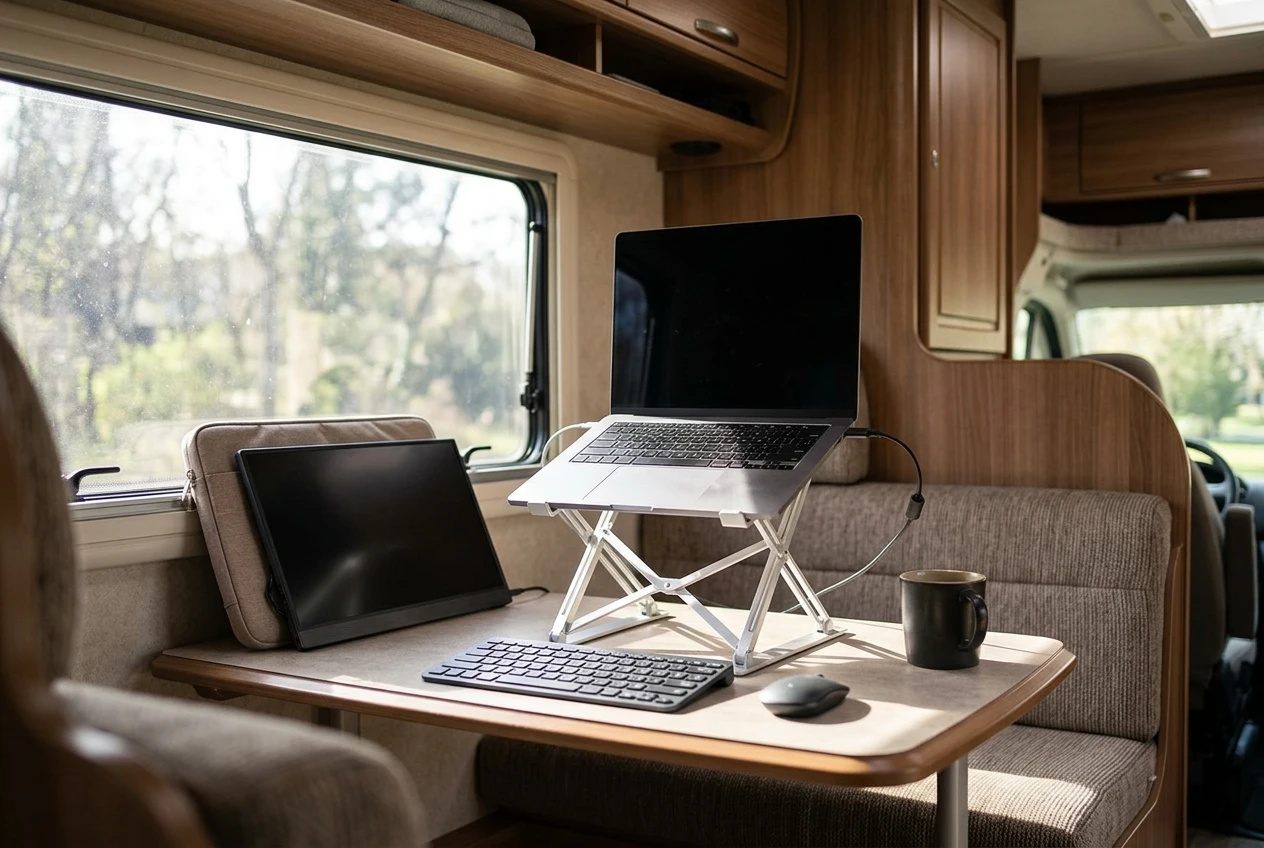
Options that stow well:
- Folding laptop stands. Many fold nearly flat and fit between the laptop and its case.
- Compact wireless keyboard and mouse. They pack into a sleeve or pouch and use little space on a small table.
- Portable USB-C monitors. These are thin and light, and they slide into a padded sleeve for travel. They draw power, so factor that in if you work on batteries.
- Full-size monitors on a clamp arm. These give the best screen position but need a table edge that suits the clamp, and the monitor must come off the arm and be stored padded on driving days.
Whatever you choose, leave room for your forearms. A raised screen and a keyboard at the table edge should let your elbows stay near your sides with your shoulders relaxed.
Desk surfaces that fit: fold-down tables, swing-arm mounts and converting a slide or bunk area
If the dinette table height cannot be changed, a different surface may suit you better. The aim is a flat top at roughly elbow height that disappears when you drive.
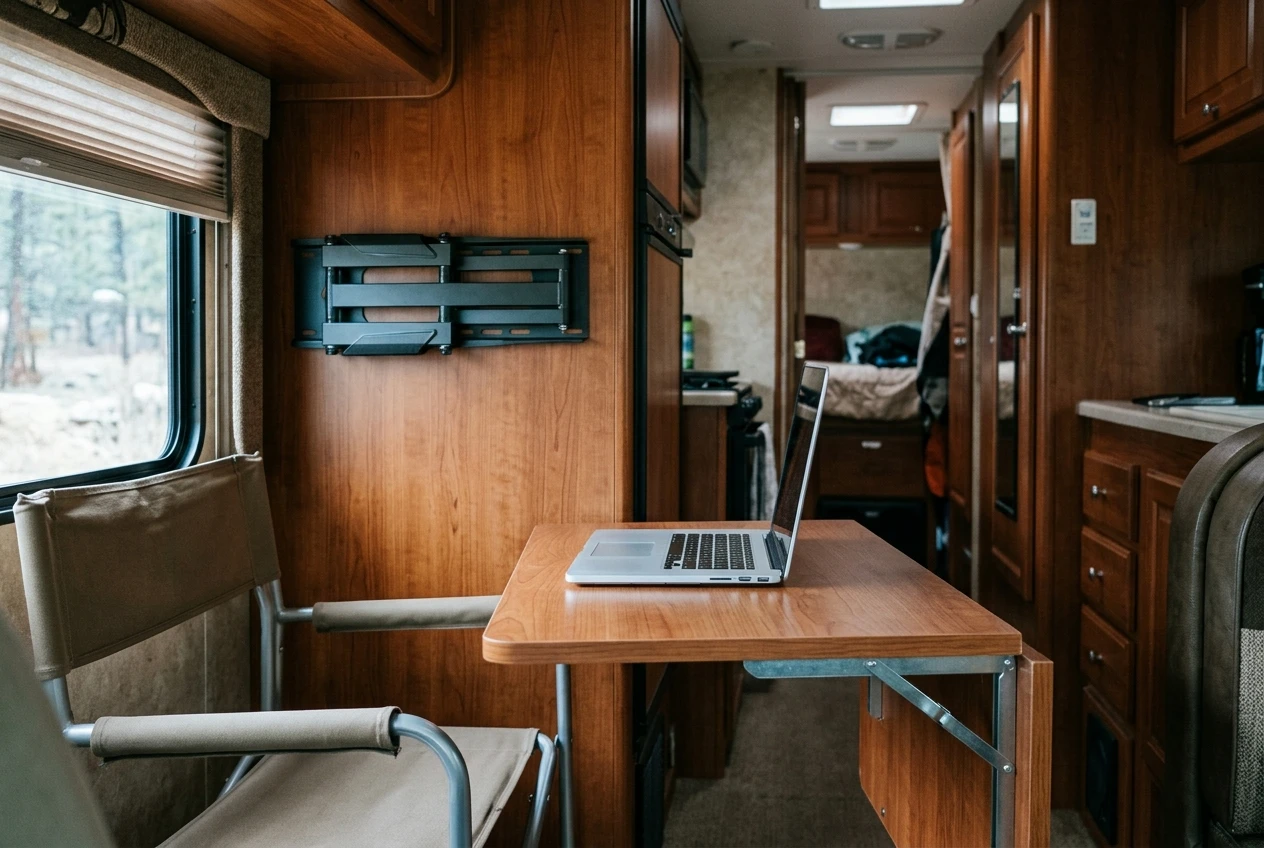
Fold-down tables. A drop-leaf or fold-down table mounted to a wall folds flat against it when not in use. It can sit exactly where you want it, at the right height, away from the dinette.
Swing-arm mounts. An articulating table arm attaches to a wall, cabinet face or pedestal and swings a work surface into position, then folds away. Some can tilt or adjust height, which solves the fixed-table problem.
Adjustable pedestal legs. Some replacement dinette pedestals are height-adjustable. If your table is on a pedestal, check whether an adjustable one fits your mounting plate and floor.
Slide-out or bunk conversions. A bunk or a corner of a slide can hold a board resting on brackets, with a chair or stool in front. This works best when you give it a permanent spot so you do not rebuild it every morning.
When mounting anything to an RV wall, find the framing behind the panel. RV walls are thin, and a screw into paneling alone will pull out. Also check for wiring and plumbing before you drill. If you are unsure, use a mount that clamps or rests on existing structure instead.
Working from a couch or bed for a full day is the hardest to fix. If it is your only option, use a firm lap desk, put a cushion behind your back, keep the screen raised, and set a firm limit on how long you stay there.
Sitting, standing, and moving in a few square feet
The best posture is one you change. Even a good setup gets uncomfortable if you hold it for hours, so plan movement into the day.
Your kitchen counter may work as a standing desk. Counter height is often higher than a dinette table, so check that your elbows can sit at a right angle with the keyboard on top and the laptop raised on a stand. Standing all day is no better than sitting all day, so alternate.
A few habits that cost nothing:
- Set a timer and stand up every 30 minutes or so, even for a minute.
- Take calls on your feet or walking outside when you do not need the screen.
- Every so often, look at something far away to rest your eyes.
- Roll your shoulders and stretch your chest and hips between tasks.
- Step outside between meetings rather than moving from the dinette to the couch.
Movement breaks are easier on a campsite than in an apartment, since a short walk around the loop takes a few minutes. For a broader look at staying well on the road, see the guide on health and wellness strategies for RV digital nomads.
A one-hour setup order and a stow-and-secure checklist for driving days
You can fix most of this in a single hour if you work in the right order. Seat first, because it sets the heights for everything else.
- Minutes 0 to 10: Take the three measurements and write them down.
- Minutes 10 to 25: Fix the seat. Add the firm cushion, lumbar support, and footrest, and recheck your elbow height.
- Minutes 25 to 40: Raise the screen on a stand or stack, and connect the separate keyboard and mouse.
- Minutes 40 to 50: Adjust the surface. Raise or lower the keyboard to elbow height, and clear space for your forearms.
- Minutes 50 to 60: Work normally for ten minutes and note any strain in your neck, shoulders, back, or wrists. Adjust one thing at a time.
Expect to keep tweaking over the first week, and change one variable at a time so you know what helped. For the broader office layout, including power and connectivity, the guide on setting up your first mobile office in an RV covers the rest.
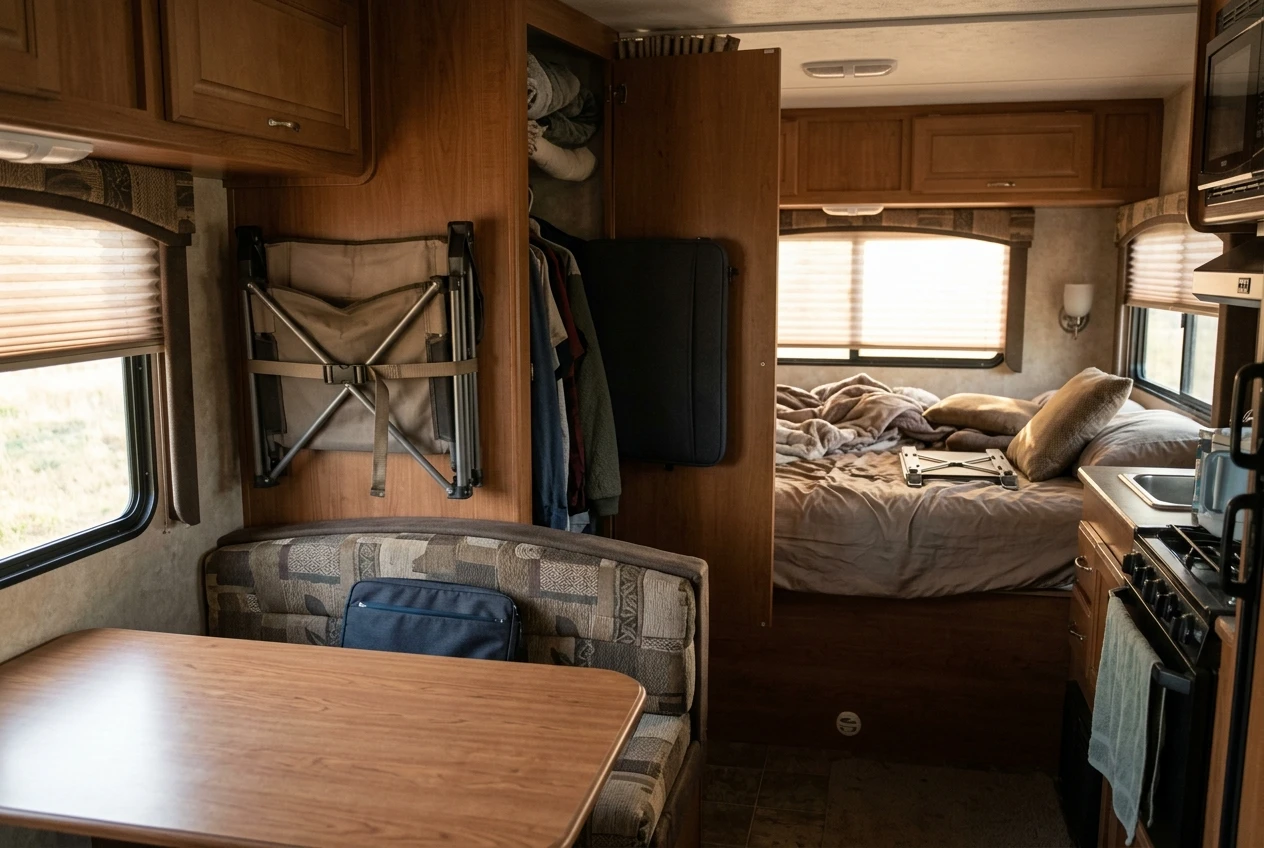
Stow-and-secure checklist for driving days
- Fold the laptop stand flat and store it with the laptop.
- Remove monitors from clamp arms and store them padded, upright or flat in a secure spot.
- Pack the keyboard, mouse, and cables in a pouch and put it in a closed drawer.
- Lock or latch swing-arm mounts and fold-down table leaves in the stowed position.
- Strap or fold any freestanding chair, and never leave a rolling chair loose.
- Move loose cushions, lumbar rolls, and footrests to the floor of a closet or onto the bed.
- Put heavy items low, and leave nothing sitting on the table.
- Take a photo of your setup before you tear it down so you can rebuild it quickly at the next stop.
I hope this article will be helpful to you as you seek comfort while working out of your RV home!







Recent Comments