
A Guide to Satellite Internet Options for RVers
Staying connected while traveling in an RV can be a real head-scratcher. Satellite internet has opened new doors for RVers who want reliable internet pretty much anywhere. Maybe you want to stream movies in the desert, check email by the lake, or run your business from the mountains.
Picking the right satellite internet setup and knowing what to expect can save a lot of headaches down the road. I’m breaking it all down for you here so you get online with the least hassle possible.
Why RVers Are Turning to Satellite Internet
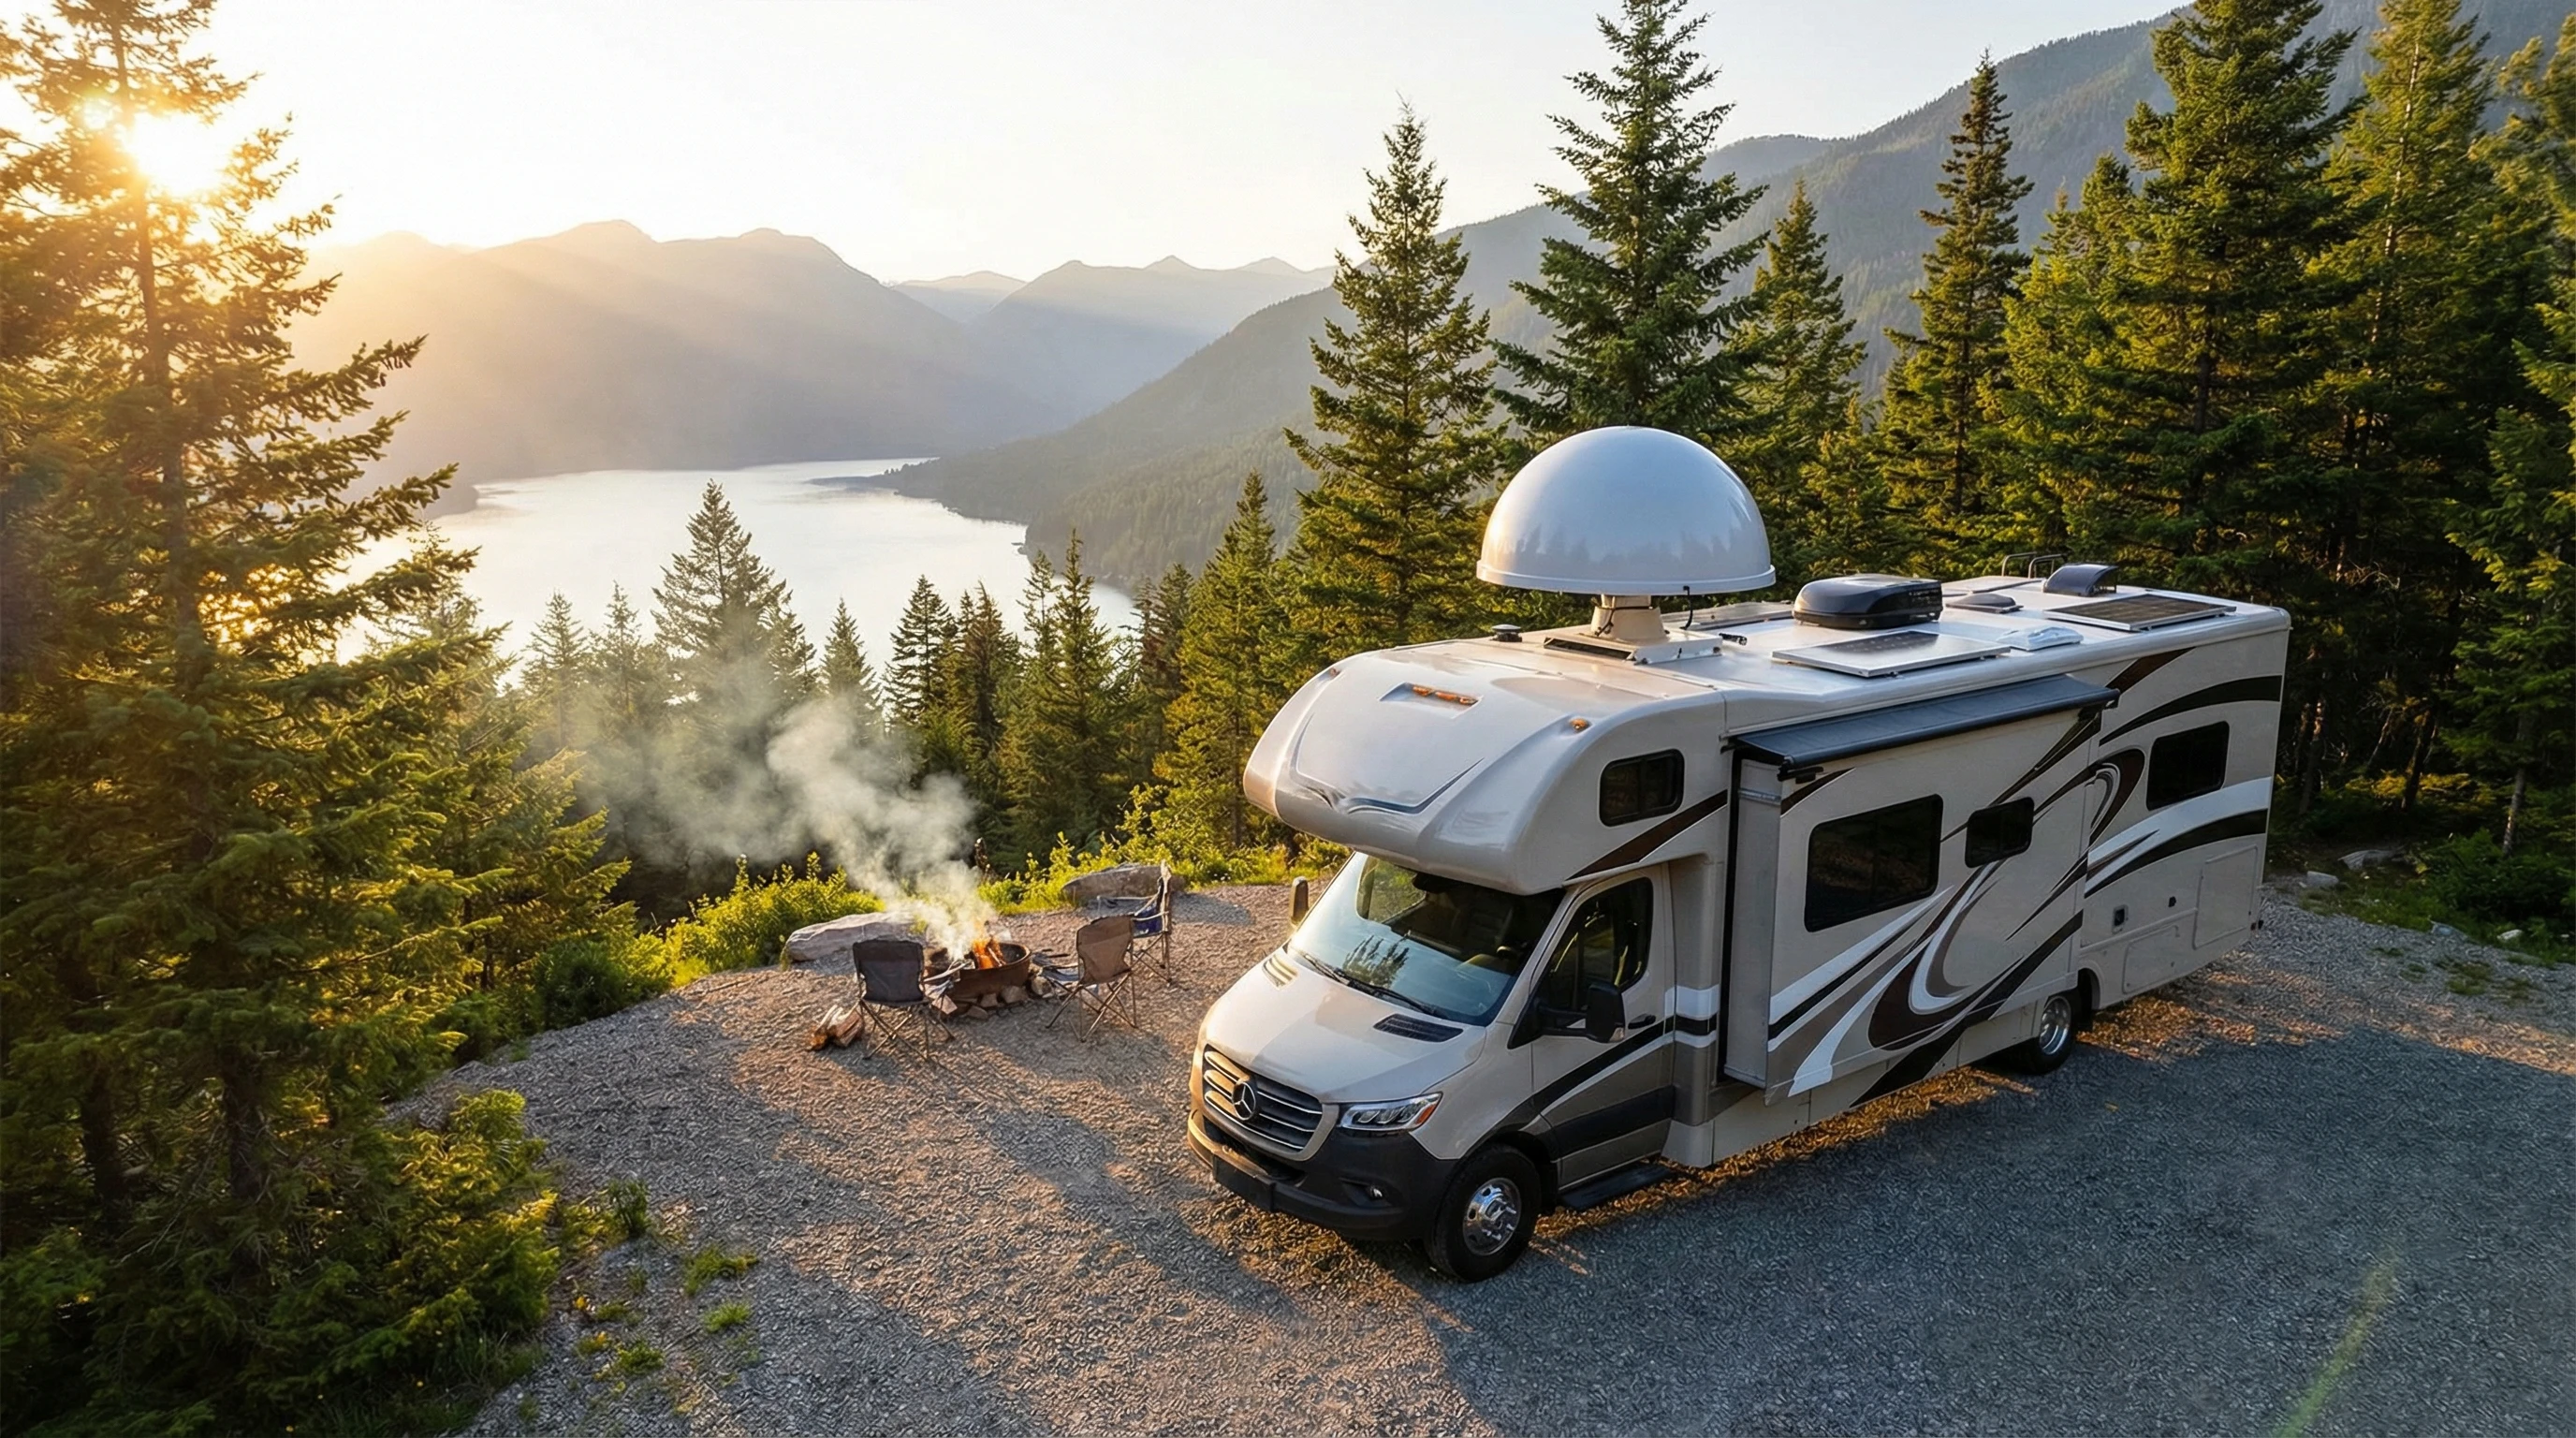
The flexibility of RV life means you never know just how far off the beaten path you’ll end up. Cell service can drop out quickly once you leave the main highways. Satellite internet fills that gap because it beams data straight down to you from space. Unlike public WiFi or cell-based options, satellite internet covers way more places, and you don’t need to park near civilization to use it.
Over the past few years, companies like Starlink and HughesNet have been pushing the tech forward. The user base for mobile satellite internet in RVs is growing, with big jumps since the pandemic made remote work more popular. Traveling families, digital nomads, and weekend explorers all want to keep in touch with friends, stream entertainment, or handle work on the go. That’s where satellite really shines.
Of course, the extra gear and setup are different from sticking with a phone hotspot. Satellite does cost more upfront. There are ongoing fees too, but for true mobility and independence, a lot of RVers agree it pays off. It gives you the freedom to roam and still get work done or relax with your favorite shows, all on your own terms. Plus, being able to connect from nearly any setting—whether you’re in a deep forest or a wide-open plain—means satellite internet can give a real boost to your travel experience.
The Basics: How Satellite Internet Works On The Road
Satellite internet uses antennas and satellites in orbit to transfer data. You point a dish or antenna at the sky, get a signal from a satellite overhead, and that’s how you get your internet. For RVers, the system is designed to be portable, but it does take some setup.
There are two types of satellite networks you’ll hear about: geostationary and low-earth orbit (LEO) satellites. HughesNet and Viasat use geostationary satellites, which orbit high above the equator and seem to stay in one spot in the sky. Starlink is the biggest name in LEO satellites, which orbit much closer to the Earth and move across the sky. LEO systems offer faster speeds and less lag, but you need a clear view of more sky to stay connected. Geostationary systems have a higher latency, but the equipment is pretty simple to point and forget.
Internet speed and latency (that feeling of delay when you click a page) should be on your radar. Older satellite systems often feel laggy and aren’t great for video calls or gaming. The new generation, like Starlink, is much zippier and makes streaming, video meetings, and even remote work feel a lot smoother.
In recent years, the technology has become more accessible and easy to set up, which means even first-time users usually find it straightforward. While satellite gear may seem intimidating at first, most options come with detailed instructions to help you get connected fast.
Satellite Internet Options for RVers: Top Picks to Consider
There are a few main options for getting satellite internet on your RV adventures. Each one comes with pros and cons, so your style of travel and how much you want to spend will guide your choice.
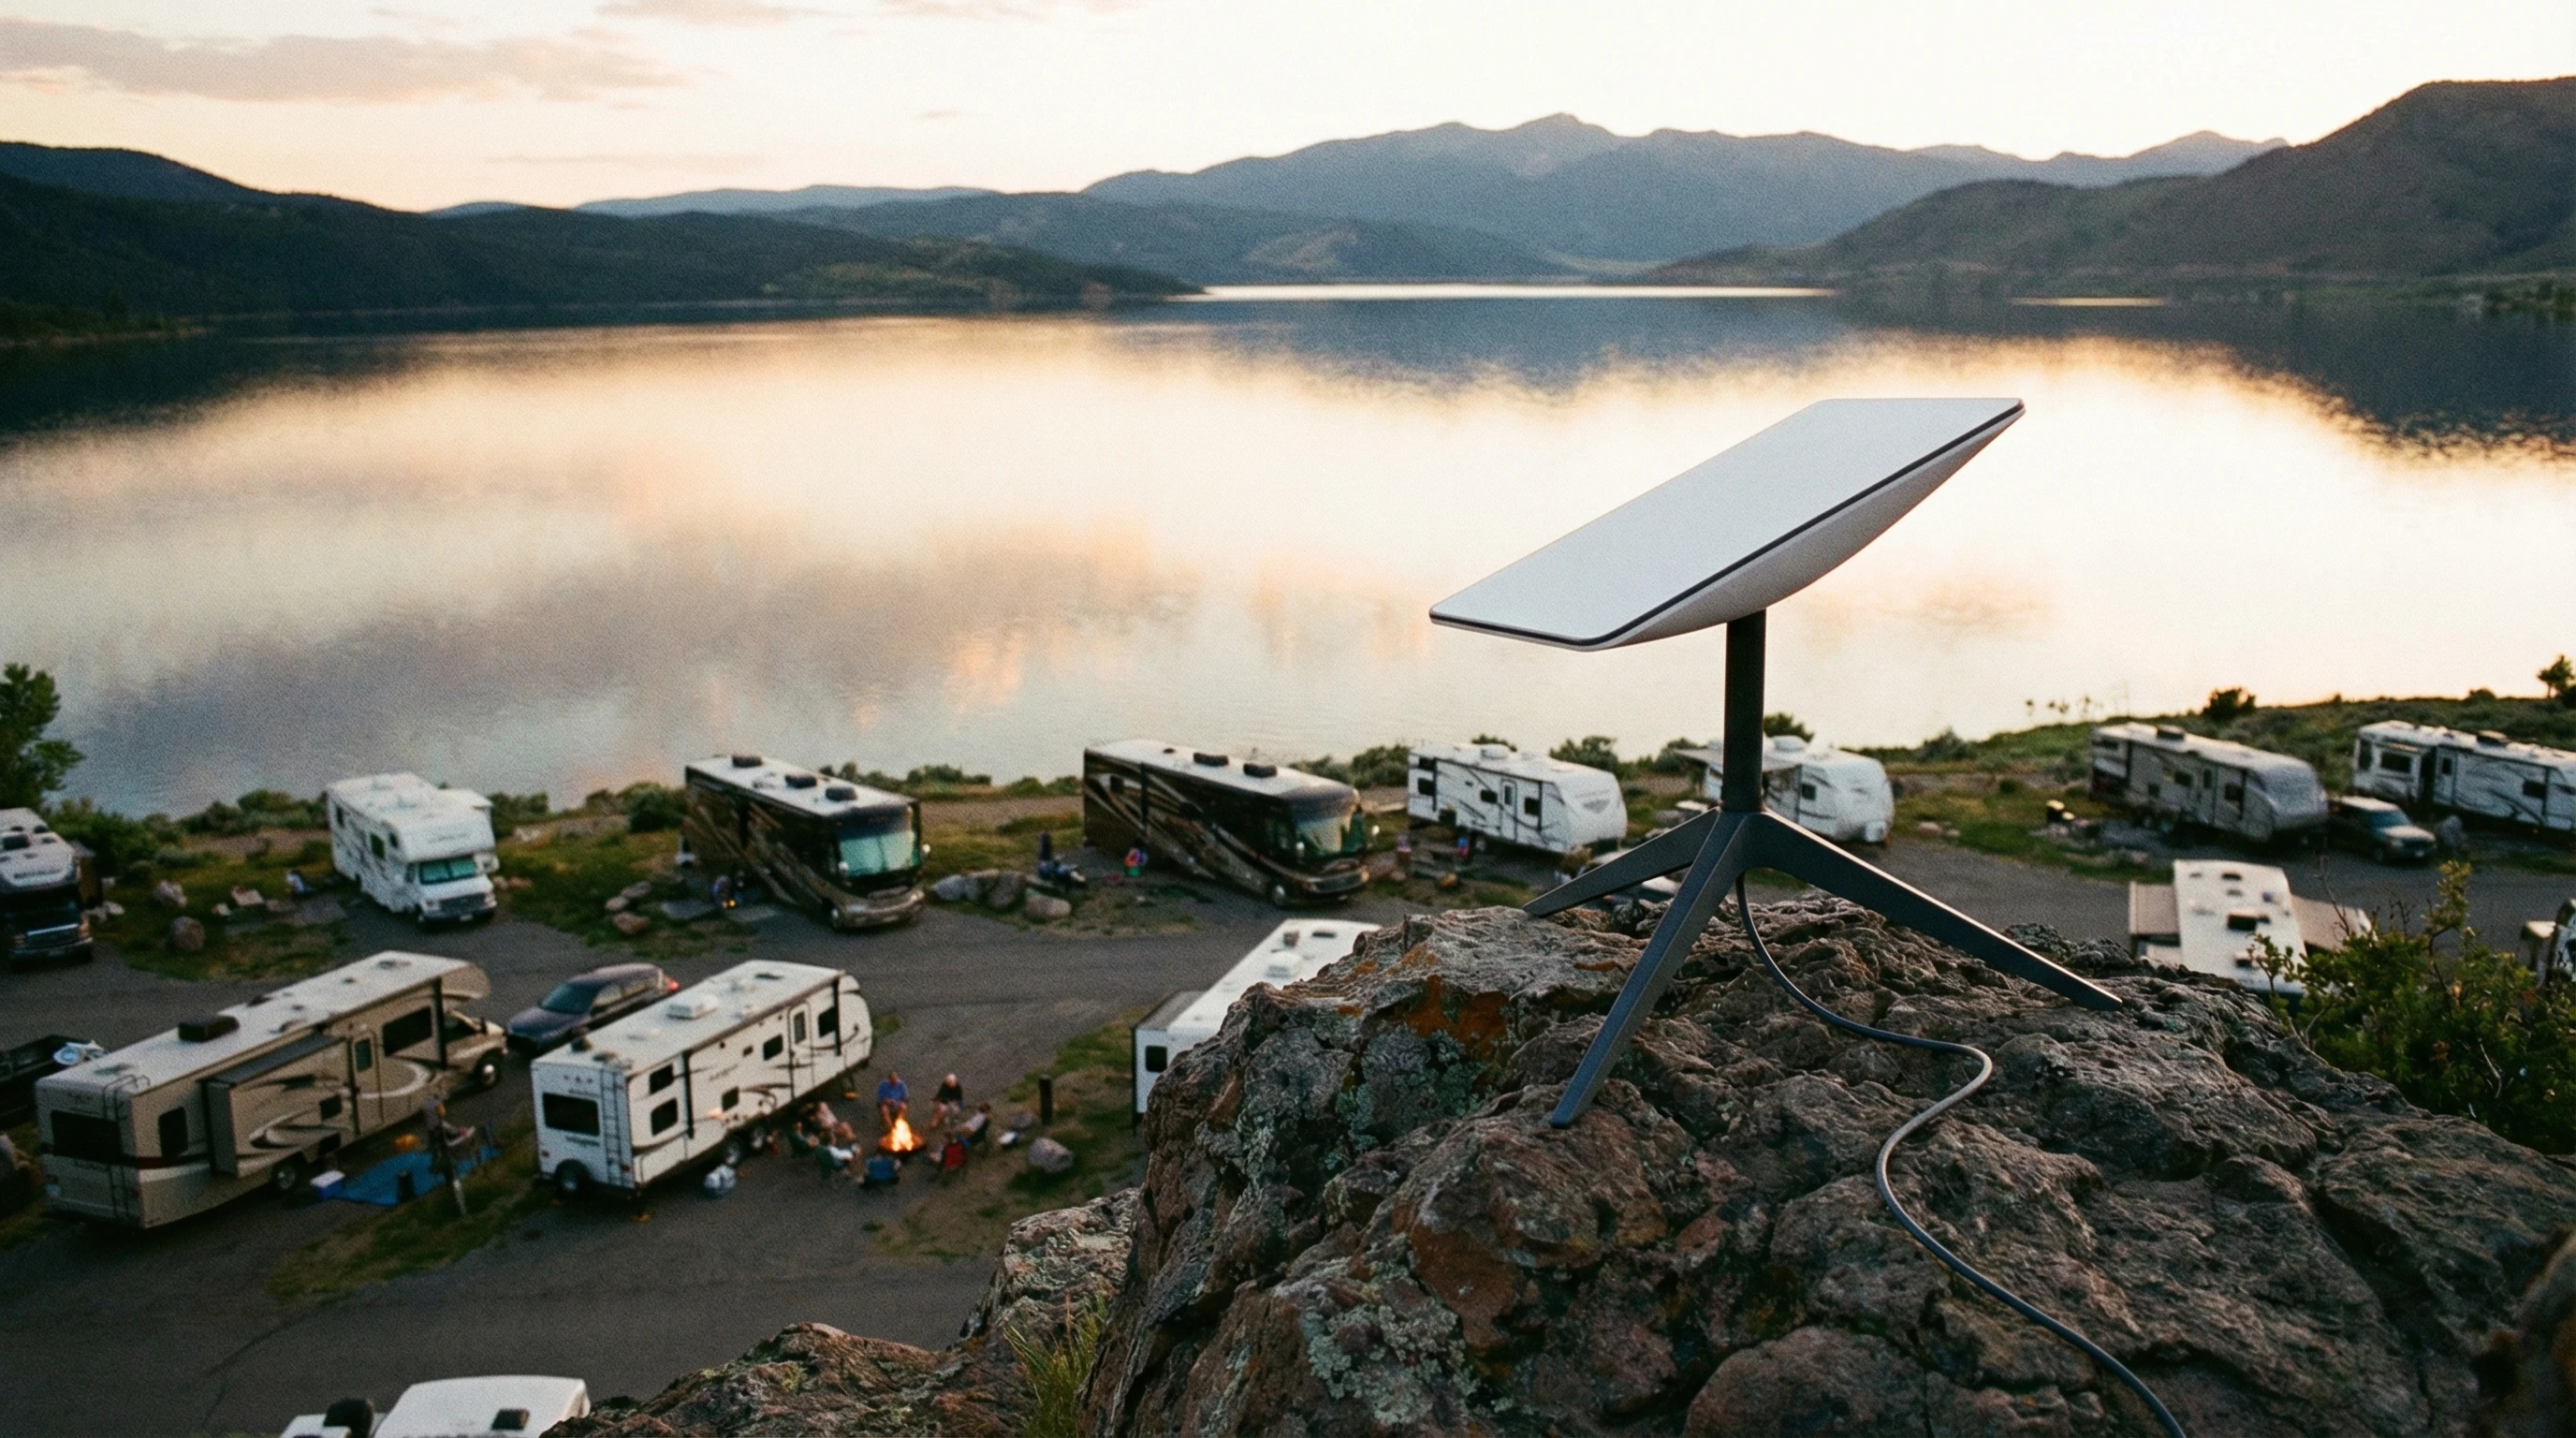
- Starlink for RVs (now called Starlink Roam): Starlink has gotten a lot of attention because of its fast speeds and relatively easy setup. The portable dish (often called “Dishy”) plugs in and automatically aligns itself. It works best in places where you have clear skies and a low horizon; think open fields, deserts, or mountain valleys. Service is available in most of North America and is expanding steadily.
- HughesNet Fusion: HughesNet has been supporting RV internet longer than most. Their mobile plan uses a traditional dish that needs to be aimed at a fixed satellite. This takes a little more setup, but once you lock onto the satellite, you’re good to go. Speeds are slower (especially for uploads), and data caps apply. Still, if you spend a lot of time away from cell towers, it’s worth a look.
- Viasat Mobile Internet: Viasat offers RV packages too, based on their geostationary satellites. Performance and data limits are similar to HughesNet. The hardware is a bit heavier and usually requires a roof or tripod mount. Uploads and streaming might not be as smooth as with Starlink, but it covers wide areas.
All three options require special equipment that you’ll need to install or carry with you. Starlink’s hardware is much easier to set up and move between campgrounds, while HughesNet and Viasat might need a bit more muscle and patience.
Starlink tends to offer unlimited data (for now) with faster speeds, so it’s the go-to for those who need a “home office” on wheels. If you want multiuser support and worry about coverage overlap, a mix of providers could make sense for long trips.
Setting Up Your Satellite Internet System
Getting your RV satellite internet ready is not as hard as it sounds. Most kits come with everything you need to get started. Here’s how it usually goes:
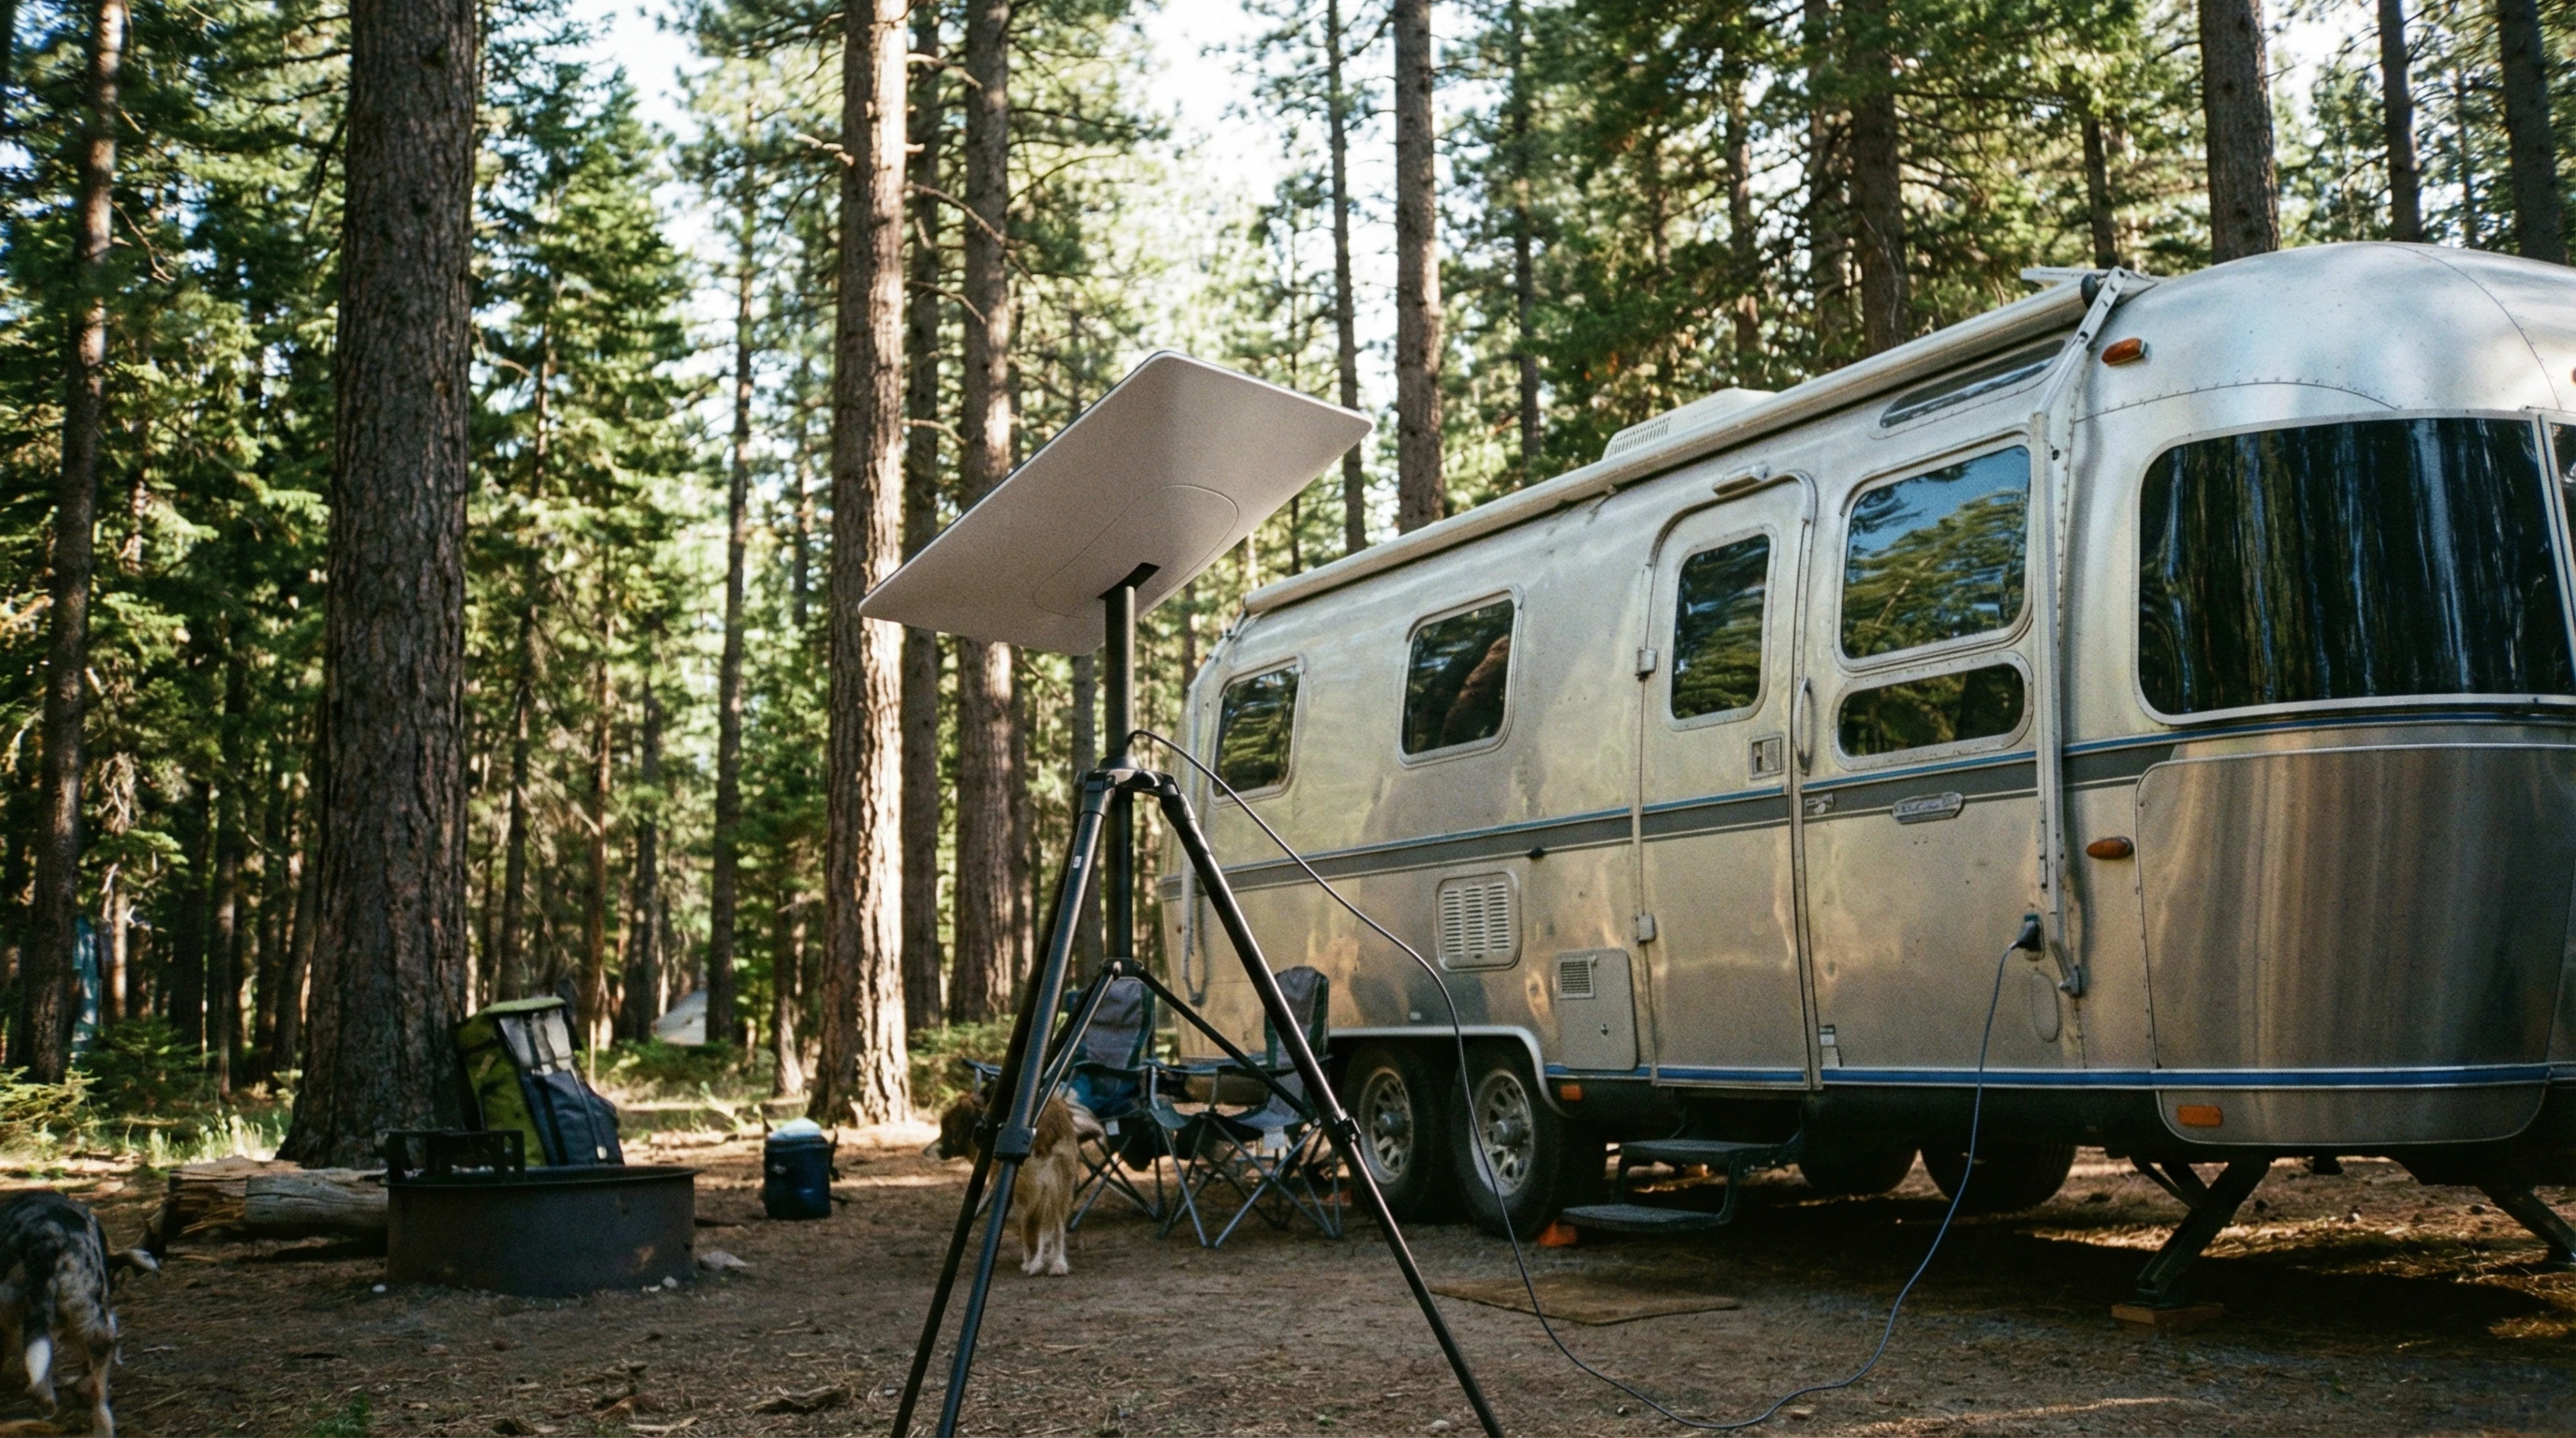
- Pick a spot with a clear view of the sky: Trees and buildings can block the signal, so open spaces are your friend. For LEO systems like Starlink, you want as much sky visible as possible because satellites move overhead.
- Mount or place the dish: Many people use a tripod on the ground right outside their RV, especially with Starlink. Some dishes can be put permanently on the roof. Just make sure it’s stable and won’t tip over.
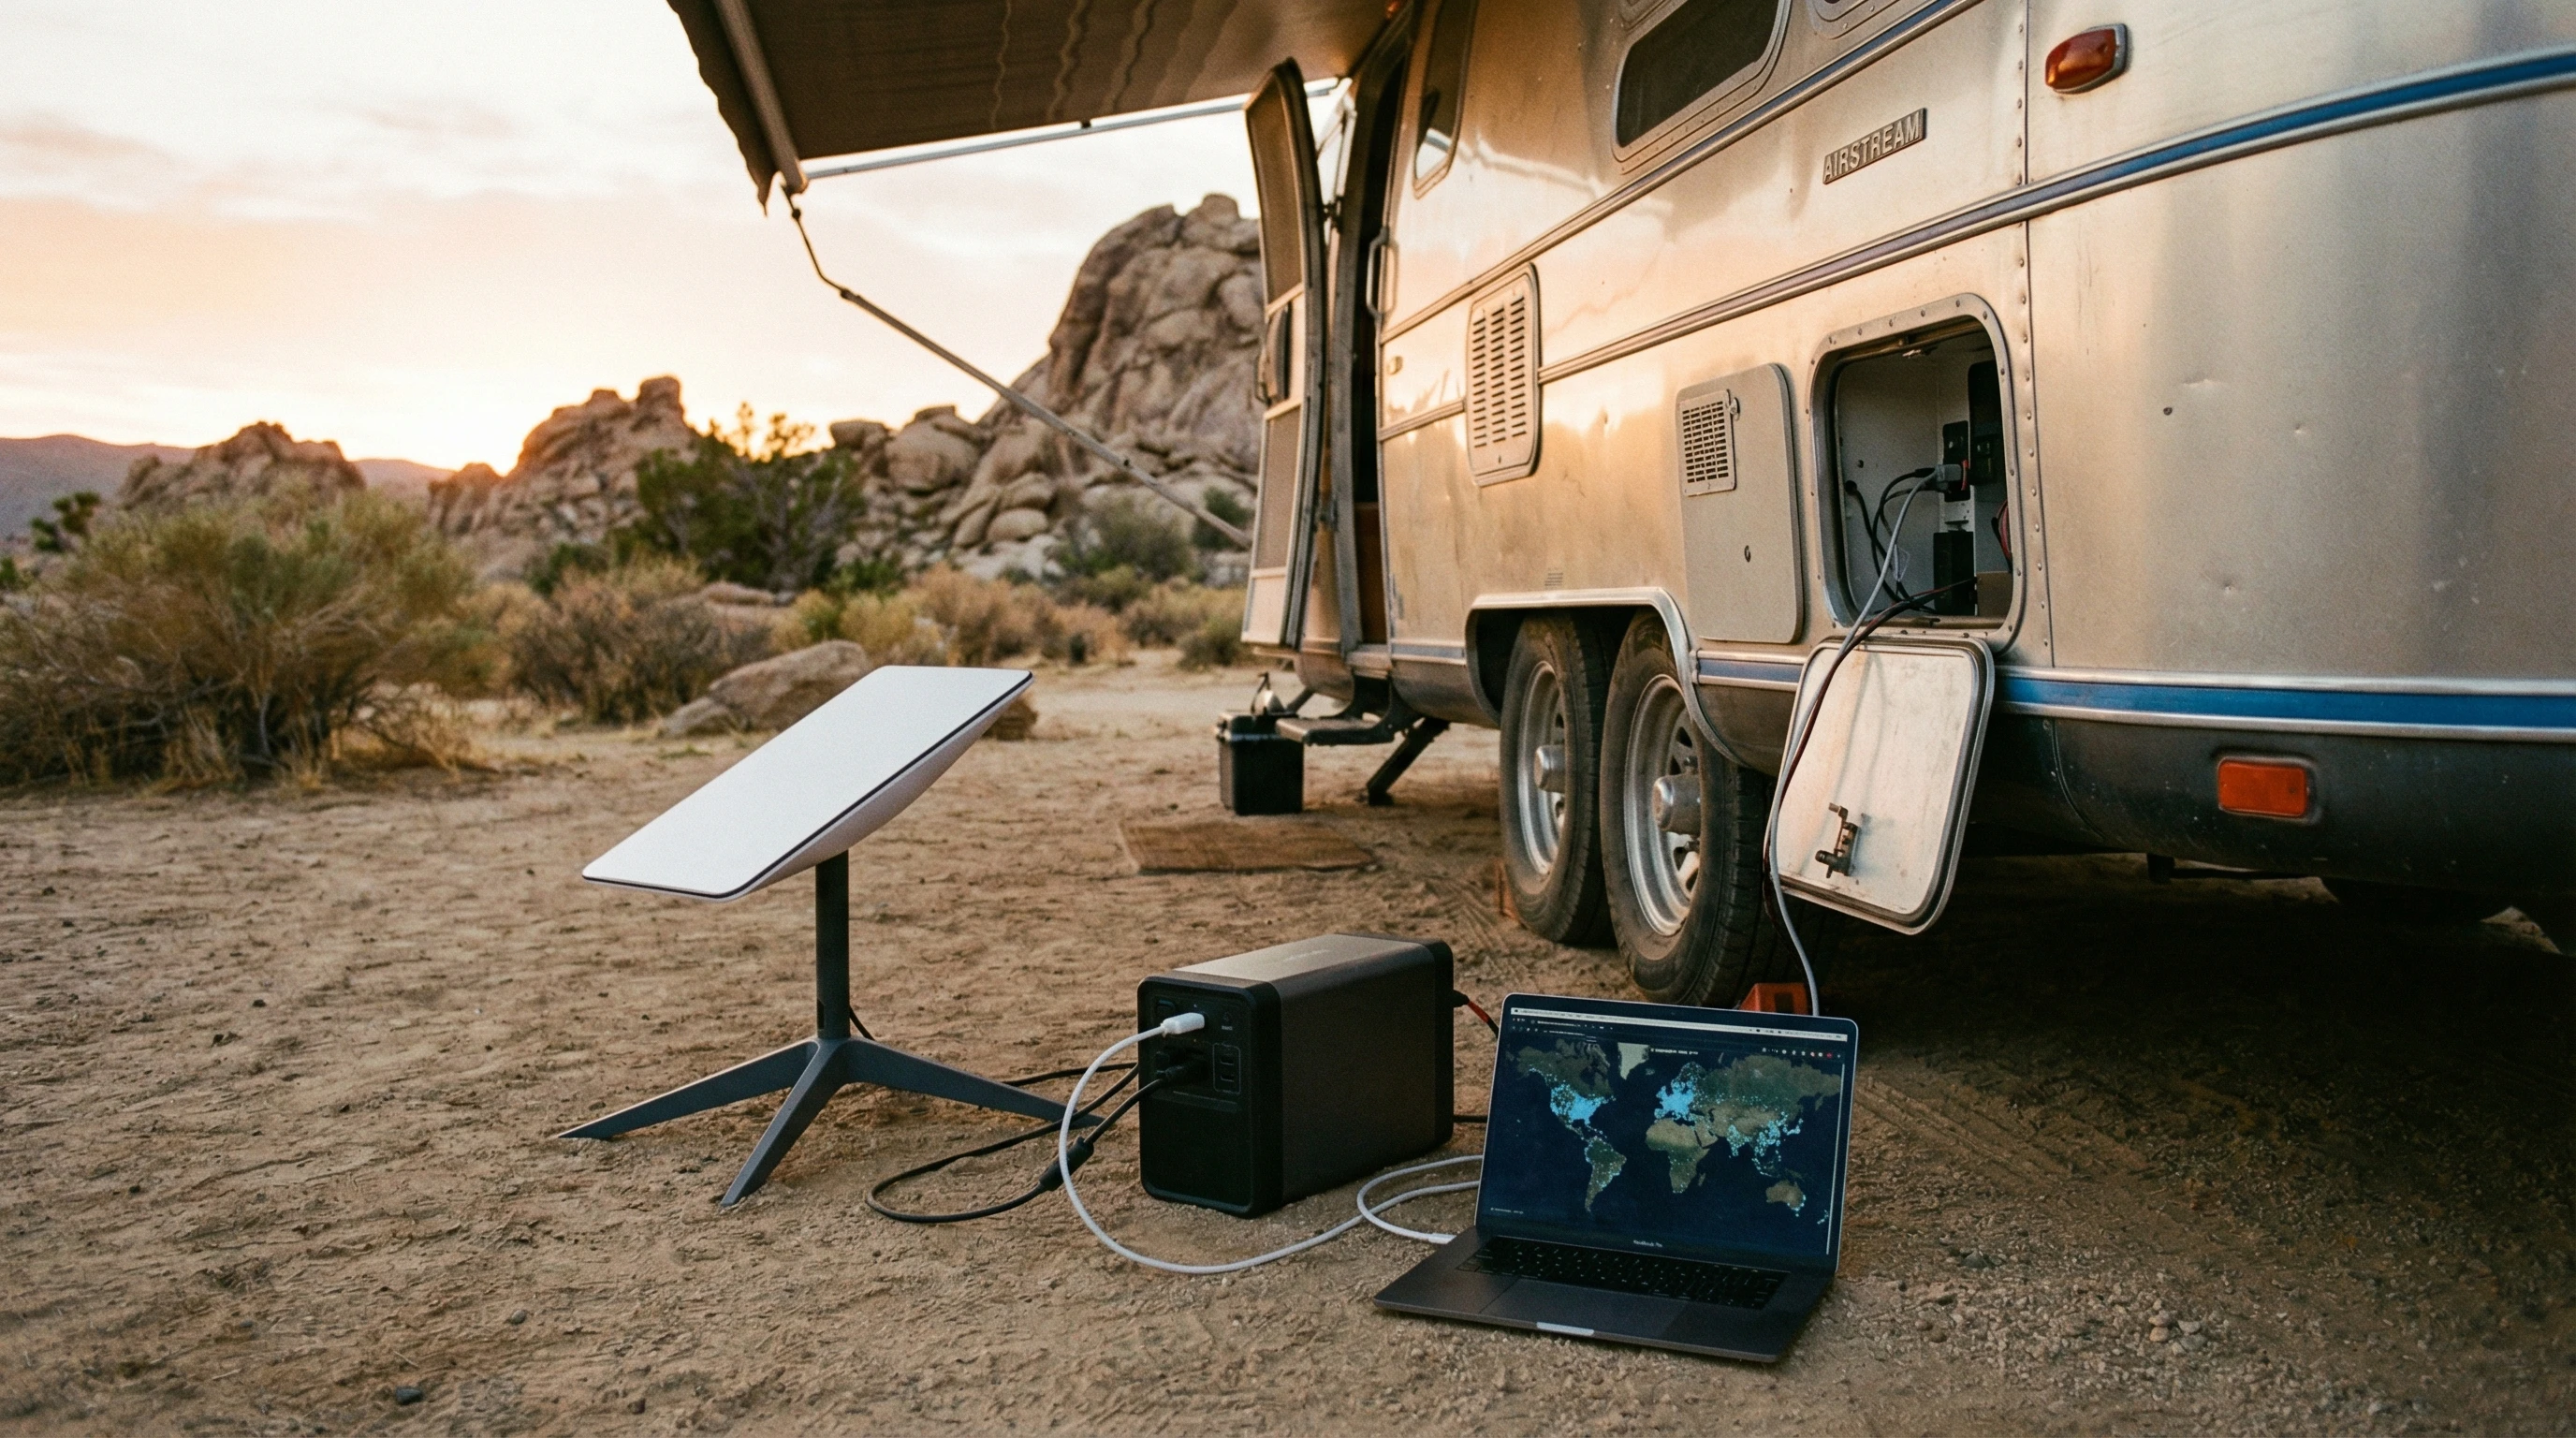
- Connect the hardware: Plug in the power and run the supplied cable to your included router or WiFi base. Most new systems come with an app to guide you through setup and help you check your sky visibility.
- Power management: Satellite internet gear needs solid power, which comes from your RV’s electrical system or a portable battery. Starlink uses about 50 to 75 watts when running, so keep that in mind if you’re boondocking on solar or limited batteries.
Some RVers go the extra mile with custom mounting brackets, cable passthroughs, or even adding an outside weatherproof box for their routers. Test your system before heading off-grid to prevent surprises when you’re relying on it for work or trip planning. Consider picking up extra cables or adapters to have spares for those just-in-case moments.
Things You Should Probably Consider Before Choosing Satellite Internet For Your RV
Every system comes with tradeoffs. Here’s what to keep in mind so you can pick what fits your style and budget:
- Monthly Fees: Satellite internet isn’t cheap, and plans often start around $100 per month or higher. Some options, like Starlink Roam, let you pause service by the month, which is nice for part-time travelers.
- Hardware Costs: The dish and router are a big upfront spend. Expect the gear to run $600 to $2,500, depending on the system and accessories. That cost might be stretched out with financing or bundles for frequent RVers.
- Speed and Data Caps: Speeds vary by system and location. LEO constellations are generally better for video, remote work, and gaming. The older systems are okay for checking email and moderate web browsing. Pay attention to any “fair use” policies or data slowdowns after a certain amount each month.
- Weather Impact: Heavy rain or snow can sometimes cut your signal, called “rain fade.” Most of the time, performance recovers quickly, but you might have downtime during a storm.
- Setup and Portability: If you move campgrounds often, an easy portable dish is a real perk. If you set up longer in one spot, a permanent roof mount might make sense.
Data Needs
If you’re only using the internet to check email and maps, you won’t need the fastest plan. For streaming movies, Zoom calls, or uploading videos, a faster and more robust data connection is really important. Many users combine satellite internet with cell-based hotspots to have a backup when conditions or data needs change. It gives an extra level of flexibility if you run into weather issues or heavy network congestion on one system.
Technical Support
Check what kind of customer support is available before you commit. Forum communities and Facebook groups can be super helpful for quick troubleshooting or sharing setup tricks if you get stuck. Look for service providers that offer responsive chat or phone help, as well as online documentation for specific RV setups.
Legal and Geographic Limitations
Not all satellite systems work everywhere. For example, Starlink restricts some mobile plans to specific regions. It’s always smart to check coverage maps or talk to other RVers who camp where you plan to go. International travel has extra restrictions to pay attention to as well. When crossing borders, always double-check the service status and coverage agreement before you rely on the system for work or navigation.

Advanced Tips for Getting The Most Reliable RV Satellite Internet
After you knock out the basics, there are a few ways to get even more out of your satellite setup.
Combine Internet Sources: Don’t rely only on satellite if you can help it. Add a cell hotspot or campground WiFi to your options, and use an automatic failover router to switch to the best source while you travel. This way, your video call doesn’t drop if a cloud rolls by. Some RVers even carry a portable signal booster for cell service as another layer of redundancy.
Optimize Placement: Even small obstructions can block your dish. Keep your setup away from tall trees and buildings, and always double-check your view of the sky before setup. I use a sky-finder app to check every new site; totally worth it. Scout your campsite a bit before parking and make sure you can shift your equipment if the angle isn’t perfect the first time.
Monitor Your Usage: Some services let you watch your data use in real time. Keep an eye on streaming hours and big uploads so you don’t get throttled or hit a surprise bill. Try downloading large files only when you have plenty of data left, and consider setting streaming services to a lower resolution if you’re close to your monthly limits.
Secure Your Connection: Changing the default router password and enabling WPA2 encryption go a long way to keep you protected while you roam. Likewise, a VPN is smart for business work or privacy-sensitive activities; just be aware it might slow things down a bit further on satellite connections. And always keep your device software up to date for the best security.
Staying flexible and learning the quirks of your hardware will help make the most of your internet time, whether you’re at a festival, stuck in a rainstorm, or parked by a mountain vista with nobody else for miles. Sharing tips with other RVers or checking online communities can help you troubleshoot issues faster and learn about new features as providers upgrade service.
Frequently Asked Questions
Here are some of the top questions I get from other RVers who want to use satellite internet:
Question: Can I use satellite internet while my RV is moving?
Answer: Most portable systems, like Starlink Roam and HughesNet, require you to be parked. There are expensive commercial options for “in-motion” internet, but they’re rare and not typically used by most RVers.
Question: Is Starlink better than HughesNet or Viasat for RVs?
Answer: For speed, ease of use, and data limits, Starlink is usually the preferred choice among RVers, especially for streaming and work. HughesNet and Viasat cover more places but have slower speeds and stricter data caps.
Question: How difficult is it to set up satellite internet at a new campsite?
Answer: Starlink is very easy to set up. Point the dish, plug it in, and let it self-align. The others require a bit more aiming and test runs. Most folks figure it out in less than an hour after doing it a couple times.
Question: Does bad weather totally knock out satellite internet?
Answer: Heavy rain or snow can slow speeds or drop connections temporarily. Usually, things bounce back once conditions clear up. Having a backup connection can help during storms.
Personal Experience With Starlink
We have had Starlink since 2022. When the need for unlimited internet and a good quality signal arose because of our RV consulting business, Starlink was the choice.
It has functioned perfectly for years. Using the roam plan, we have used the service all over the country with no issues, even through trees! We pay $165 per month, but given we use it for smartphones, laptops, and TV, it’s well worth it! While watching Netflix or Prime movies, we use one to two gigs of data per hour.
We figure we use between 300 and 500 gigs of data per month. So, the cost is well worth it! Check out this link for more information on Starlink.
Ready to Get Online With Your RV?
Satellite internet for RVers is changing almost every year. With better speeds and smarter gear, it’s finally practical to stay connected on true adventures far from home. Picking the right plan for your budget and travel plans means more streaming, working, or relaxing, no matter where you end up parking.
Staying connected while you travel is totally doable now. Just pick your system, get your gear set up, and enjoy the freedom to roam without missing a beat online. Here’s hoping your next campsite has a wide open view of the stars, plus the satellites above. Enjoy the open road and stay safely in touch from anywhere.
_________________________________________________________
What If Your RV Could Help Pay for the Journey? Could you make money while boondocking?
Many full-time RVers quietly earn money online: writing, recommending products, and building simple digital assets that generate income while they travel.
You don’t need tech skills.
You don’t need experience.
You just need the right roadmap.
👉 Discover the beginner-friendly approach! Take a look at this post on this website.


Recent Comments