
Installing Solar Panels and Managing Off-Grid Power in Your RV
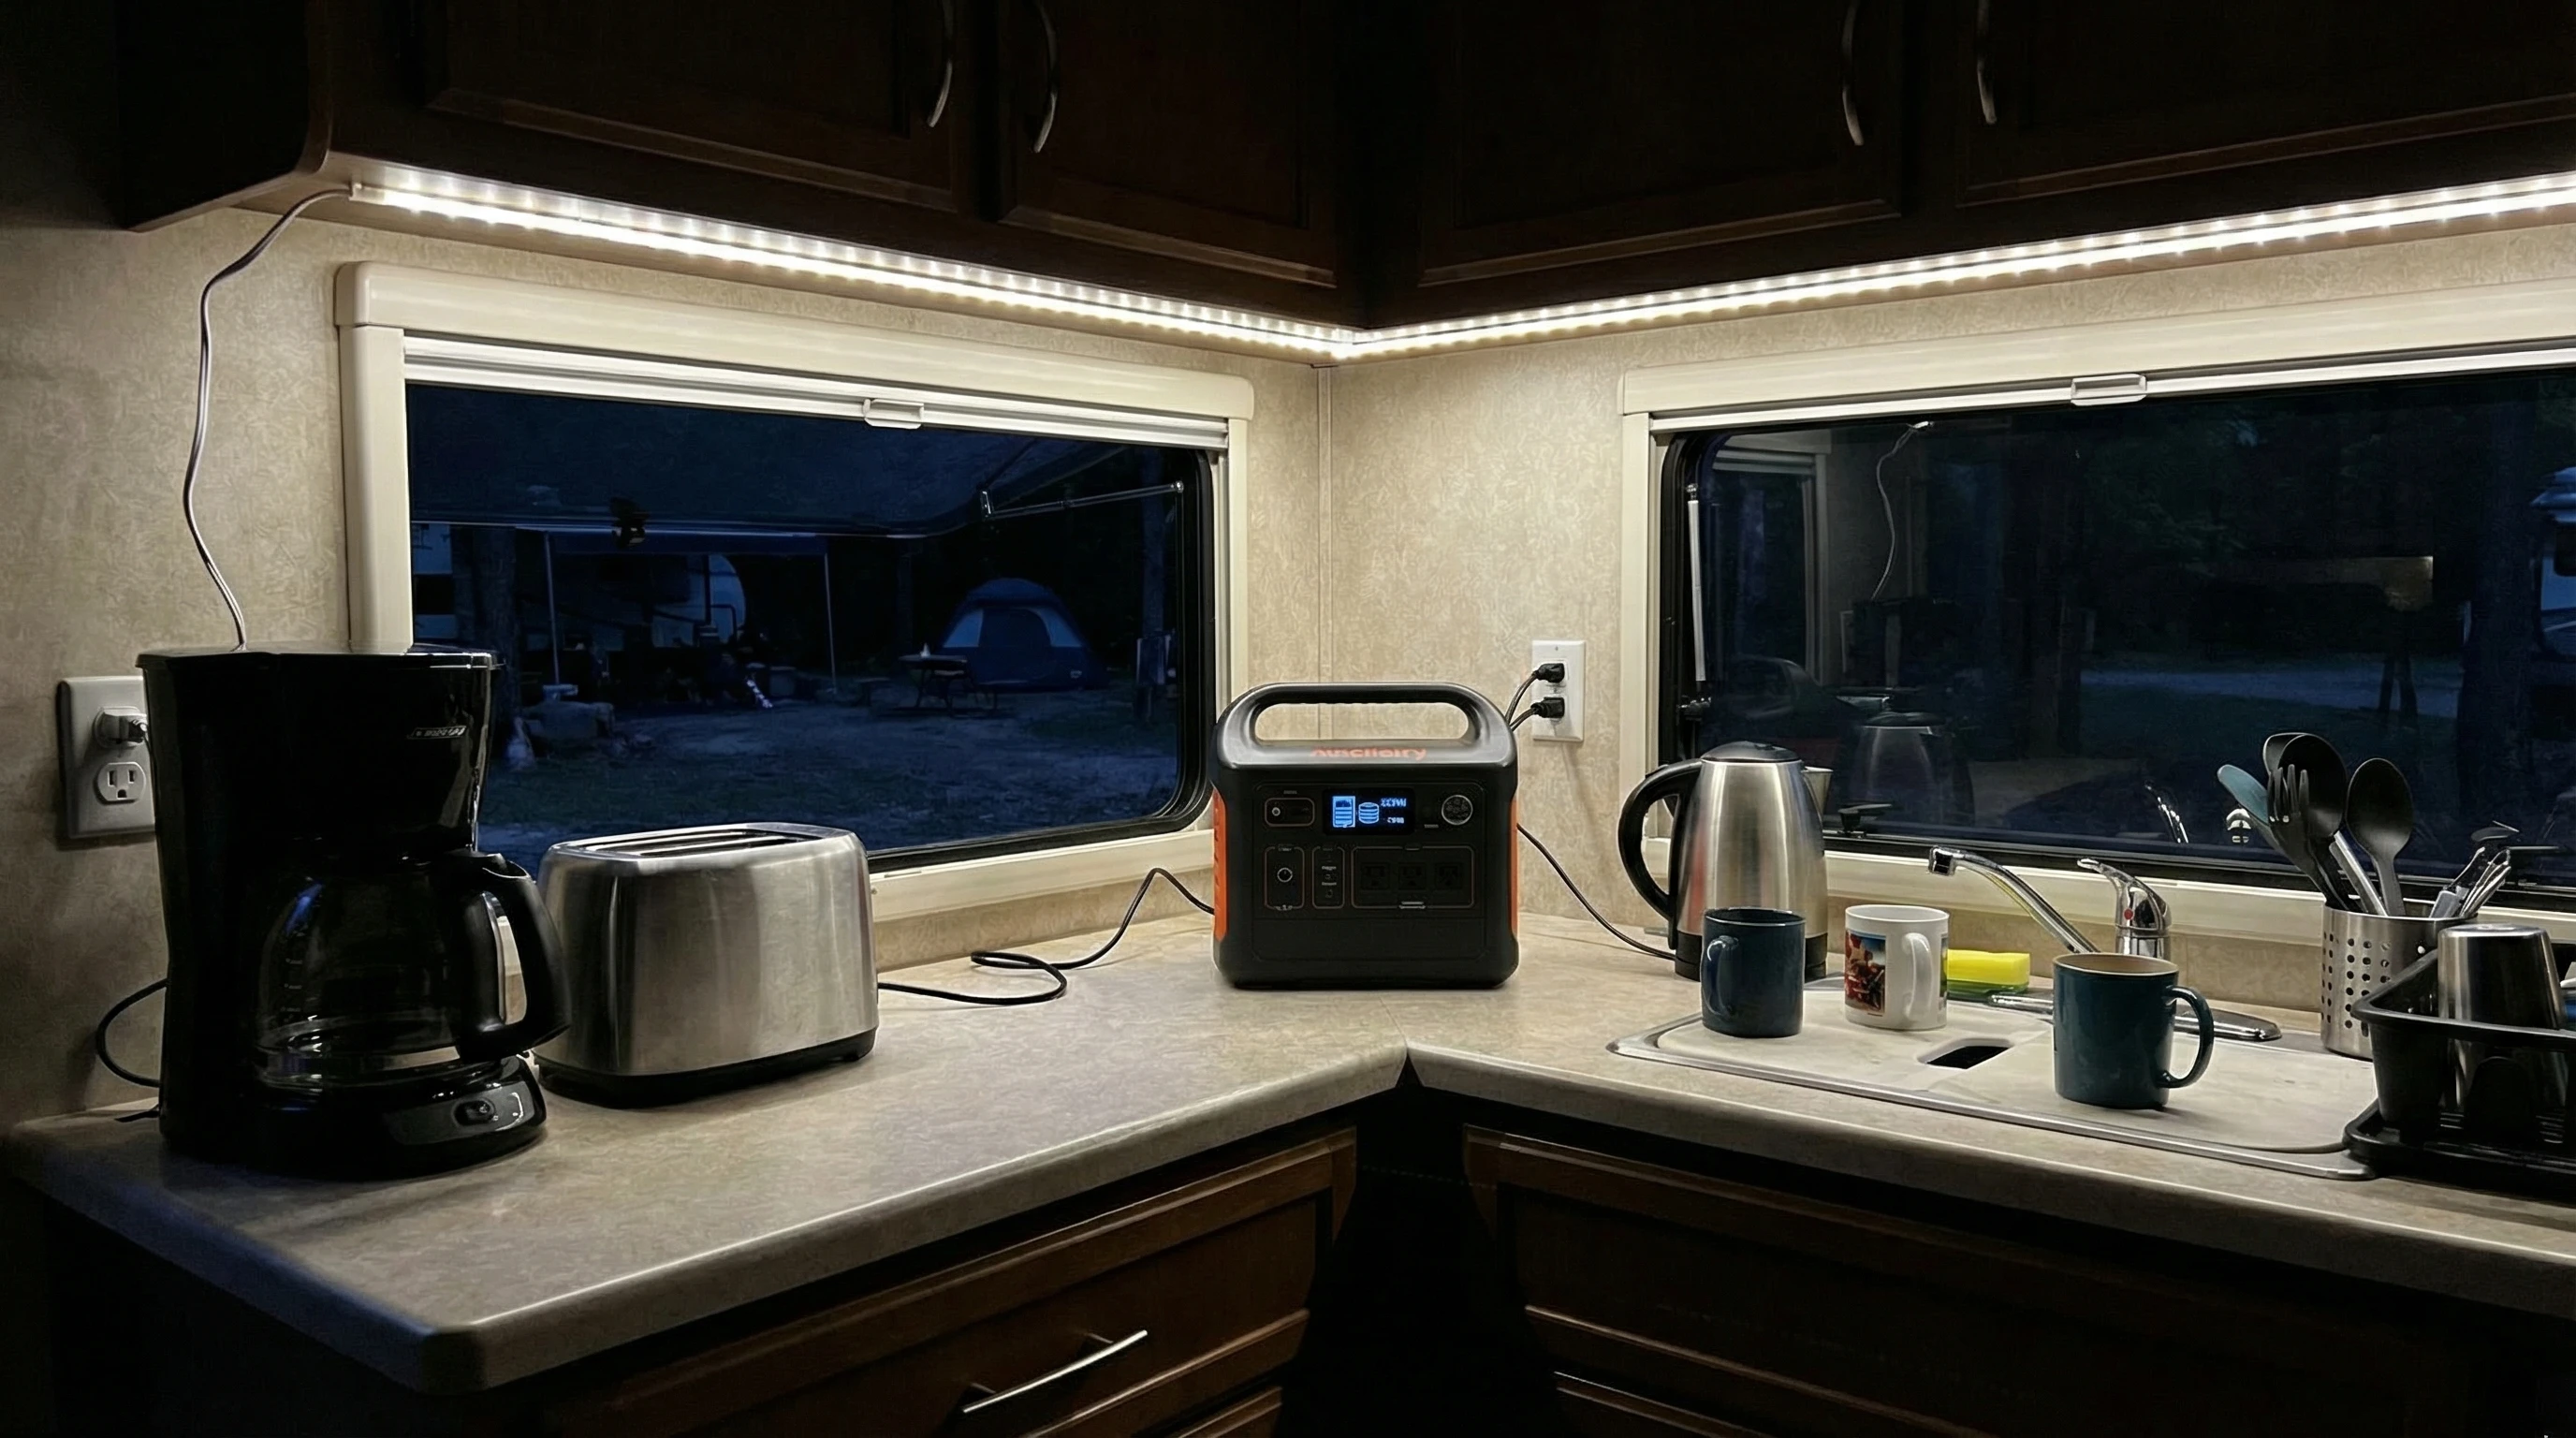
If you’ve ever struggled to run your coffee maker or keep your phone charged while camping out in the wild, installing solar panels on your RV can make a big difference. Off-grid power means you don’t have to rely on crowded campgrounds or noisy generators.
I’ve set up several RV solar systems, and managing solar power on the road has changed the way I travel. Here’s what you need to know if you’re ready to power your adventures with the sun.
Why Go Off-Grid with Solar Power in Your RV?
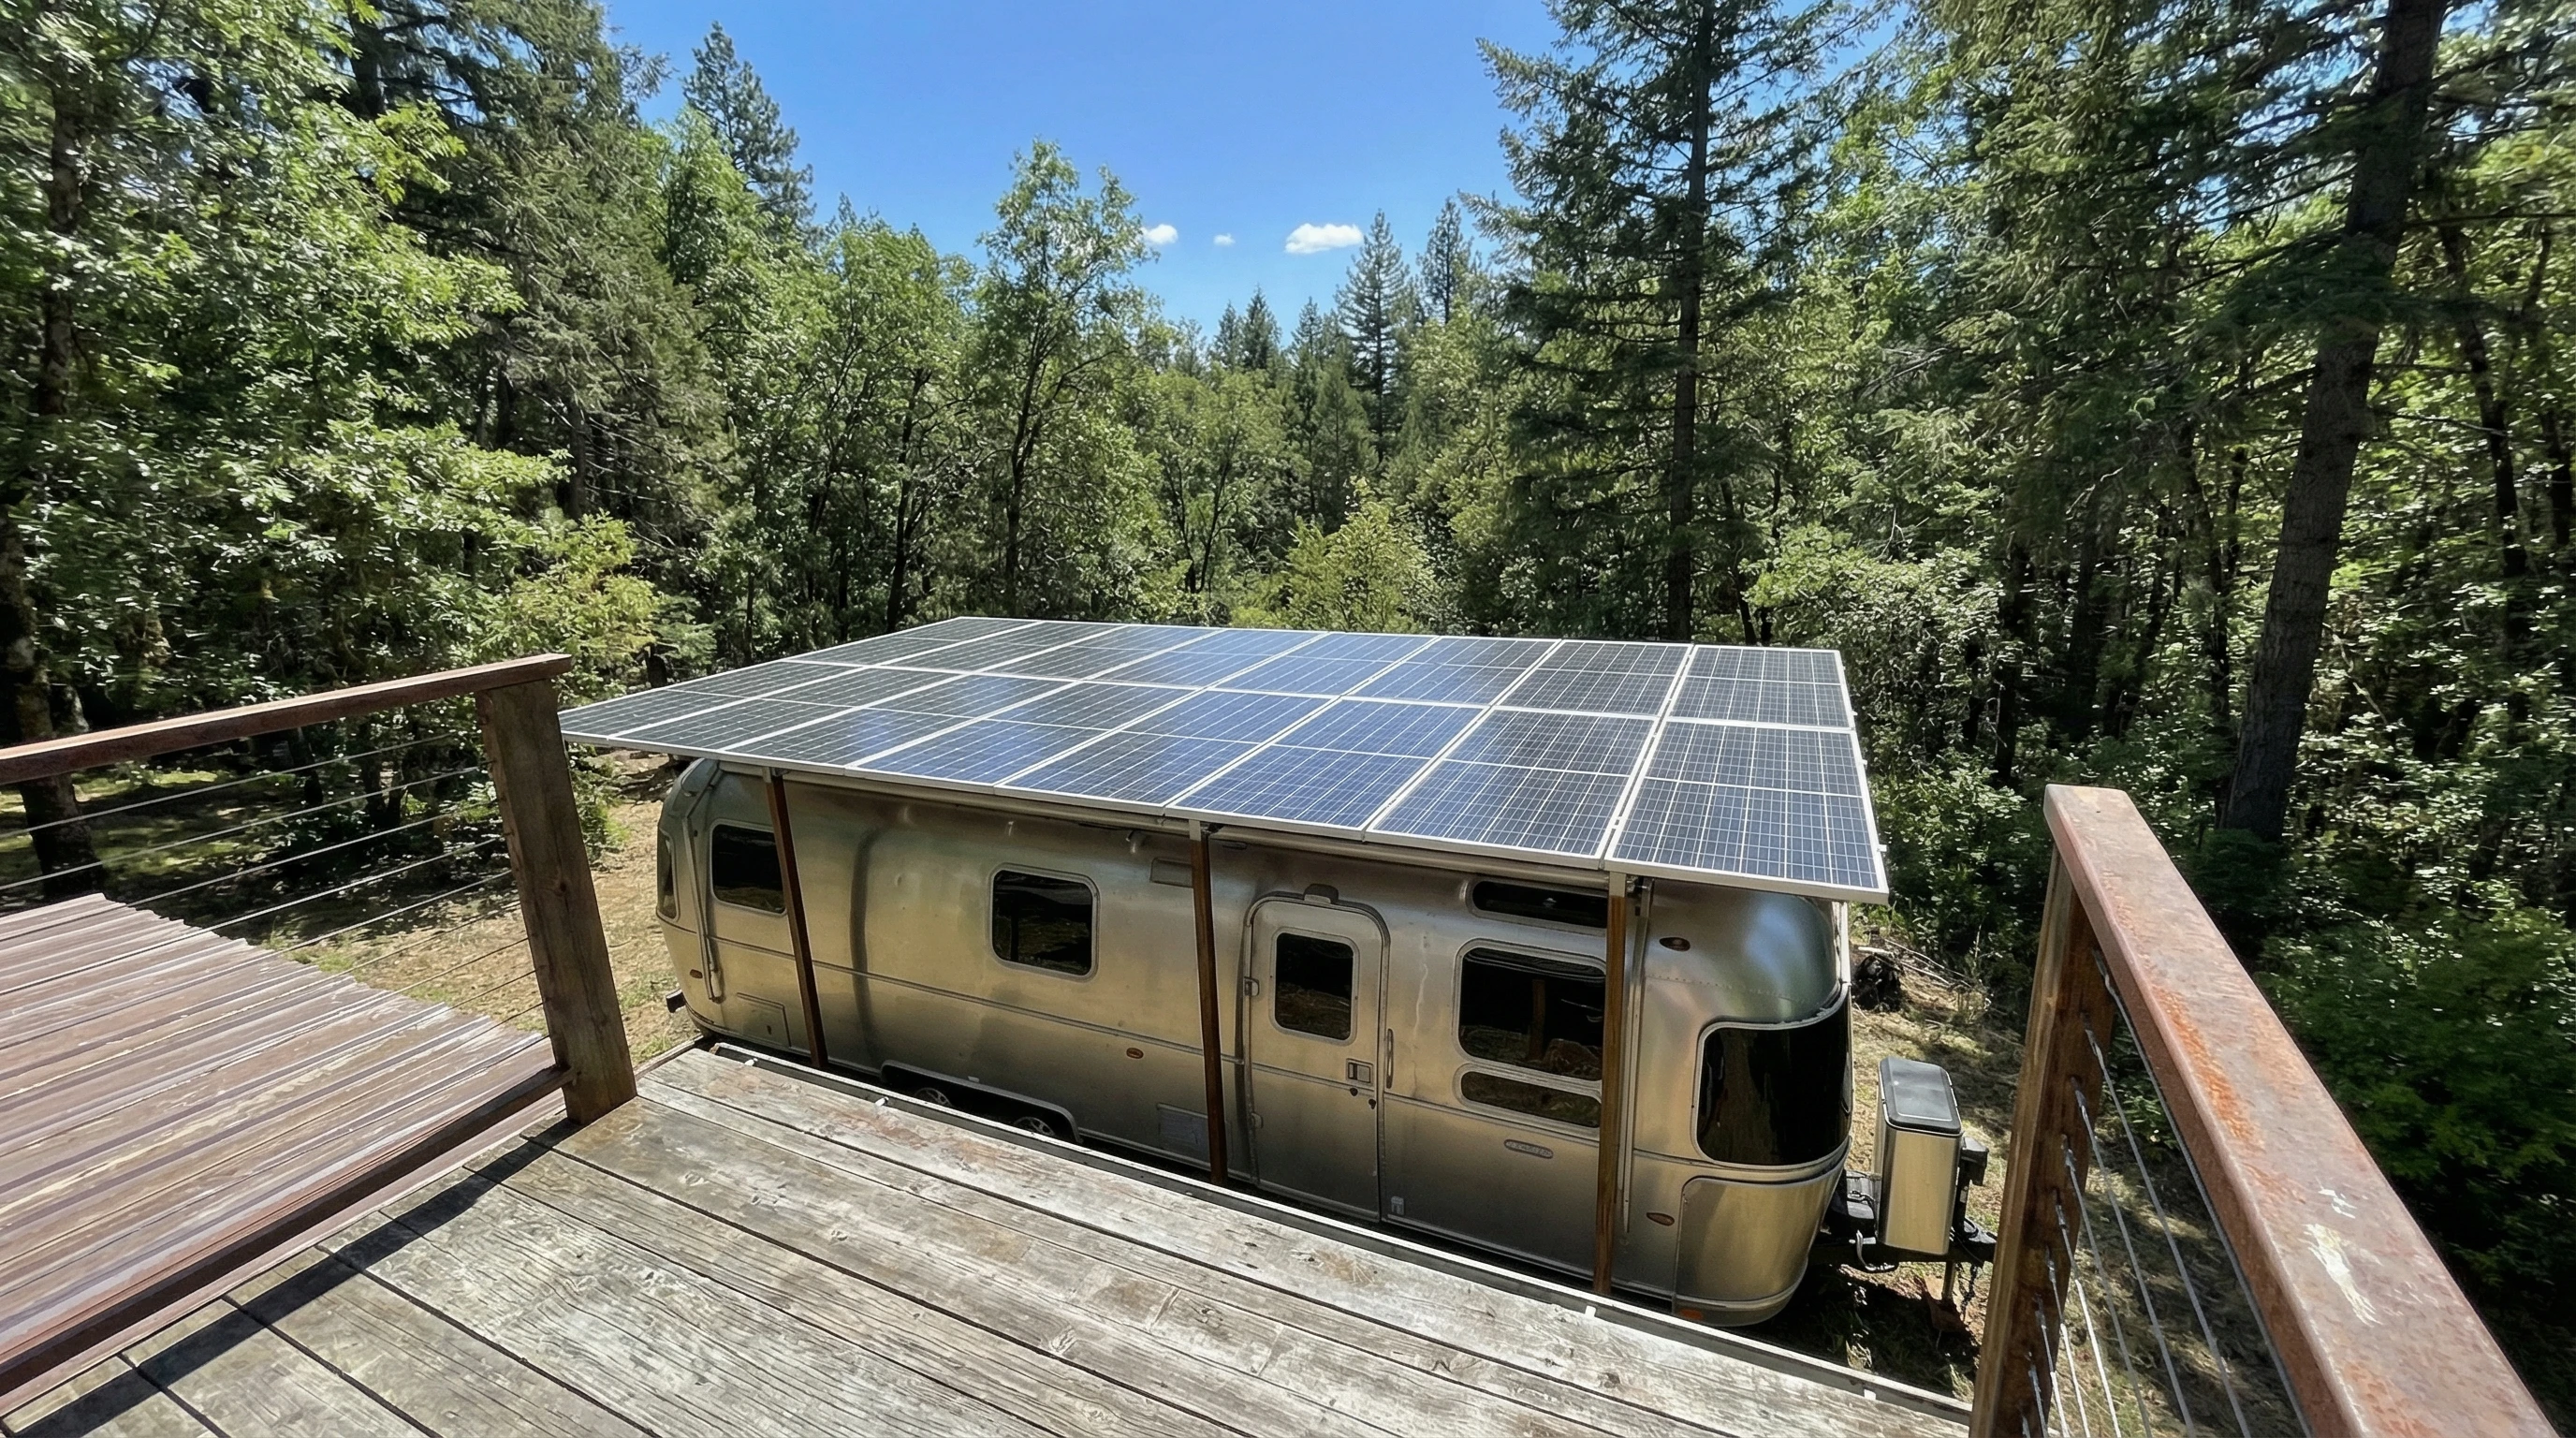
Going off-grid with solar makes RV life a lot more flexible. I can park almost anywhere without worrying about plugging in. It’s great for boondocking in remote forests or waking up beside quiet lakes. Solar panels can run your essentials quietly, which means you’re helping the environment and saving money on hookups.
Solar power in RVs isn’t new, but it keeps getting better as technology advances. Many travelers find they can handle most daily needs from solar alone. From keeping your devices charged to running a fridge or powering your lights, a good solar setup keeps you comfortable wherever the road takes you.
Plus, stepping up to solar lets you truly get away from it all. Imagine waking up to a sunrise over the mountains, knowing your coffee will brew and your fridge stays cool, all thanks to the sun. That feeling of freedom can be hard to beat.
Key Components of an RV Solar Power System
Getting started with RV solar means knowing the main parts involved. Each component has a specific job. Here are the basics:
- Solar Panels: These capture sunlight and turn it into electricity for your RV. You’ll find both rigid and flexible panels; each type has its perks depending on your roof and travel style.
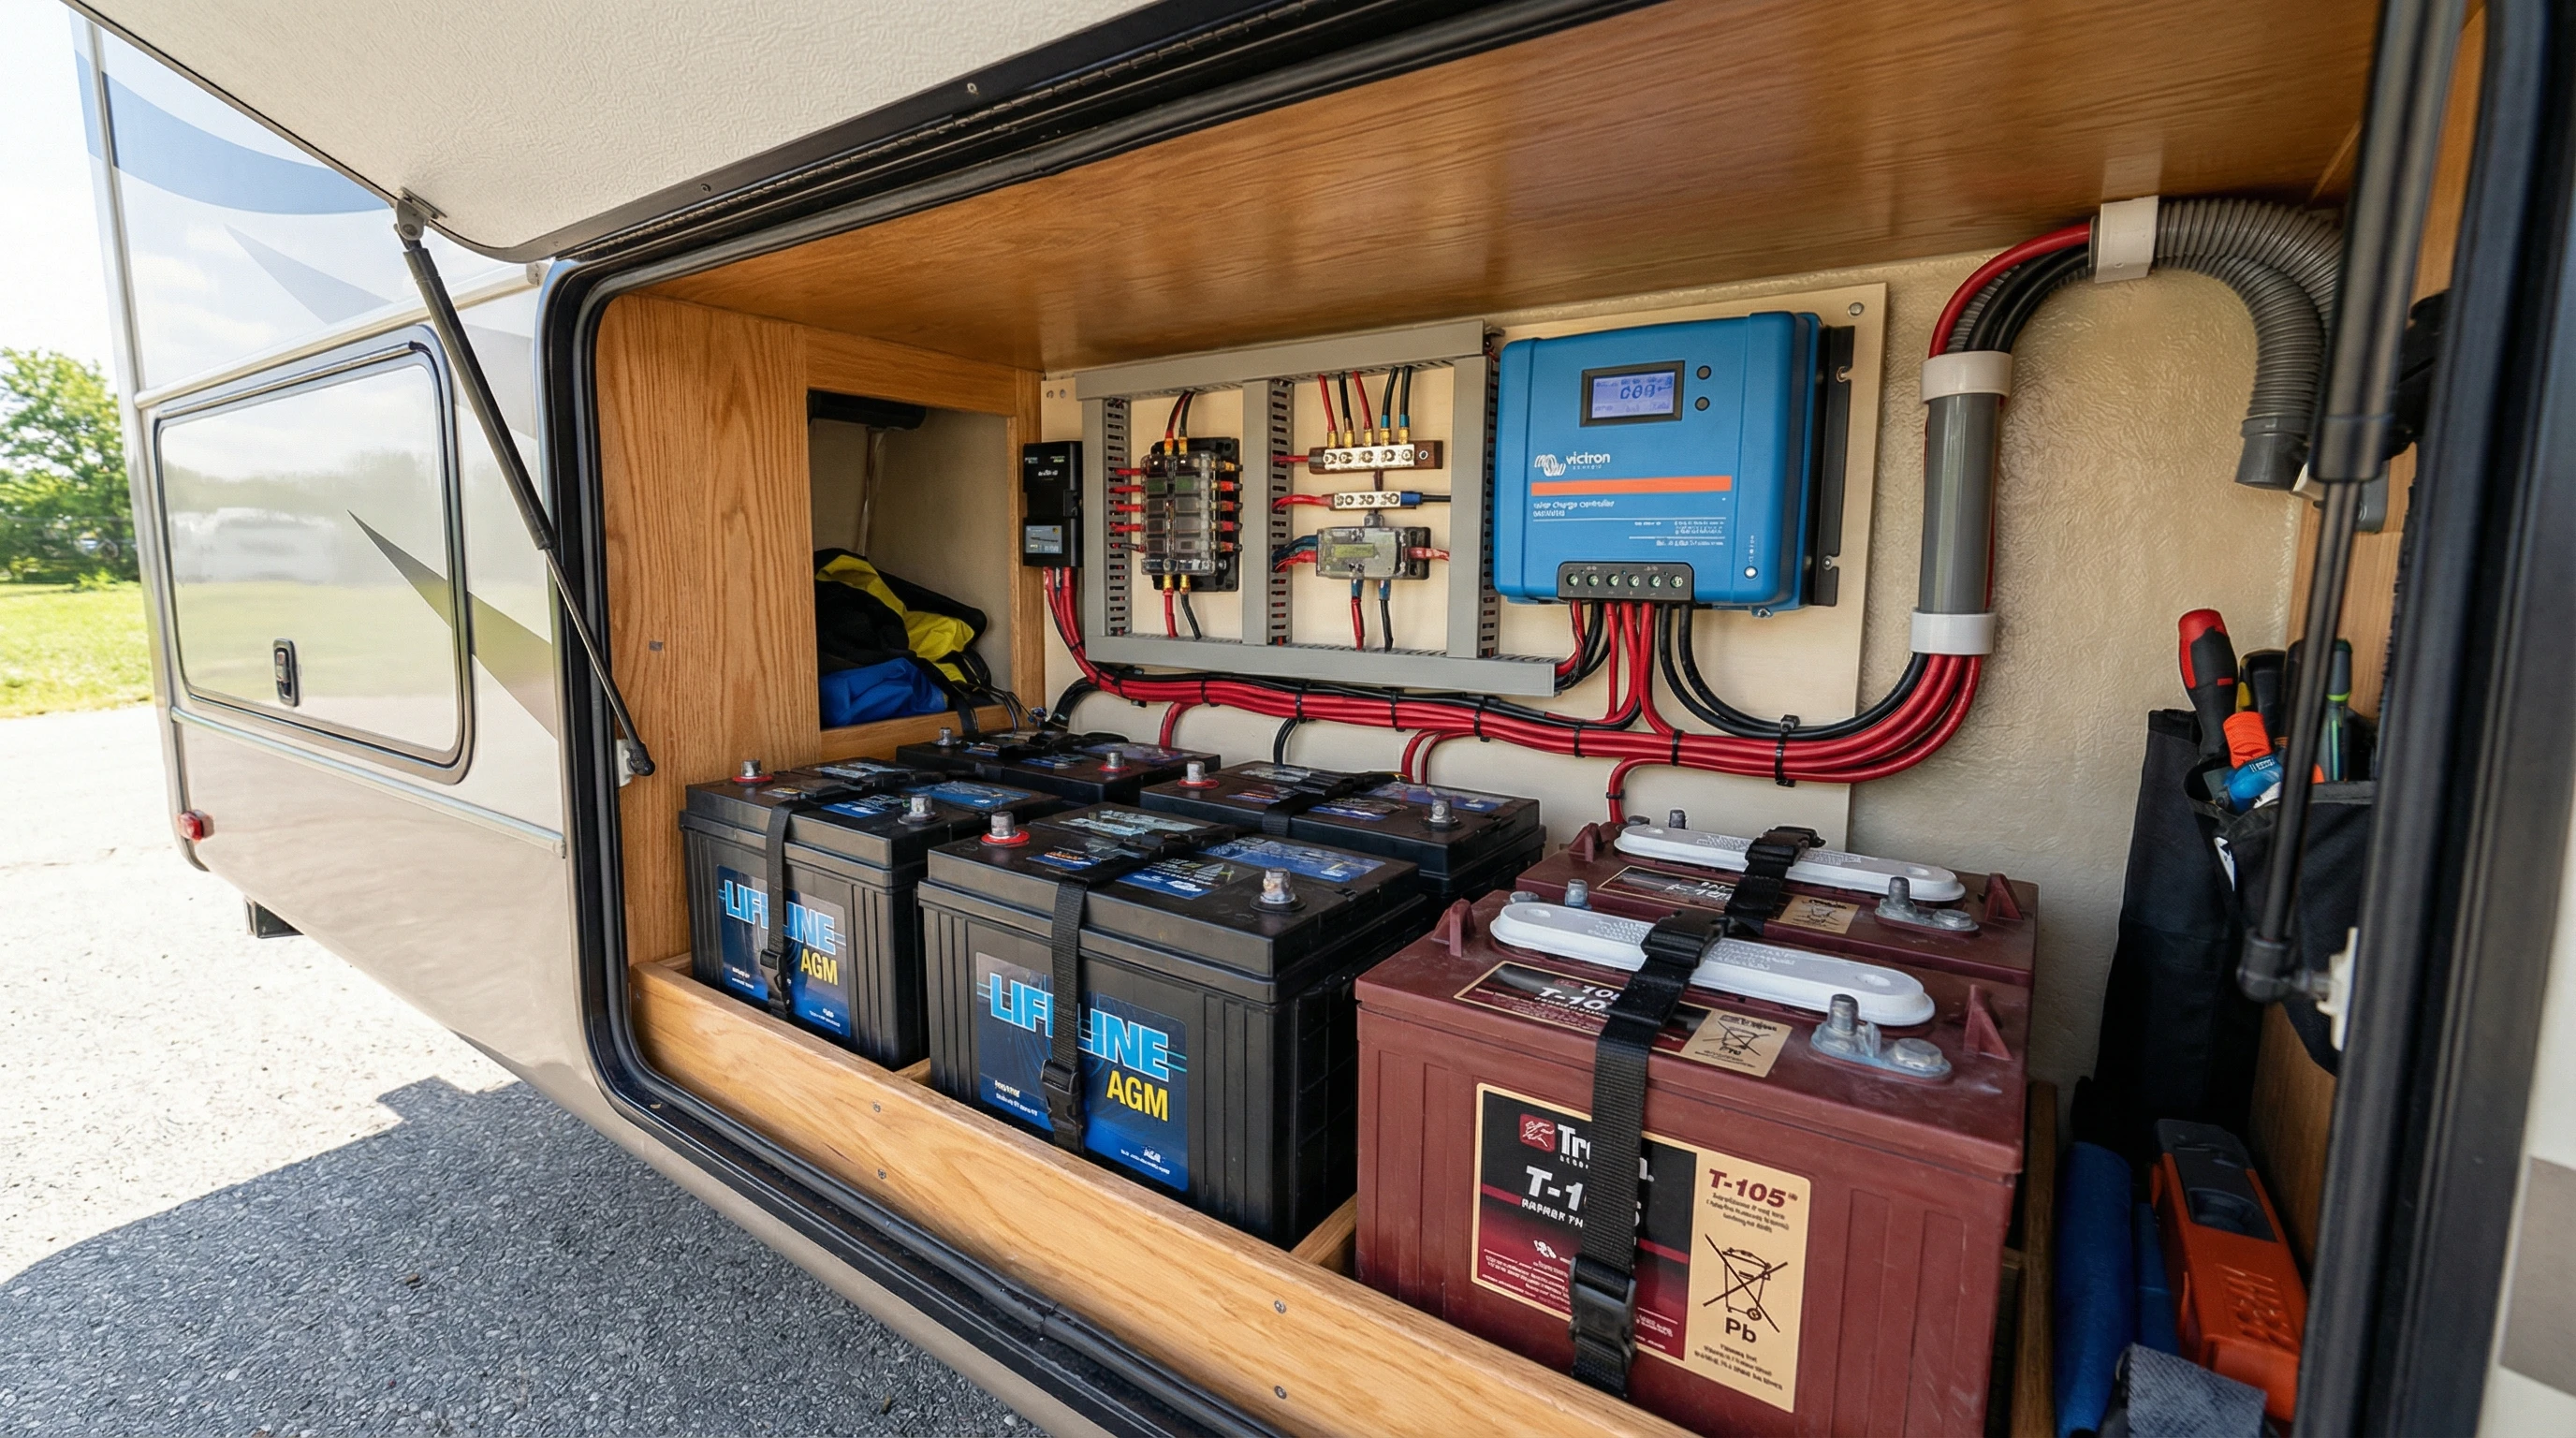
- Charge Controller: This device regulates the electricity from the panels before it goes into your batteries, protecting them from being overcharged.
- Batteries: Solar energy gets stored here, so you can use it when the sun’s not shining. Deep-cycle batteries are the go-to for RVers and come in lead-acid, AGM, or lithium varieties.
- Inverter: Many RV appliances need standard AC power (like at home). The inverter changes the battery’s DC power into usable AC.
- Wiring & Mounting Hardware: Good wiring ensures your solar system runs smoothly, and proper mounting keeps your panels safe on the road.
If you’re new to solar, understanding these parts makes shopping and installation a whole lot simpler.
Planning Your RV Solar Setup: What to Consider
Before jumping in, think about your power needs and travel habits. Start by making a list of what you want to run with solar. Are you just charging devices and LED lights, or do you want to power a fridge, TV, or even an air conditioner? Most folks start with the basics and expand as needed.
Try tracking your power use for a day or two with your current setup. Most solar calculators online can help you estimate what size system you need. It’s better to aim a bit higher than your minimum needs; I learned that the hard way after my first too-small system. Also, factor in roof space for panels and where your batteries and inverter will go.
For RVers traveling in shady places or during winter, adding more panels or battery storage is a smart move. Flexible panels work better on curved roofs, while rigid panels last longer and handle harsh weather well. If you’re a fulltimer or travel in hot regions, investing in higher-end batteries like lithium can really pay off.
And don’t forget: solar isn’t just about panels. You need to think about every link in the chain. A powerful system is only as good as its weakest part, so consider upgrading your wiring and battery monitoring tools as you make changes.
Step-by-Step Guide to Installing Solar Panels on Your RV
Installing RV solar might sound tricky, but with some patience, it’s pretty manageable. Here’s a breakdown based on my own installations:
- Assess and Clean the Roof: Make sure your RV roof has enough room. Remove any dirt or debris so the panels stick properly.
- Plan Panel Layout: Lay out your panels to avoid shade from vents and AC units. Sketch your wire path to minimize excess cable runs.
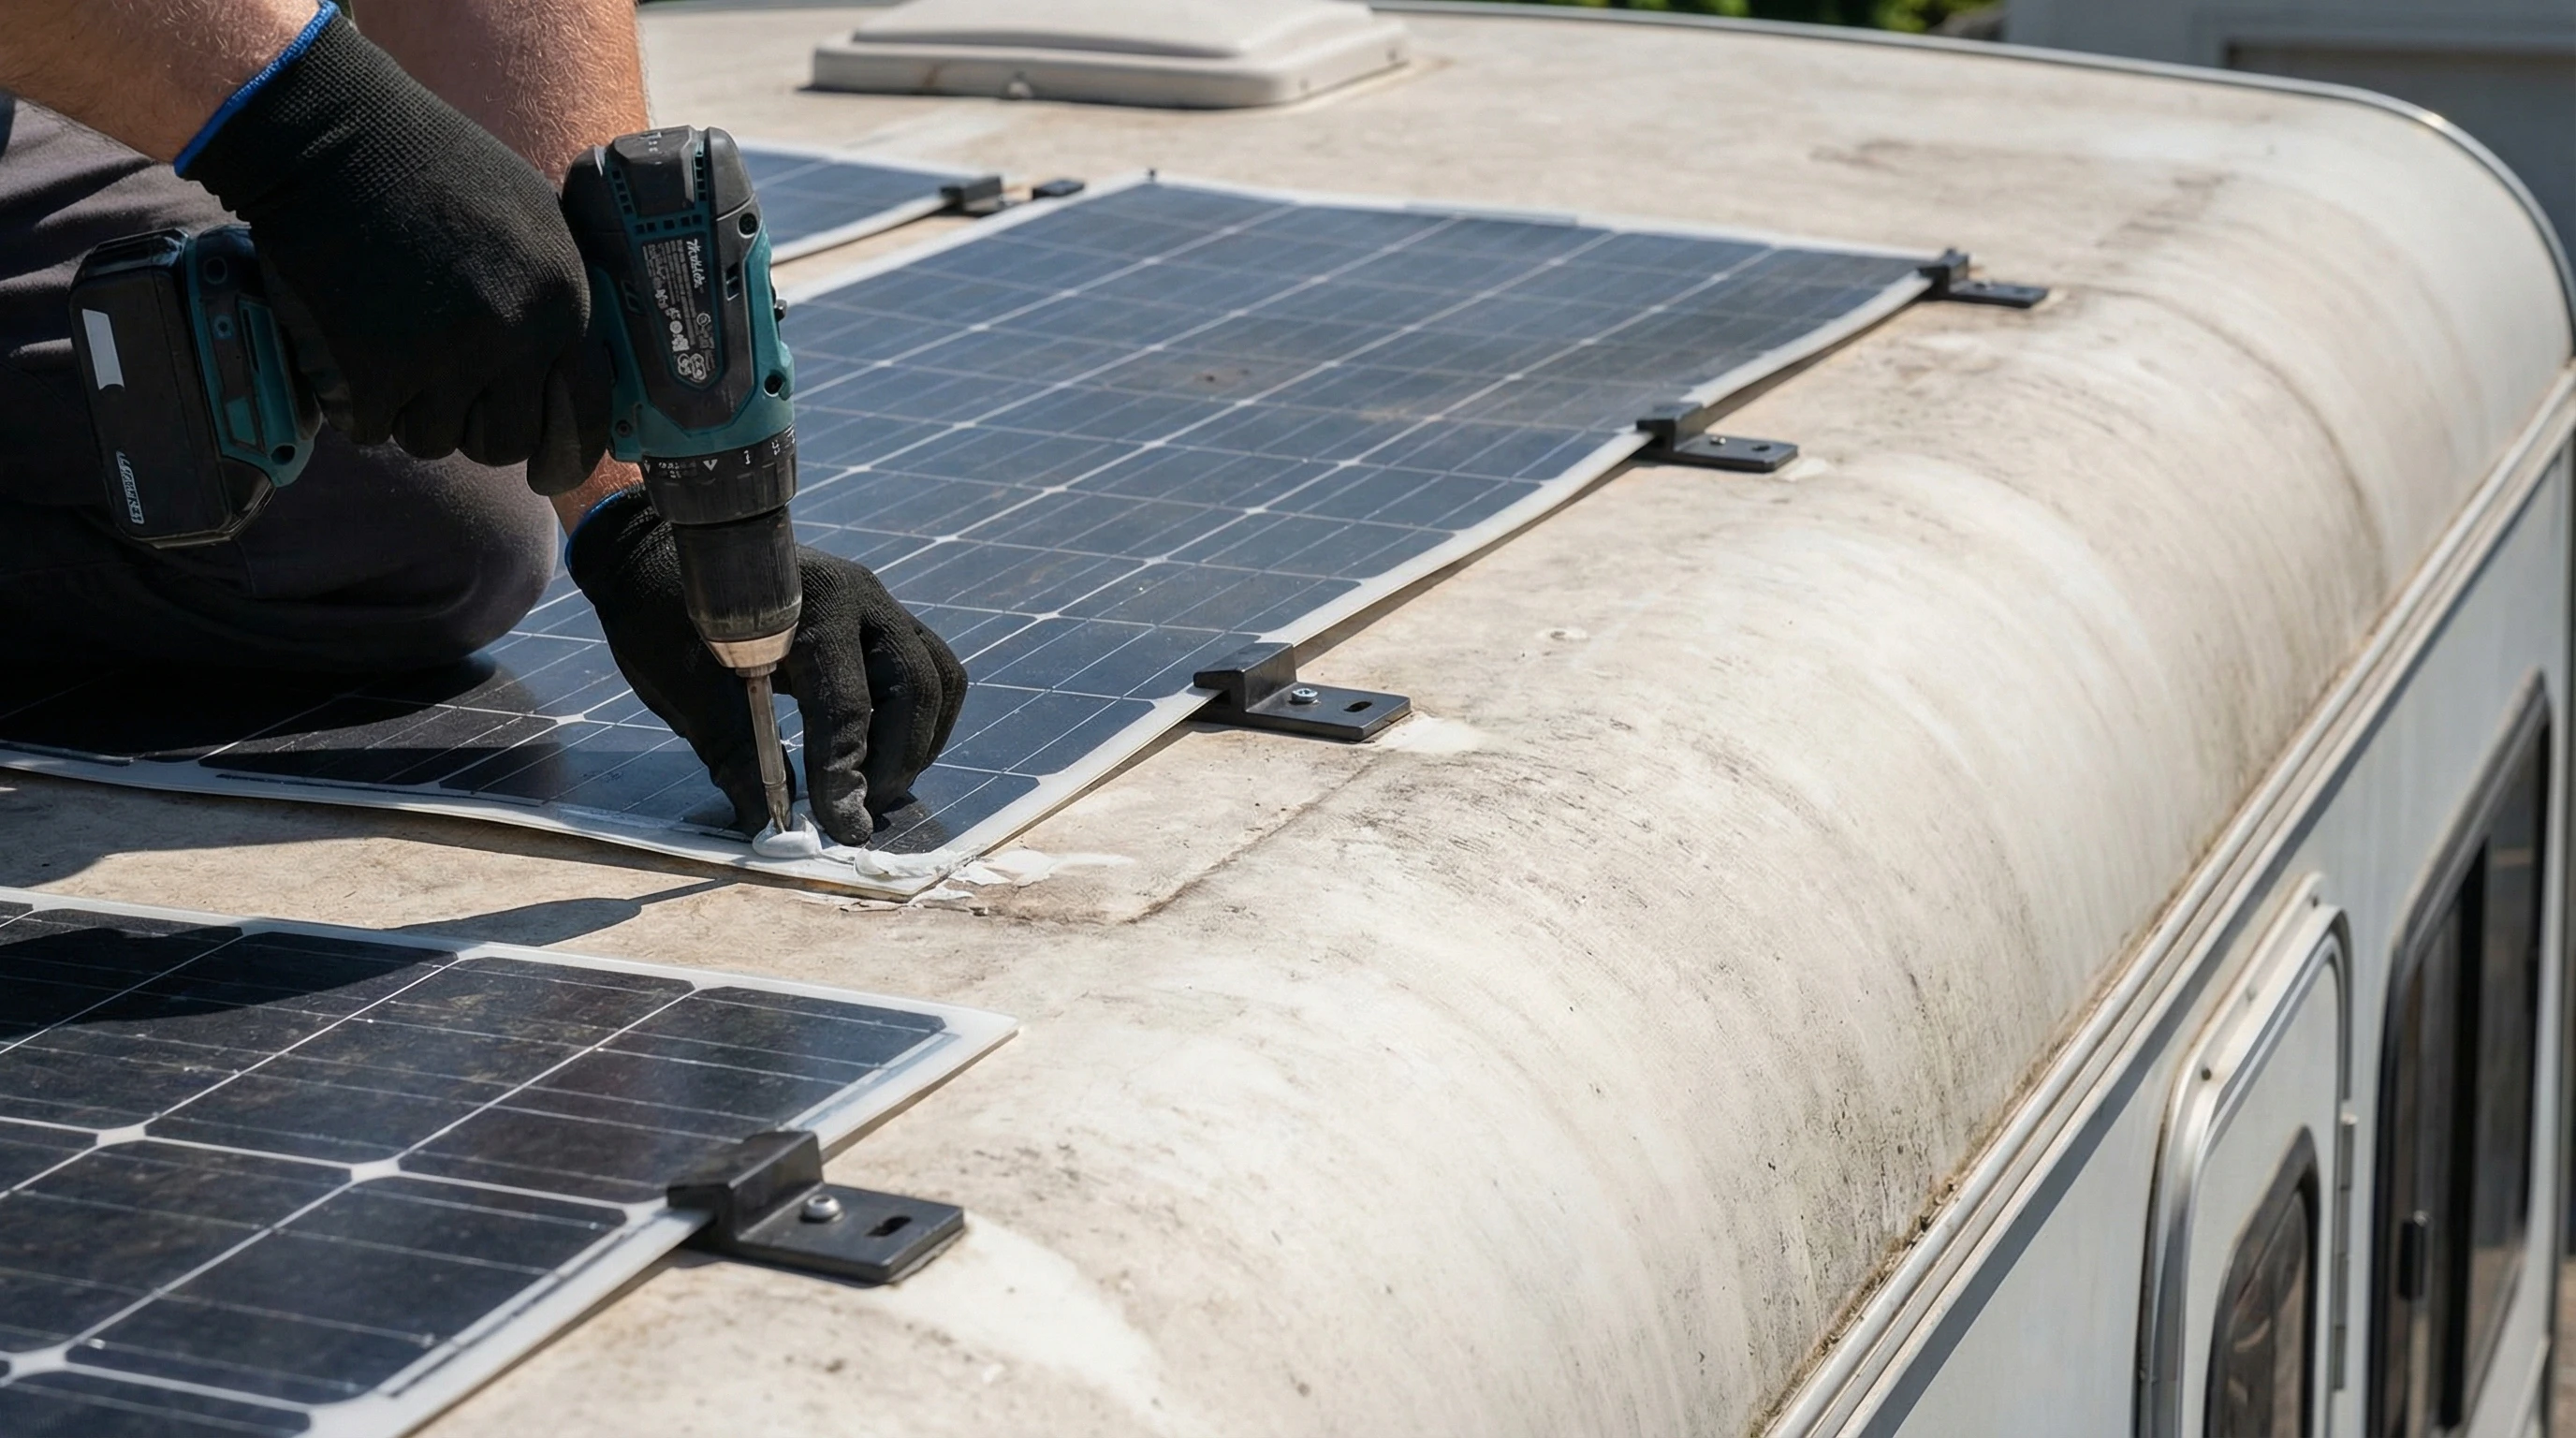
- Install Mounts and Panels: Attach mounting brackets to the roof. Securely fasten each panel, following the manufacturer’s instructions. Double-check that everything is waterproofed with quality sealant.
- Wire the Panels: Connect panels with the provided cables. Route wires through a waterproof gland or roof port into the interior. Keep wires out of harm’s way and neatly bundled.
- Connect to the Charge Controller: Mount the controller in a space with good airflow. Connect panel wires to the controller, then attach the controller to your battery bank.
- Wire the Inverter (if needed): Place your inverter close to the batteries to reduce voltage drop. Connect it according to the instructions, and only power it up after double-checking all connections.
- Test the System: Once everything is hooked up, test each part. Make sure the controller is reading the panel output and charging the batteries correctly. Test your outlets and devices.
If you’re not confident with tools or electricity, a professional can handle the trickier parts for you. Doing it yourself can save a lot, but safety should always come first.
Common Hurdles and How to Handle Them
Off-grid RV solar systems can have some challenges. Here’s what I’ve seen most often and how to avoid frustrations on your travels:
- Batteries Not Lasting Overnight: Sometimes batteries drain faster than expected. This might mean your system is too small or you’re using more power than budgeted. Adding another battery or being selective about device use solves that.
- Shade or Bad Weather: Clouds and tree cover really cut down on solar power. Try to park in the sun where possible; portable panels can be moved to catch more rays.
- Wiring Issues: Bad connections can slow charging or stop the system entirely. Regularly inspect your wiring, especially after bumpy drives.
- Heavy Loads: Running big appliances like microwaves or hair dryers uses a lot of power. I try to plan these uses for sunny days or when batteries are full. For large loads, a generator backup may help.
Most problems come down to sizing and smart use. Investing in a good battery monitor also helps track your power in real time, taking out a lot of the guesswork.
An overlooked tip: check your connections often. Even a loose cable can cause your whole system to underperform. Simple inspections after rough roads keep things running smoothly and save headaches later on.
Solar Battery Types Explained
Lead Acid: These are affordable and common, but need more maintenance. They work well if you’re careful not to drain them completely.
AGM: These sealed batteries require less maintenance and handle bumps better, making them popular among RVers.
Lithium: Lightweight and long-lasting, lithium batteries cost more upfront but last for years with little upkeep. They recharge quickly and can be used nearly to empty without damage.
Each type suits different travel styles and budgets. If you camp mostly in warm places and don’t want to worry about checking water levels, AGM or lithium makes for a smoother trip.
Also, take note: lithium batteries can weigh much less than the equivalent power capacity in lead-acid batteries. This matters if you’re close to your RV’s weight limits or want to improve your fuel mileage with less heft on board.
Pro Tips for Managing and Maximizing Off-Grid Power
Managing your system well gives you the freedom to go off the beaten path. These are the habits I’ve picked up:
- Use LED lighting and energy-efficient appliances. Swapping bulbs and gadgets saves tons of power.
- Shut off devices when you don’t need them. Small loads add up over time.
- Keep your solar panels clean. Dust and grime can reduce power by a lot. A quick wipe every week makes a big difference.
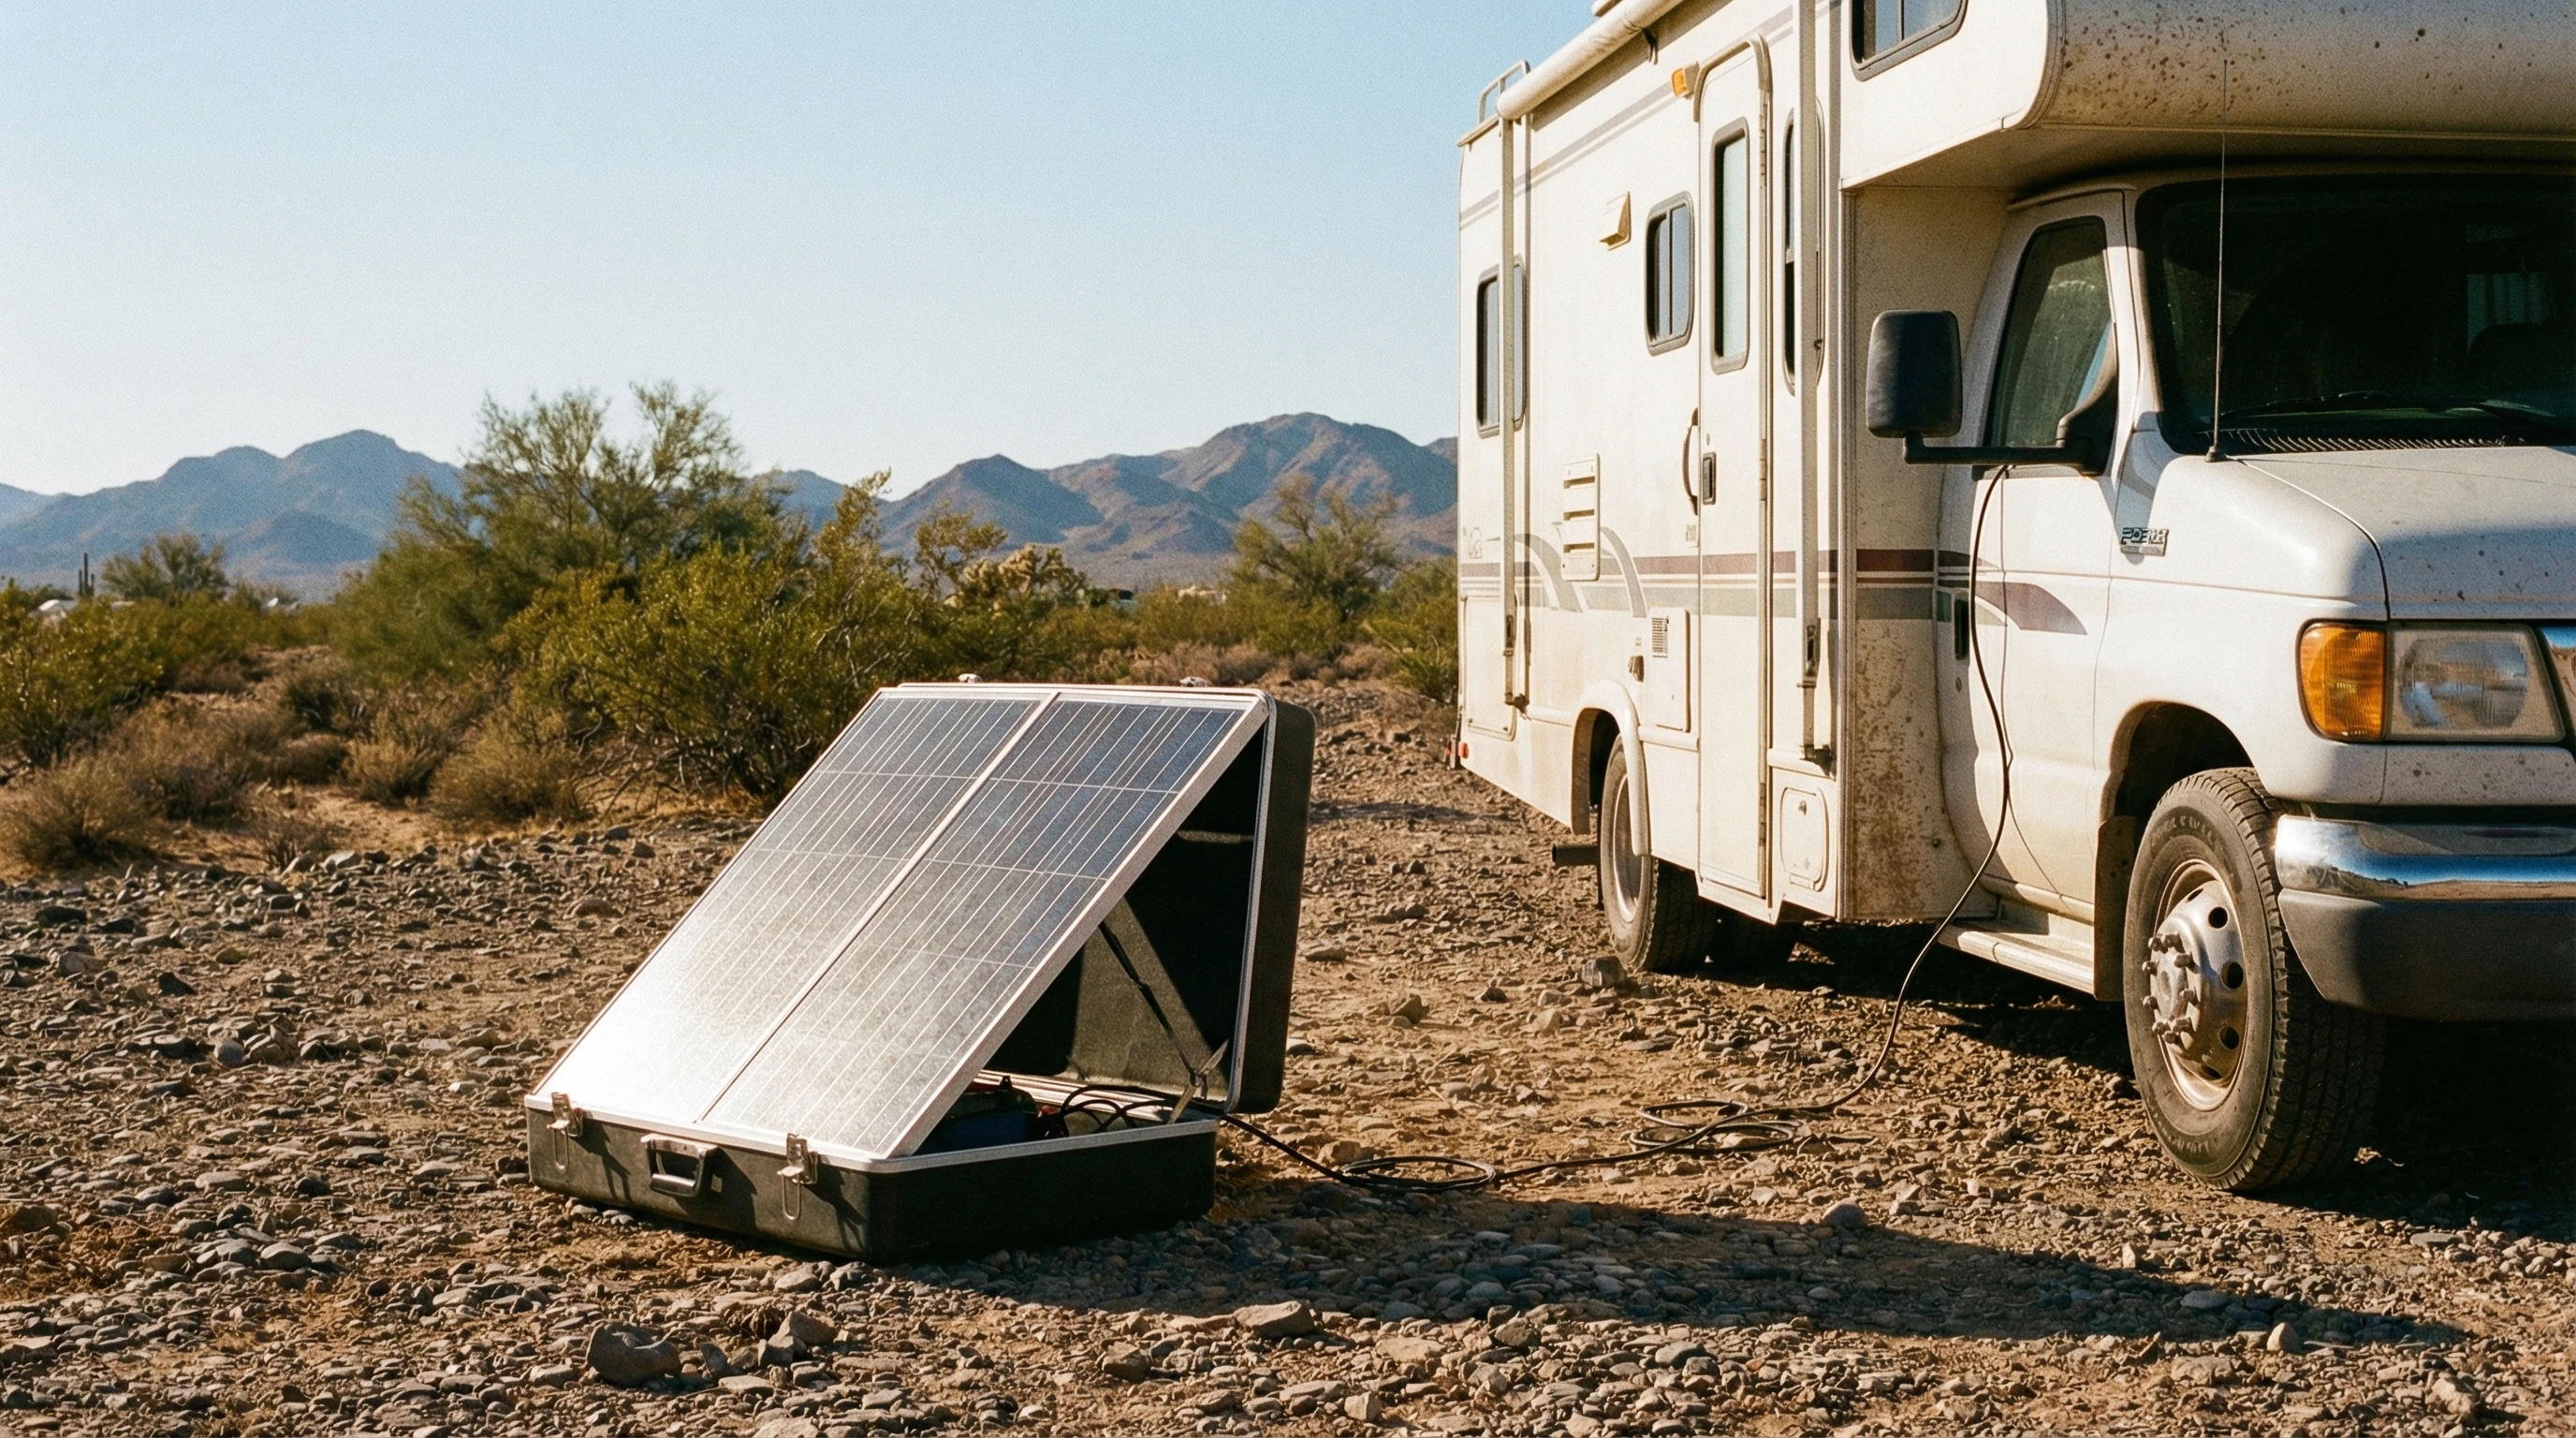
- Add a portable solar panel so you can adjust it with the sun, especially if you park in partial shade.
- Monitor your batteries with a good battery meter. This helps you avoid overusing and keeps your batteries healthy for years.
Even small adjustments in habits go far. For example, charging devices in the afternoon when solar output peaks prevents evening shortages.
Consider investing in an inverter with energy monitoring features, too. This gives you instant information about your draw and helps you spot problems before your batteries run out. Tracking your trends over a week or a month helps you make smart tweaks for longer stays off-grid.
Frequently Asked Questions
Here are some questions RVers ask a lot when it comes to RV solar and off-grid living.
How many solar panels do I need for my RV?
A typical RV setup starts with 200 – 400 watts if you’re running small devices and lights. For more power-hungry setups, like full-time travel or running a fridge, aim for 600 – 800 watts. Calculating your specific needs based on your devices is the best approach.
Can I install solar panels myself?
Many RVers take the DIY route with basic tools and some research. Professional installation is available if you want the job done quickly or feel unsure about electrical work.
Are portable solar panels worth it?
Portable panels give flexibility if shade is a problem at your campsite. They attach quickly and can boost your charging without being a permanent fixture.
What should I know about solar system maintenance?
Maintenance is mostly about keeping panels clear of dirt, checking wiring connections, and watching battery health. Most of these can be done in a few minutes each week.
Can I run my air conditioner on solar power?
Air conditioning draws a lot of power, so a basic solar setup usually can’t keep up for long. To run AC, you’ll need a larger system and a bigger battery bank, or you might rely on generator backup for really hot days.
How long do RV solar panels and batteries last?
Most quality solar panels last over 20 years with proper care. Battery life depends on the type, ranging from 35 years for lead-acid to 10 years or more for lithium batteries.
Ready to Hit the Road OffGrid?
Installing RV solar and managing off-grid power opens up options for adventure and relaxation. With the right setup and simple daily habits, you’ll stay charged up wherever you want to camp. Whether you stick to weekends in the woods or hit the road full time, RV solar is worth checking out for the extra freedom and peace it offers.
Got questions or an RV solar tip you want to share? Drop a comment below or browse other articles for more travel ideas and hands-on advice. Safe travels and sunny skies!
_________________________________________________________
What If Your RV Could Help Pay for the Journey? Could you make money while boondocking?
Many full-time RVers quietly earn money online: writing, recommending products, and building simple digital assets that generate income while they travel.
You don’t need tech skills.
You don’t need experience.
You just need the right roadmap.
👉 Discover the beginner-friendly approach! Take a look at this post on this website.


Recent Comments