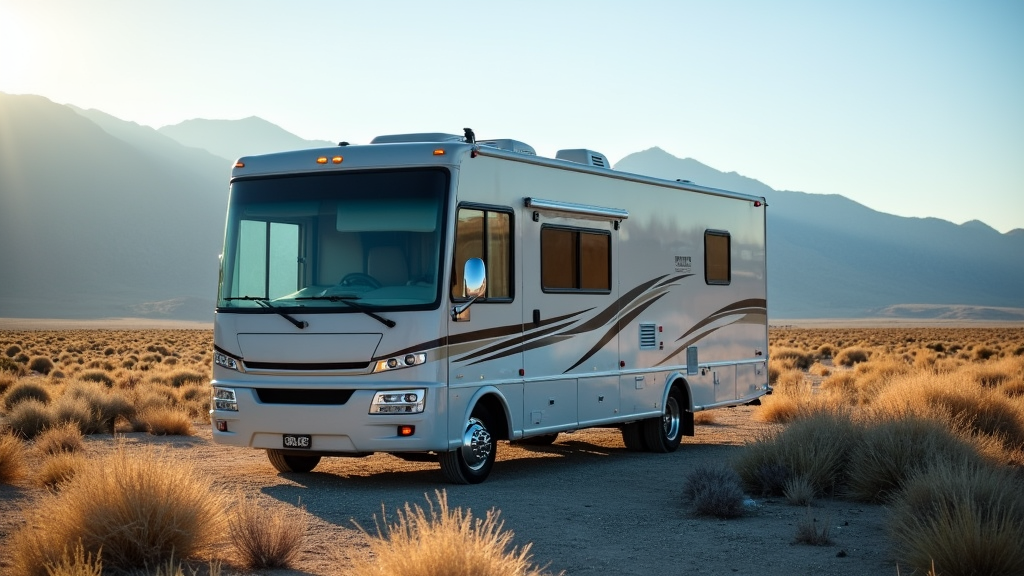
Giving your RV a proper exterior inspection helps you avoid a ton of headaches on the road. Whether you’re scoping out a new or used RV for purchase or just giving your home on wheels a check before a trip, knowing exactly what to look for saves money and keeps you safe.
I’ll walk you through the process that has helped me and a lot of other RV owners notice problems before they get expensive.
Why Exterior RV Inspections Matter
An RV’s exterior protects everything inside from weather and keeps you rolling down the highway. Small issues like cracked seals or loose ladders can quickly lead to big problems like water leaks or safety hazards.
Even if you’re not planning to go off-grid, the exterior faces sun, storms, tree branches, and busy highways all the time. Giving it some regular attention means less stress and more adventures.
An inspection does a lot more than spot obvious damage. It helps you catch hidden wear, track down maintenance needs, and sometimes even save on insurance or resale costs. I’ve met RVers in campgrounds who found damage long after buying, only to realize a quick walkaround could have alerted them way sooner.
Spending about 30-60 minutes at least once a season or before long trips makes a noticeable difference in your RV’s performance and your peace of mind. If you’re buying a new or used model, a good exterior check is absolutely worth your time and can affect your negotiating power in a big way.
Beyond that, it keeps you confident on the road, knowing you’ve already checked for the most popular trouble spots.
Getting Ready for a Thorough Inspection
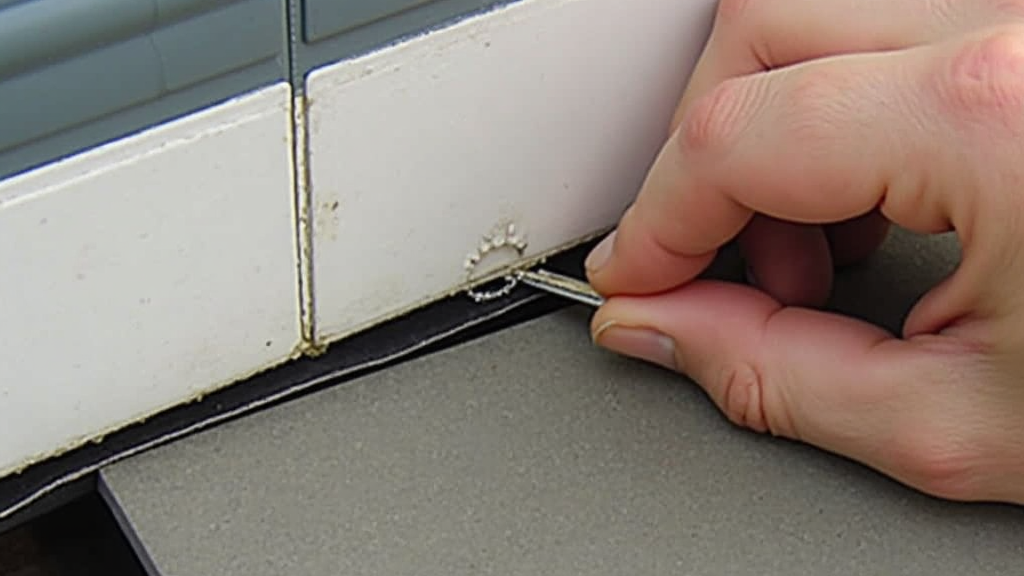
Having the right tools handy makes the whole process smoother. I always bring a sturdy ladder, a flashlight, a notebook, and a decent camera or phone to take photos. For checking seals, a plastic putty knife helps poke gently without causing damage.
Some RV owners use a moisture meter, especially in wetter regions, to catch leaks hiding behind panels or trim. Wear comfortable clothes so you can crawl, reach, and stretch. You don’t want to miss a spot because your jeans are too tight. Bringing gloves can also save your hands if you need to move branches, open storage doors, or feel around under the rig.
Pick a dry, daylight hour for your inspection. Good lighting reveals cracks, fading, or loose trim better than your phone flashlight at dusk. Walk around the RV slowly, starting at the front cap and working your way all the way around, then move up to inspect the roof, ladder, and awnings if possible.
If you’re not comfortable on a ladder, try using binoculars to check the roof edges and seams from the ground. If you are high-tech, you could use a drone. Always put your safety first. A twisted ankle or fall will slow your plans more than any leaky vent.
And if you’re going through this with a partner, keep in mind that a second set of eyes often spots issues you might miss, especially when you get into the trickier corners and angles.
The Step-by-Step Exterior DIY RV Inspection Checklist
A solid inspection is all about working methodically so you don’t miss details. Here’s how I break it down in practice:
- Front Cap and Windshield
Look for chips, cracks, loose moldings, or signs of sealant failure. Make sure all lights are secure and not fogged up inside. Examine mirrors and front cameras, too, for working order and any cracks. - Sidewalls and Windows
Check for bubbling, discoloration, or delamination. Press gently near windows and seams: soft spots can mean hidden water damage. All windows should open and close smoothly, and seals should be intact. Inspect the edges for dry rot or cracking, and look at caulking for gaps. Don’t forget to check window screens for small rips or tears, which can let bugs in. - Storage Bays and Doors
Open each hatch. Doors should move freely, and latches should click shut securely. Make sure weather seals are soft and unbroken; dry, brittle, or missing gaskets need replacement. No signs of moisture, dirt, or rodent activity is a good sign here. Check for missing keys or handles as well, since these are commonly lost or broken parts. - Roof
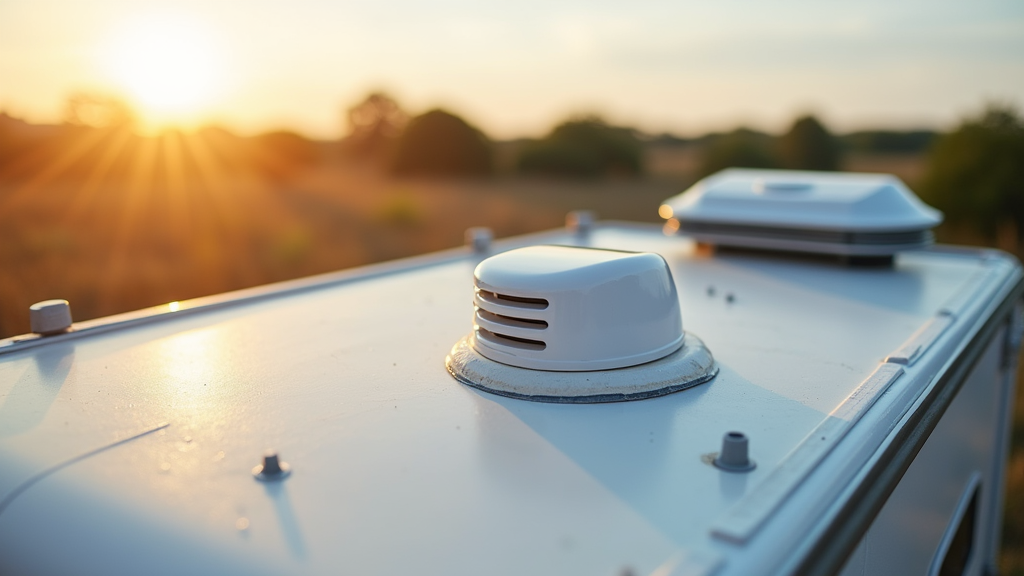
This is a common spot for leaks. Check roof seams, vents, antennas, AC units, and the area where the roof meets the sidewall. Run your hand along the roof, feeling for soft areas or bumps. Silicone or Dicor sealant should be smooth, not cracked or peeling. Clear debris from gutters and make sure drain spouts are clear. If there’s a ladder, give it a wiggle; it should be firmly attached without any rust near the fasteners. Skylights and solar panels, if present, deserve a quick once-over for tight seals and clean surfaces. - Awning and Slideouts
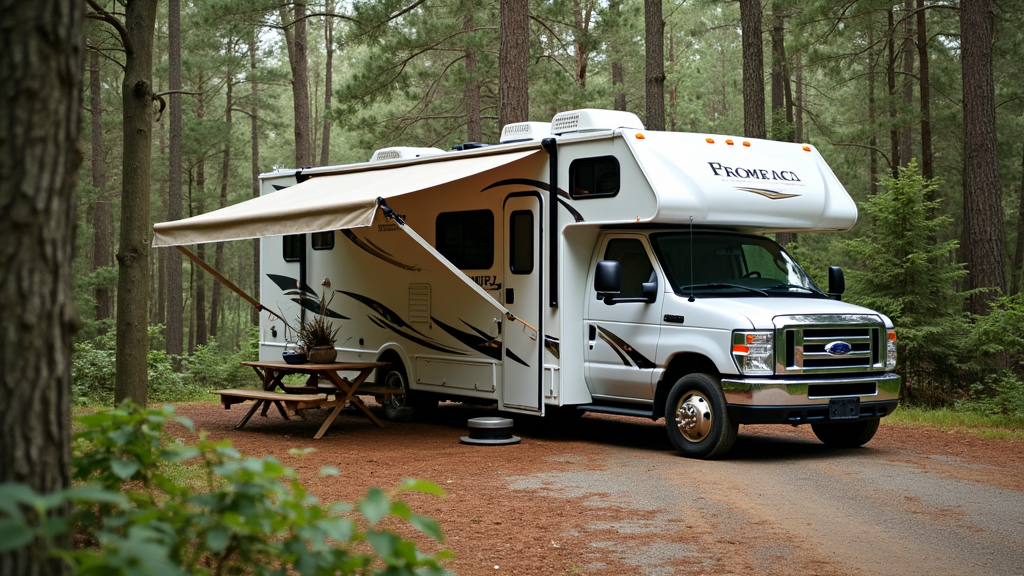
Roll the awning out fully and look for holes, mildew, or wavy fabric. Check the arms, gears, and brackets for smooth function. For slideouts, inspect gaskets around the perimeter and the exposed roof when extended; any visible tears or pinched seals are red flags. It’s also smart to check the mechanisms and any exposed wiring or hydraulic lines for cracks or wear. - Rear and Undercarriage
Lights, bumpers, and hitch hardware all deserve a look. Check for rust, loose bolts, and corrosion, especially if the rig sees salty roads or beach camping. Crawl underneath to inspect the frame, spare tire carrier, and holding tank mounts. While there, look for leaks or unusual drips. Inspect wheel wells and mud flaps, since stones thrown by tires can cause hidden cracks. Inspect the tires carefully! - Steps, Handrails, and Exterior Accessories
Make sure steps slide in and out cleanly, and rails or handles aren’t rusted or shaky. Check any bike racks, exterior showers, or mounted ladders to be sure they’re stable and well-sealed. Outdoor speakers, TV mounts, or kitchen setups should all be firm and weatherproofed.
Keep your camera or phone handy to snap pictures of any areas you want to watch or address later. Making a list with details helps you prioritize fixes and avoid forgetting anything important between inspections. Taking the extra step to photograph before and after repairs also helps with insurance or warranty discussions.
Common Exterior RV Issues and Easy Fixes
Plenty of problems are pretty simple to spot once you know where to look. Seals and sealant are big ones. If you see cracks, gaps, or dry, flaky sealant along windows, doors, or roof seams, put that job on your list ASAP. Water sneaking in causes a whole world of headaches, from mold to rotting wood. Loose screws or missing rivets in metal trim are also common, especially after a season of vibration on rough roads.
Delamination is another trouble spot. It shows up as bubbling, soft spots, or areas where the wall looks “wavy.” This usually means the glue between exterior layers has failed, due to moisture within. If caught early, repairs are smaller. If left too long, it gets pricey fast. Rust or corrosion on the undercarriage, steps, or metal trim should be cleaned up and sealed soon, especially before salty winter roads or humid southern trips. Spraying minor rust spots with RV-safe paint keeps them from spreading.
Stains or black streaks on siding look ugly but usually clean up with specialty cleaners and a little elbow grease. Just check that they’re not covering up larger cracks or faults. Torn awnings or vinyl need repair tape or fresh material before the next storm rips them wider. Bent or misaligned slideouts often signal a seal or structural issue. These need a pro’s touch more often than not, but don’t hesitate to ask at your local shop—it’s common and usually fixable. Swelling or soft deck boards on fold-down steps are another red flag that moisture’s getting in.
Light bulbs burn out regularly, and lenses can get cloudy. Swapping in fresh bulbs and cleaning the covers is simple. If you notice any shifting, loose, or flickering exterior lights, check the wiring inside the light’s housing. Wiggling or loose exterior fittings can often be tightened with basic hand tools. Also, checking license plate lights prevents traffic stops or tickets you never saw coming.
Tips for Inspecting Before a Purchase or Trip
If you’re buying a new or pre-owned RV, a detailed inspection gives you a better idea of what you’re getting. I always recommend bringing a friend or mechanic, but you can catch a lot solo. By doing a DIY RV inspection, you will save yourself from possible headaches!
Take your time. Sellers expect it. Don’t be afraid to ask questions about visible repairs, mismatched paint, or areas they don’t want you to touch. Believe it or not, new RVs can be worse than used ones due to poor manufacturing processes.
Document everything, and get quotes for any repairs that might sway your decision. Looking at maintenance records can also shine a light on how well the previous owner stayed on top of problems.
For road trip prepping, schedule your check at least a week before you leave. This gives you time to order parts or schedule repairs. Check tires for sidewall cracks and correct pressure. Make sure the license plate and running lights work. Give the roof and slides extra attention, since rain and wind at highway speeds work pretty hard to find any weak spots. Don’t forget to pack any specific parts your model needs, like special fuses, for a quick fix along the way.
Beyond Inspection: Preventive Maintenance Steps
Regular checks are just part of keeping an RV looking good and running well. I like to wash my RV every month. This prevents dirt, mold, and tree sap buildup. After each wash, a simple spray wax helps protect paint and decals. Regularly cleaning the roof with gentle RV soap also keeps leaves, pine needles, and branches from building up, which helps you spot wear sooner.
Seals and exterior sealant need freshening up about once a year in most climates. Checking after winter, when seals can shrink, or before the wet season starts, is pretty smart. If not using your RV full time, store your rig inside, or with a cover if it’ll sit outdoors for months, but make sure it breathes to avoid trapping moisture underneath. If you experience harsh winters, consider popping up the stabilizers and removing your batteries to prevent freezing damage.
Packing a small maintenance kit with sealant, basic hand tools, fuses, and a couple of spare bulbs saves me almost every year. You never know when a small fix will be the thing that keeps your plans on track instead of pulling off at the nearest repair shop. Carrying gloves, wipes, and a flashlight rounds it out for both quick cleanups and troubleshooting at a dark campsite.
Frequently Asked Questions
Here are some common questions I hear from other RV owners and shoppers:
Question: How often should I inspect my RV’s exterior?
Answer: A full inspection at the start and end of each camping season works for most rigs, and more frequently if using your RV full time. Give it a spot check before and after longer trips, especially if you hit wind or bad weather along the way.
Question: What’s the number one thing that causes hidden damage?
Answer: Water leaks, for sure. Signs can be subtle, like soft wall spots or tiny cracks you can only see up close. Don’t ignore minor gaps in the sealant. Fixing those early can save you thousands later.
Question: I’m not comfortable climbing onto the roof. Can I still check it properly?
Answer: Yes. Use a ladder to see the edges or grab some binoculars. Focus on seams, vents, and anything protruding from the roof. Hire a mobile RV technician once a year if you want a professional to double-check problem areas.
Wrapping Up: A Little Effort Goes a Long Way
A thorough RV exterior inspection keeps your travels smoother, safer, and less expensive. Spotting things early means less hassle and more time enjoying the road. Whether you’re new to RVs or a longtime traveler, building this step into your routine gives you an edge that pays off year after year.
Pam and I check our RV regularly, and we have dodged more than a few big repair bills by catching issues early.
If you’re in the market for a new or used RV or just want to keep yours running well, adding a regular exterior DIY RV inspection to your checklist is one of the best decisions you’ll make on the road. You’ll catch simple fixes before they become major repairs, and your adventure will stay on the right track.
Looking for more RV ownership ideas, or have questions about maintaining your RV? Head over to Your Full Time RV Living for extra tips, guides, and answers.
Pam and I are always happy to share what works. We hope your RV adventures are smooth and full of memories!
Drop any questions or concerns about your DIY RV inspection in the comments.
_______________________________________________________
If you want a detailed RV inspection checklist developed by me for the NRVIA, please visit this article, where you can download it for FREE. My RV inspection checklist is very detailed and is what is used by the professionals. If you need help understanding it, there is a source for that, too.
To learn more about me, click here.






Recent Comments