
Getting set up for solar power while boondocking can feel a bit daunting the first time, but I can promise you it pays off in freedom and peace of mind.
I remember my first trip off-grid with a full solar setup. Morning coffee made from solar-powered electricity, laptops charged, and a fridge running without worrying about finding the next hookup. It’s no exaggeration that solar has totally changed how I travel and camp.
Why Go Solar for Off-Grid Boondocking?
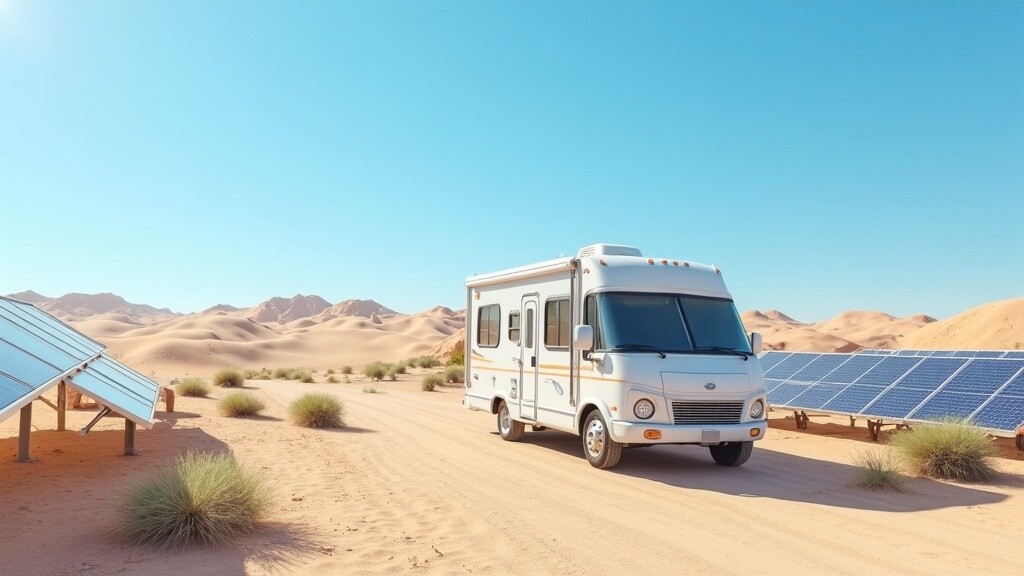
Solar power for off-grid use is practical, quiet, and gives you independence from crowded campgrounds. If you’ve ever been in a spot where running a generator isn’t allowed or just felt guilty about the noise, solar can be a real game-changer. Panels quietly soak up sunlight during the day and fill your batteries, so you always have power to run lights, charge phones, and keep the essentials going.
I found that solar is especially handy in wide open areas where there are plenty of sunny days. Plus, you avoid hauling extra fuel for a generator. Beyond the convenience, there’s also the environmental impact. Solar lets you camp longer, with a lighter footprint and less pollution. It is a solid move for anyone who wants to spend time in wild places while keeping them just as beautiful for the next campers who stumble upon them.
The Core Components of a Solar Power System
You only need a few main parts for a solar boondocking setup, but picking the right ones makes all the difference. Here’s what you’ll run into most often:
- Solar Panels: These are your powermakers. Wattage varies, but most boondockers stick with 100W to 400W per panel. Portable units make setup flexible, while fixed roof panels are a set-and-forget approach.
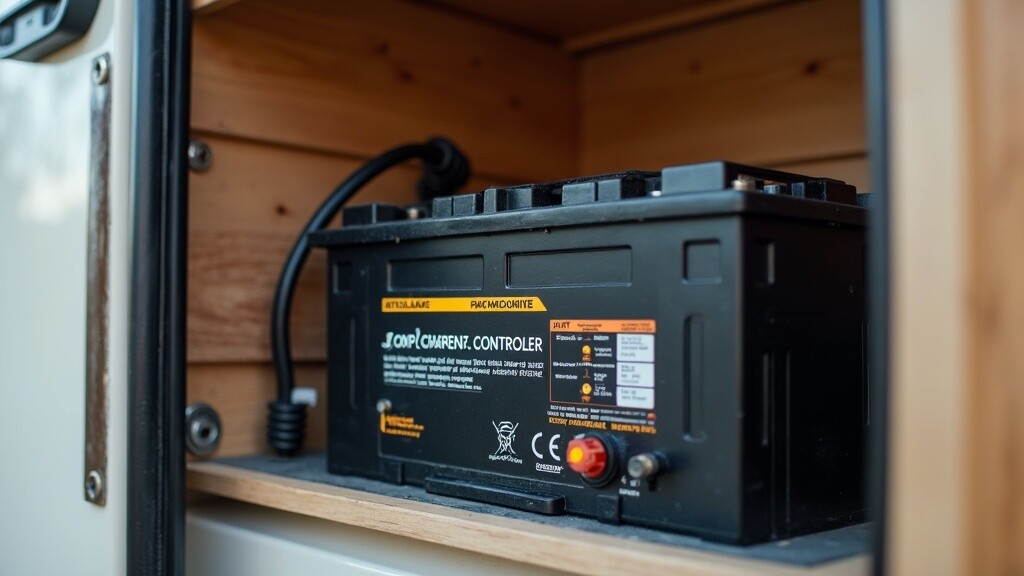
- Batteries: Deep-cycle batteries store your solar juice. Lead-acid batteries are common, but lithium batteries are getting more popular because they are lighter and hold a stronger charge.
- Charge Controller: This device regulates the flow of electricity from the panels to the batteries, stopping them from overcharging. MPPT controllers are more efficient but pricier than basic PWM models.
- Inverter: An inverter changes stored 12V battery power into 120V AC, just like household outlets. If you want to use a coffee maker, laptop, or microwave, you’ll want a good inverter on hand.
When I set up my first system, I realized how important it was to size each component so everything worked together. Oversized solar panels with small batteries can lead to wasted power, and a tiny inverter just can’t handle more than basic devices. Double-checking your expected daily energy use really helps here.
Step-by-Step: Planning and Installing Your Solar Setup
Mapping out your system ahead of time saves hassle down the road. Here’s how I go about it:
- Estimate Power Usage: Make a list of devices you’ll use, from lights to fridges to laptops. Total up their daily watt-hour needs. There are lots of free calculators online, and this helps figure out your minimum panel and battery size.
- Choose the Right Panels: I suggest starting with 200 to 400 watts if you use a fridge, fan, and laptop daily. More panels mean faster charging, but also cost and space considerations.
- Pick Your Batteries: For weekends, two 100Ah lead acid batteries work, but for longer boondocking, I like lithium for the weight and quick charging. They’re pricier up front but last much longer.
- Install and Wire It Up: Portable panels are super easy; just unfold and aim them at the sun. Roof panels take more work and add weight, but mean one less thing to pack. Always use proper fuses and cable sizes for safety. I usually mount the controller close to the batteries to keep things tidy and efficient.
- Test Everything: After wiring it up, hook up a few devices and watch your charge controller’s readout. If everything stays in the green for a full day of use, you’re set.
If you like visuals, many camper forums and solar gear companies offer free setup diagrams. Watching a few video guides definitely helped me avoid wiring mistakes when I started out.
Important Things to Think About Before You Buy Solar Gear
Before you get into it, it helps to get familiar with a few common complications. Planning for them will save you much hassle down the line:
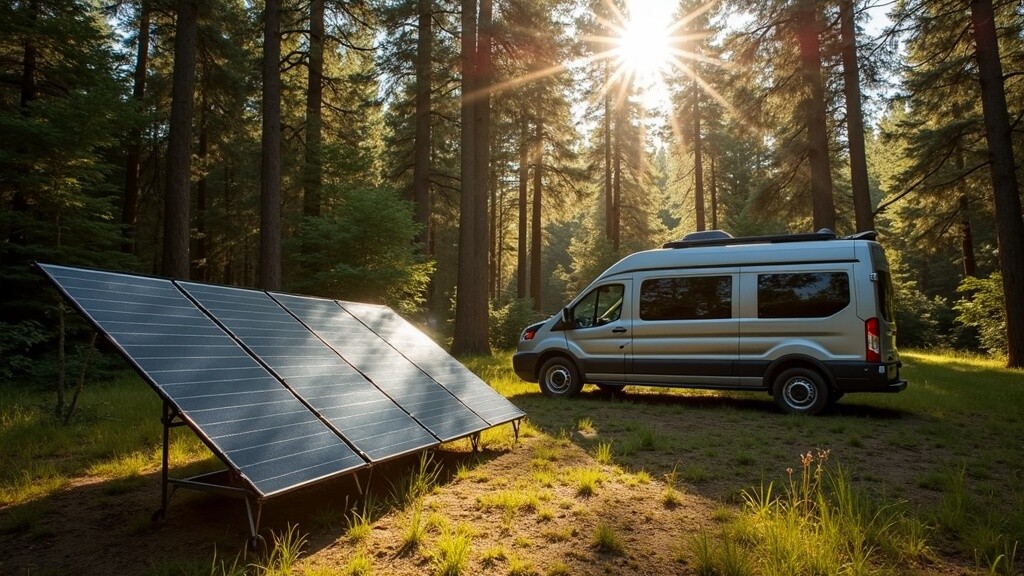
- Shading: Just a small shadow on your panels can cut power by half or more. If you camp in wooded areas, move your panels or go with portable ones you can set up away from trees.
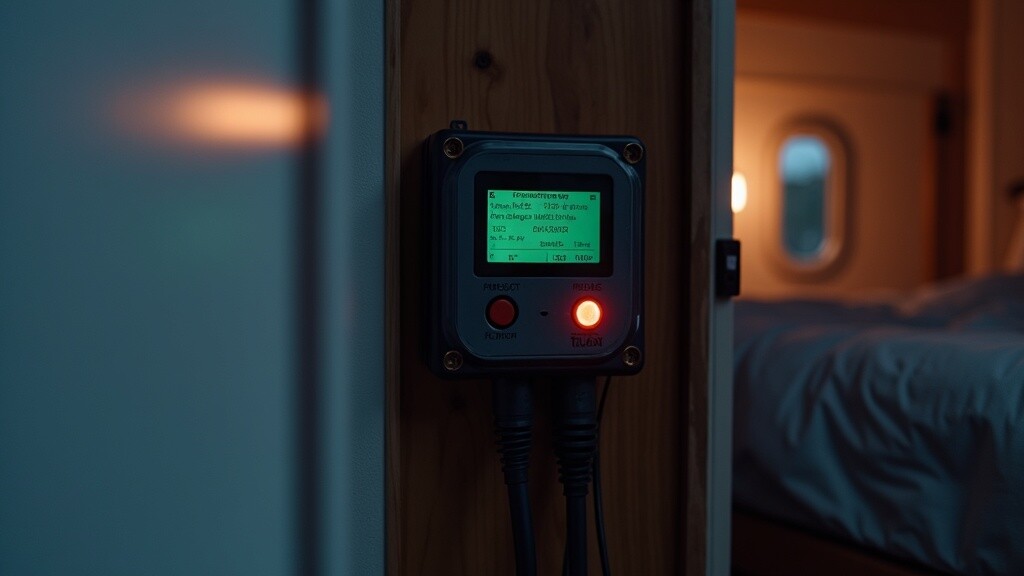
- Weather: Cloudy days and winter mean less charging. Having a battery monitor helps track how much sun you’re actually getting and when you might want to conserve power.
- Storage: Bigger batteries weigh more and take up precious space. Going lithium typically means you can store the same energy in a smaller box.
- Budget: It’s tempting to go cheap, but quality panels and controllers pay off in reliability and long-term savings. Entry-level setups are fine for lights and phones, but if you want to use power tools or a microwave, budget a bit more.
Choosing the Right Panels
Panel quality really matters. Monocrystalline panels are the most efficient and handle partial shade better than polycrystalline. Flexible panels are lighter and easier to mount but usually cost more and have a shorter lifespan. I use rigid panels for my rig since they’re strong and hold up well when the weather turns rough.
Tips for Battery Longevity
Running your batteries too low, too often, can shorten their life. It’s good to keep them above 50% charge when you can. With lithium, you don’t have to worry as much since they handle deep discharges better.
Extra Tricks and Upgrades for Your Solar Setup
When you feel confident with your system, there are plenty of ways to squeeze more out of it. Here are a few things I wish I had known earlier:
- Upgrade Your Charge Controller: Moving from PWM to MPPT bumped my charging efficiency up, letting me stretch my battery life on cloudy days.
- Add a Battery Monitor: I use a shunt-based monitor to check voltage and see how much power is left. It takes away the guesswork and helps me avoid unexpectedly running out of juice at night.
- Portable Power Stations: These all-in-one boxes are handy if you camp away from your main rig. Just plug in and go. They’re perfect for running tools or recharging gadgets at a picnic table or while exploring.
- Panel Angling Mounts: Tilting your panels toward the sun gives a boost in the mornings and evenings, or during winter camping. I got an extra hour of good sun by angling my panels last fall.
If you want your setup to grow along with your camping style, buying gear that leaves a little room for expansion is always smart. Underspending now might mean upgrading sooner than you’d like.
Practical Examples of Off-Grid Solar Setups
Checking out how others set up their systems can really help you pick your own path. Here are some setups I’ve seen in the wild:
- Compact Camper Vans: My friend runs a 200W rooftop panel with a single 100Ah lithium battery, just right for LED lights and running a small fridge for several days.
- Truck Campers: A blend of portable and fixed panels adds flexibility. Two 120W panels, one on the roof and one on a foldable rack, mean you can adapt when it’s cloudy or shady.
- FullTimers in RVs: Some folks go big with 600W to 1000W of solar panels, three or four large lithium batteries, and strong inverters. That’s enough to power AC for a quick cool down, run microwaves, and keep everything humming for multi-day trips.
There’s really no perfect one-size-fits-all system. I always find that testing out your needs for a season and adjusting is the way to go. If you run into hiccups, solar forums and RV groups are supportive for troubleshooting and ideas.
Frequently Asked Questions
Here are some questions I see often about solar setups for boondocking:
How much solar do I need to camp off-grid?
Answer: The amount depends on your daily power habits. A minimal setup for lights, a phone, and a fan can run on 100W to 200W, while a fridge and larger devices might need 400W or more. It always pays to size your system around your real usage.
Do I have to drill holes to install roof panels?
Answer: No, not always. Many kits use strong tape brackets, but screws are more secure over the long term. If drilling in the roof isn’t your thing, portable panels on the ground work great.
Can I mix and match different brands of panels or batteries?
Answer: Mixing brands is fine as long as voltages match and the charge controller supports the combo wattage. For batteries, stick with the same type and capacity for best longevity.
How do I keep panels clean while camping?
Answer: I carry a soft brush and spray bottle. Wiping panels every couple of weeks or after a big dust storm keeps them working strong.
Can I run AC off my solar setup?
Answer: Running an air conditioner takes a lot of power. Short runs are possible with a big battery bank and a beefy inverter (3,000 watts or more). For most boondockers, using fans, vent covers, and parking in the shade makes staying cool simpler.
What if I need more power on cloudy days?
Answer: Using a generator for backup or parking in sunnier spots really helps. Some campers carry extra portable panels for those low-light stretches.
Solar setups make off-grid camping easier and more enjoyable than ever. With the right game plan and a little real-world testing, you can camp farther and longer with reliable power. If you ever have questions or want to swap setup ideas, RV groups and solar communities online are great places to check in. I found that folks are always happy to help out.
Want to jump into more about off-grid living or thinking about boosting your solar setup?
Leave a comment below if you’ve got questions about rigging your boondocking adventure for solar power.
To learn more about us, click here!
If you want to run a business while enjoying RV travel long-term, check this out!


Recent Comments