
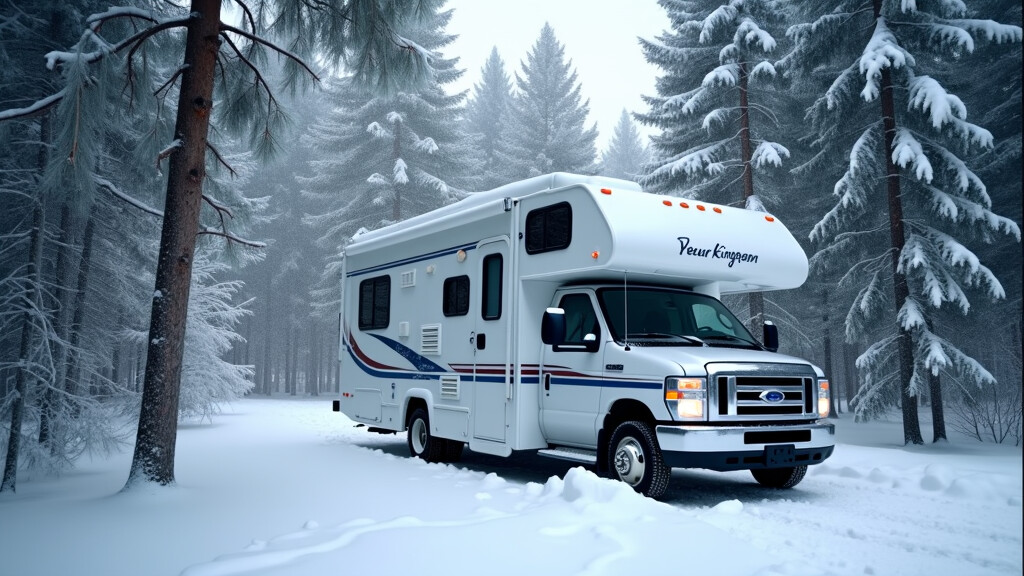
The switch in weather is a signal for RV folks like me. Getting your RV ready for winter is definitely an important job, especially if you plan to store it or even use it during the colder months. Skipping this step can leave you with frozen pipes, busted water lines, and some costly headaches when spring comes around, since winter weather is one of the most challenging conditions for RVs.
I want to walk you through the main inspection points and tricks to help make sure your rig stays safe, dry, and cozy while things outside get frosty.
 ensures that every part is working, your batteries are charged, and surprises are
Why Winterizing Your RV Matters
RV systems aren’t designed to withstand freezing temperatures unless you take extra precautions. Out in the wild, any leftover water in your lines or tanks can freeze and cause damage you won’t notice until it is too late. Even if you plan to do some winter RVing, prepping for the weather ensures that every part is working, your batteries are charged, and surprises are to a minimum.
A comprehensive check-up helps prevent the issues of mold, rodents, and unpleasant odors that can accumulate in a closed rig. Winterizing is more than pouring antifreeze into your pipes. It is about protecting your investment so your RV is ready to roll as soon as the seasons change. The peace of mind that comes from knowing your RV is set for cold weather can really improve your enjoyment of the off-season, too.
Plumbing: Freeze-Proofing Your RV’s Water System
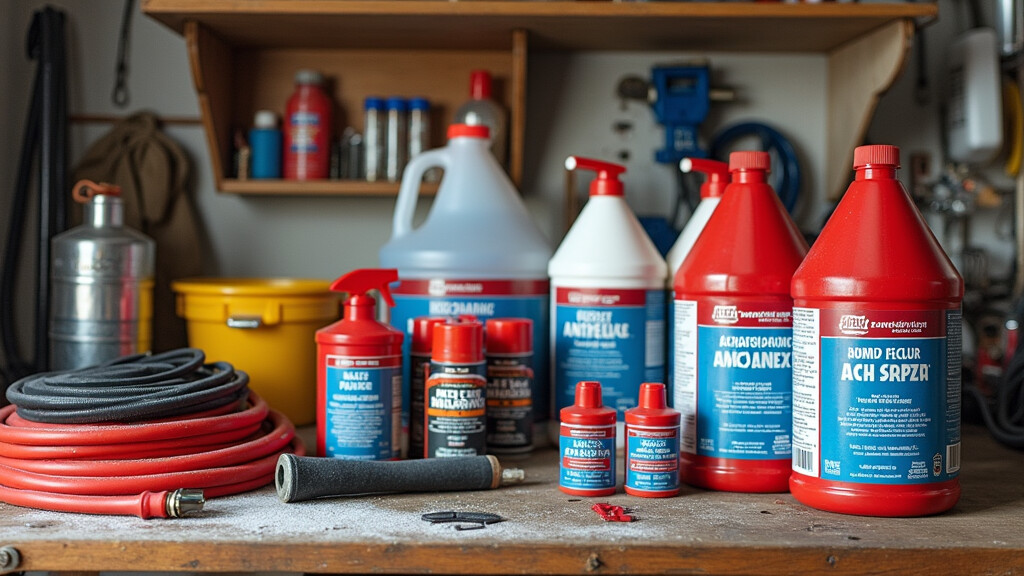
When the cold really sets in, any water left in your RV’s pipes or tanks can freeze and cause splits. I start by draining all the water tanks. That includes the freshwater, graywater, and blackwater tanks. Sometimes people forget about the water heater, but that reservoir is a common source of trouble for winter leaks.
I add RV-specific antifreeze by pumping it through the system until all faucets run pink. Don’t forget outdoor showers and toilets, as these are easily missed and can crack if left untreated.
If your RV has a washing machine, icemaker, or dishwasher, those also need antifreeze. The low point drains help with emptying the last bits of water. Running the water pump just long enough to pull antifreeze through completes the process.
Skipping even one step here can mean an expensive repair come spring. Having a checklist handy has saved my RV from surprise leaks over the years. Even your exterior shower and those small spray ports need attention, which is often overlooked.
Batteries, Propane, and Electrical Systems
Batteries can lose their charge fast in cold weather. Before temperatures dip, I check each battery for corrosion, check water levels (if needed), and make sure they’re charged to full. If I won’t be using the RV, I disconnect and store the batteries inside somewhere dry and above freezing. This extends their lifespan and avoids dead cells.
Propane systems also deserve a thorough look. I check the levels, close all valves, and look over the lines for leaks using soapy water. Any odd smell means I need to get it fixed before storing the rig. Unused propane tanks are stored upright in a well-ventilated spot to prevent dangerous buildup.
Electrical systems can develop surprises if there’s dampness or corrosion. All cords, outlets, extension cables, and inverters get checked for rust or damage. I like to keep a trickle charger on the batteries if I’m storing the rig in a cold barn.
This keeps the system topped off and ready when spring returns. Taking these precautions helps you avoid the hassle of dealing with flat batteries or unexpected power losses when you hit the road again.
Roof and Exterior: Stop Leaks Before They Start
A leaky roof or cracked seal allows moisture to enter, leading to rot and mold. At least twice a year, and always before winter, I climb up and look over every inch of the roof, skylights, and seams. I use my hand to feel for soft spots, and look closely for gaps or split caulking around vents and edges.
Replacing old or dried-out sealant is one of the most effective ways to keep water out. I also check the seals on all windows, doors, and slides. The simplest leak will ruin walls, flooring, and cabinets long before you notice any stains inside.
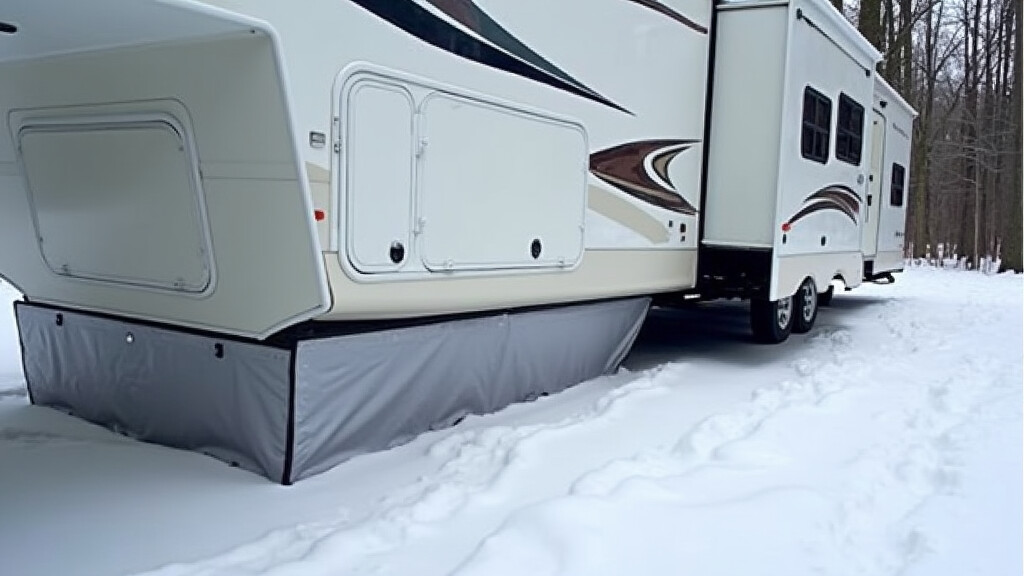
Cleaning and treating the exterior with an RV-safe wax helps shed rain and snow. Covering your RV, if stored outdoors, gives it one more layer of defense against ice, water, and sun. Skirting the bottom with foam insulation, if you plan to stay in it, traps warmth underneath and blocks cold drafts.
This check-in with your RV’s outside might feel repetitive, but it saves huge repair bills later. Even installing gutter extensions to direct melted snow away from the sides goes a long way.
Interior Prep: Stopping Drafts, Mold, and Critters
Before shutting the door for the season, I clear out all food, clean storage areas, and leave cabinet doors open. This allows air to circulate and helps prevent mildew. Moisture absorbers, like DampRid or other natural alternatives, handle any lingering humidity. If you skip a fridge cleanout, you might open up to a pretty foul surprise in spring.
Rodents can make their way inside through shockingly tiny holes. I look over the floor for gaps near plumbing, wiring, or under drawers. Filling these with steel wool or spray foam helps keep mice and bugs at bay. Closing vents with screens and using more durable covers for exhaust ports goes a long way.
Drafts make winter stays tough, so I check the window and door seals. Adding thermal curtains, foam gaskets, or simple DIY insulation panels stops cold air from sneaking inside. This is especially handy if you’ll be staying in your RV through winter.
Leaving cushions and bedding propped up helps airflow, and running a dehumidifier (if the RV can be plugged in) cuts down dampness. Even if your RV sits unused, spending a little time now getting the inside in shape saves a lot of cleanup later. Be sure to remove batteries from remotes and small devices to prevent leaks.
Winter Tire and Chassis Checks
RV tires can lose pressure and even develop flat spots during long storage periods. I always air tires to the max recommended PSI and block the wheels securely. For long-term storage, moving the rig a few feet every few weeks helps prevent the tires from developing flat spots.
Checking the undercarriage for rust or loose wiring is best when everything’s dry. Spraying exposed metal with a protectant blocks corrosion. I like to grease any moving parts, such as stabilizers or steps, since stiff metal can be annoying to deal with after a few months of freezing.
If I am expecting really heavy snow, I make sure the awning is locked away. Snow piling up can bend the arms and stretch the fabric. On motor homes, pulling wiper blades away from the windshield and sealing them in plastic or wrapping them with towels helps prevent cracking as well. If possible, checking on your tires and undercarriage in the middle of winter and after snow melts can help catch issues early.
Common Winterization Mistakes and Simple Fixes
Winterizing is not just about following a checklist. Real-world use reveals a few key areas where RVers tend to make mistakes. Missing a faucet, outdoor shower, a water filter, or by-passing the water heater by mistake is super common, so having a written list helps. Forgetting to treat the black tank can cause problems with dried-out seals and stuck valves.
Leaving perishables or canned goods in cabinets happens more than folks admit. If you skip cleaning the fridge and leave the door shut, mold has a party inside. Putting a deodorizer or an open box of baking soda in the fridge and freezer handles smells and helps keep things fresh.
Underestimating how quickly batteries drain is another surprise. Investing in a battery maintainer or regular charge checks stops you from having a dead rig when spring rolls around. Don’t overlook your insurance policy during storage; some providers require winterization for coverage to stay active. Double-checking each system before you close up for the season is a good safeguard.
Advanced Winterizing Tips for Frequent Use
If you plan on living in or using your RV over winter, there are a few extra steps you can take. Heated hoses and electrically heated holding tank pads prevent freezeups if you’re parked. Skirting around the RV minimizes cold air under your floor, while a small ceramic heater left running keeps the inside comfortable.
Small fans keep air moving, so mold is less likely to develop. Adding extra insulation behind drawers, around vents, or inside storage bays keeps things toasty. It also helps to keep cabinets under sinks open so heated air reaches the pipes. Monitoring propane levels closely is necessary, as heaters can go through gallons quickly.
Some folks even put remote temperature sensors in place to check on their RV from a distance using smartphone apps. Missing a freeze warning by even a day can spell trouble if you’re not around to fix it fast. If you do stay in your RV over winter, check window insulation regularly as condensation can lead to moisture buildup faster than you’d think.
Frequently Asked Questions
Questions about winterizing pop up all season. Here’s a quick rundown of what usually comes up:
Question: Do I need to use pink RV antifreeze, or is regular antifreeze okay?
Answer: Stick with nontoxic food-grade, pink RV antifreeze if it’s for water lines. The automotive stuff is dangerous if left in drinking water systems; it’s only for engines.
Question: How often should I check my RV through the winter?
Answer: At least every few weeks, if possible. Check for leaks, check tire pressure, and keep an eye out for signs of critters sneaking in.
Question: My RV will be stored indoors. Do I still need to winterize?
Answer: If the building is heated and stays above freezing, you can sometimes skip the antifreeze. If it gets even close to freezing inside, go through the full winterizing process just in case.
Question: Is there a quick way to know if all the water is out of the lines?
Answer: Blowing clean compressed air through the system after draining helps. When faucets and low-point drains let out only air, you’re ready to add antifreeze. Be sure to have an air filter on the output line of the compressor. This helps prevent the introduction of contaminants into the water system.
Extra Tips for Peace of Mind
Taking a few small steps above what’s on most checklists leaves me a lot more relaxed during cold spells. I take photos of each system — plumbing, roof, and battery area — after I finish. This makes it easy to remember what was done and spot changes next year.
Checking with your owner’s manual is always smart. Some RV models have specific quirks or hidden low points in the plumbing. If something seems off, calling your dealer or an experienced tech for advice is worth it. Join some RV groups online for tips specific to your brand and model—fellow owners can be a great source of tricks and seasonal reminders.
Using these steps means your RV will be set, safe, and ready to roll out at the first sign of warmer weather. You will spend less on maintenance and get more time enjoying life out on the road.
RV living gives you a real sense of freedom. Prepping your rig for winter is pretty handy to avoid worries later. For more tips on keeping your RV in top shape or working online while you travel, there are a ton of resources out there, including some top community forums and RV tech sites.
Questions about RV upgrades, winter boondocking, connectivity, or working from the road? Drop them into the comments or check out more guides across our site. It has helped me avoid some nasty fixes and keeps the adventure open all year.
If you’re interested in RV life and want to mix in some online work as you travel, there are tons of options to explore. Working from the road is a huge plus, making the travel dream more doable for many people.
Want help starting your own online business you can run from anywhere? I’m here to help you get a sense of how!

Drop any questions or concerns about your RV life in the comments.
_______________________________________________________
If you want a complete, detailed RV inspection checklist developed by me for the NRVIA, please visit this article, where you can download it for FREE. My RV inspection checklist is very detailed and is what is used by the professionals. If you need help understanding it, there is a source for that, too.
To learn more about me, click here.


Recent Comments